Overview
The Journey presets guide you in creating the right Journey for your site and your visitors. You will be guided into making choices about types of offers, scheduling, and levels of performance.
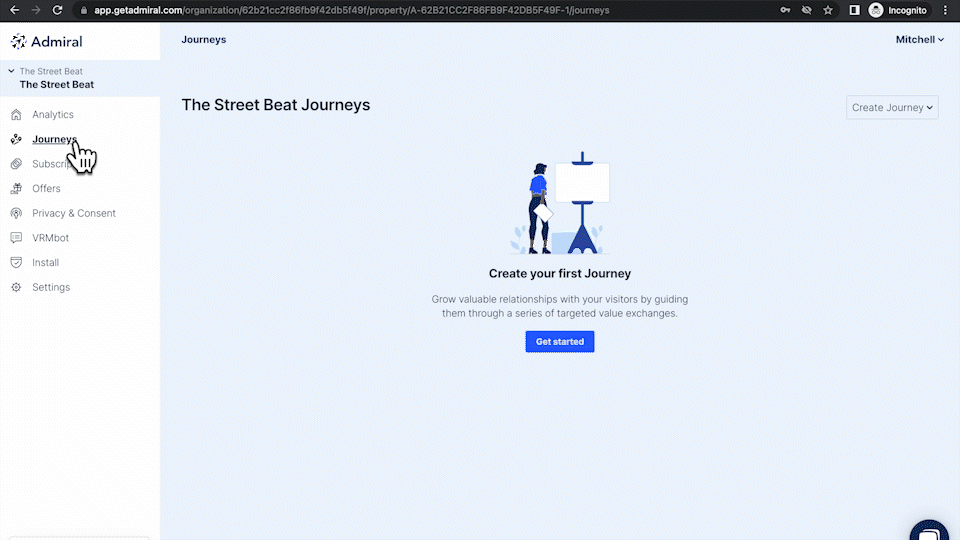
- Click on the "Journeys" tab. Then, click "Get started."
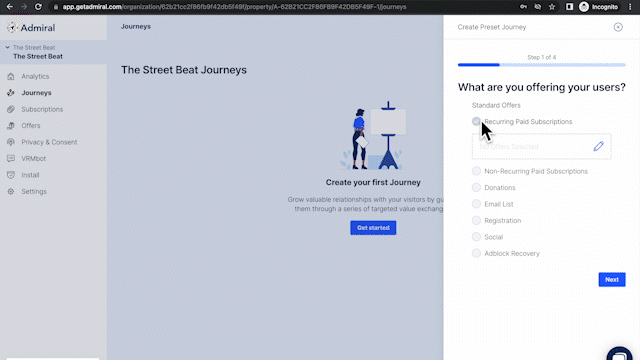
- Select the offer you would like to offer to your visitors. Your options are Recurring Paid Subscriptions, Non-Recurring Paid Subscriptions (one-time offers), Donations, Email List, Registration, Social, and Adblock Recovery.
- To create an Adblock Recovery offer, select that option and click Next.

- To include an offer with Donations, Email Collection, Registration, or Social, select that option and click the pencil icon to add the offer.
- Select the particular offer you've previously created.
- If you have not created an offer in the "Offers" tab, you will need to create one before proceeding.
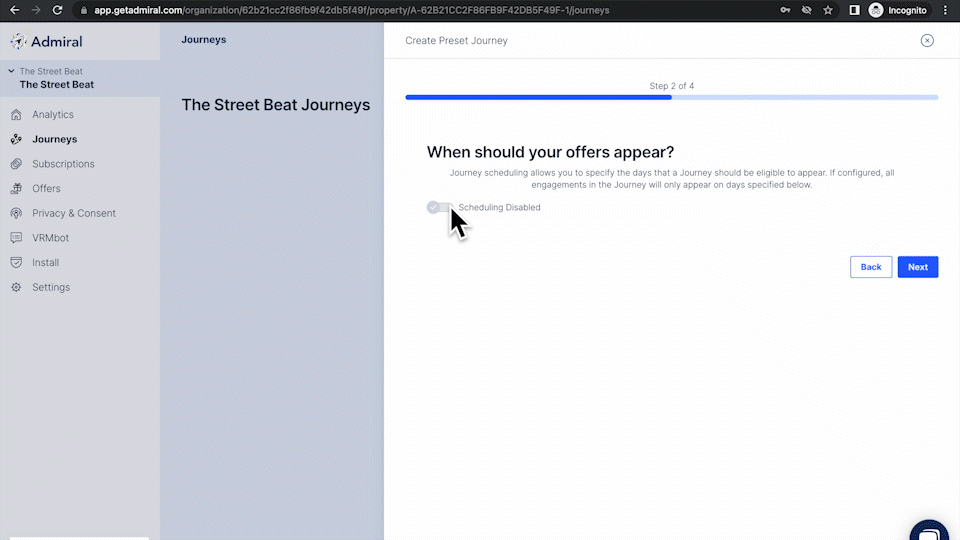
- Next, select the date range or days of the week you would like this offer to appear. Selecting a date range works well for special, time-sensitive promotions. Otherwise, for best results, we suggest leaving this feature disabled.
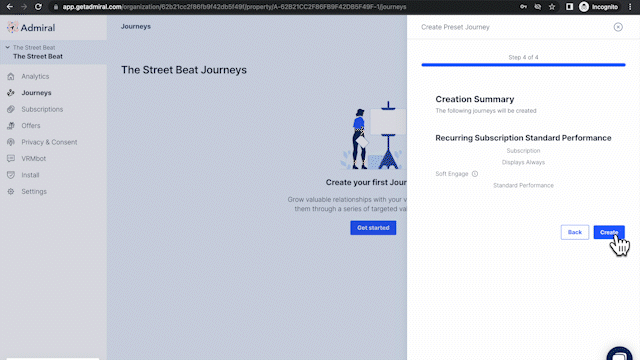
- Select the level of performance. The higher the performance, the higher the frequency at which visitors will see this offer. (You are still able to edit the parameters after you create the Journey.)

- Click "Create" and you'll then see your new Journey.
- Click on your Journey to begin editing the parameters and the design of the offer message. For more information on creating an offer message (or an "Engage," as we call it), click here.