How to Start Offering Subscriptions
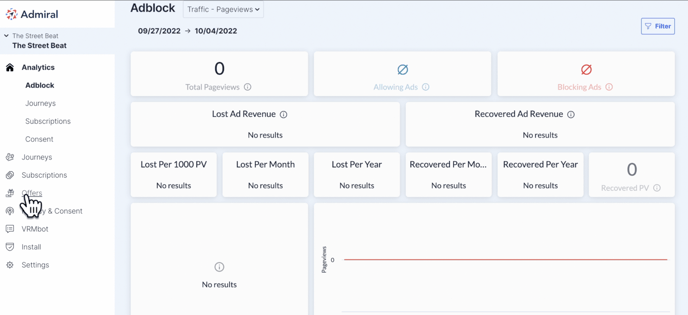
Click on Offers.
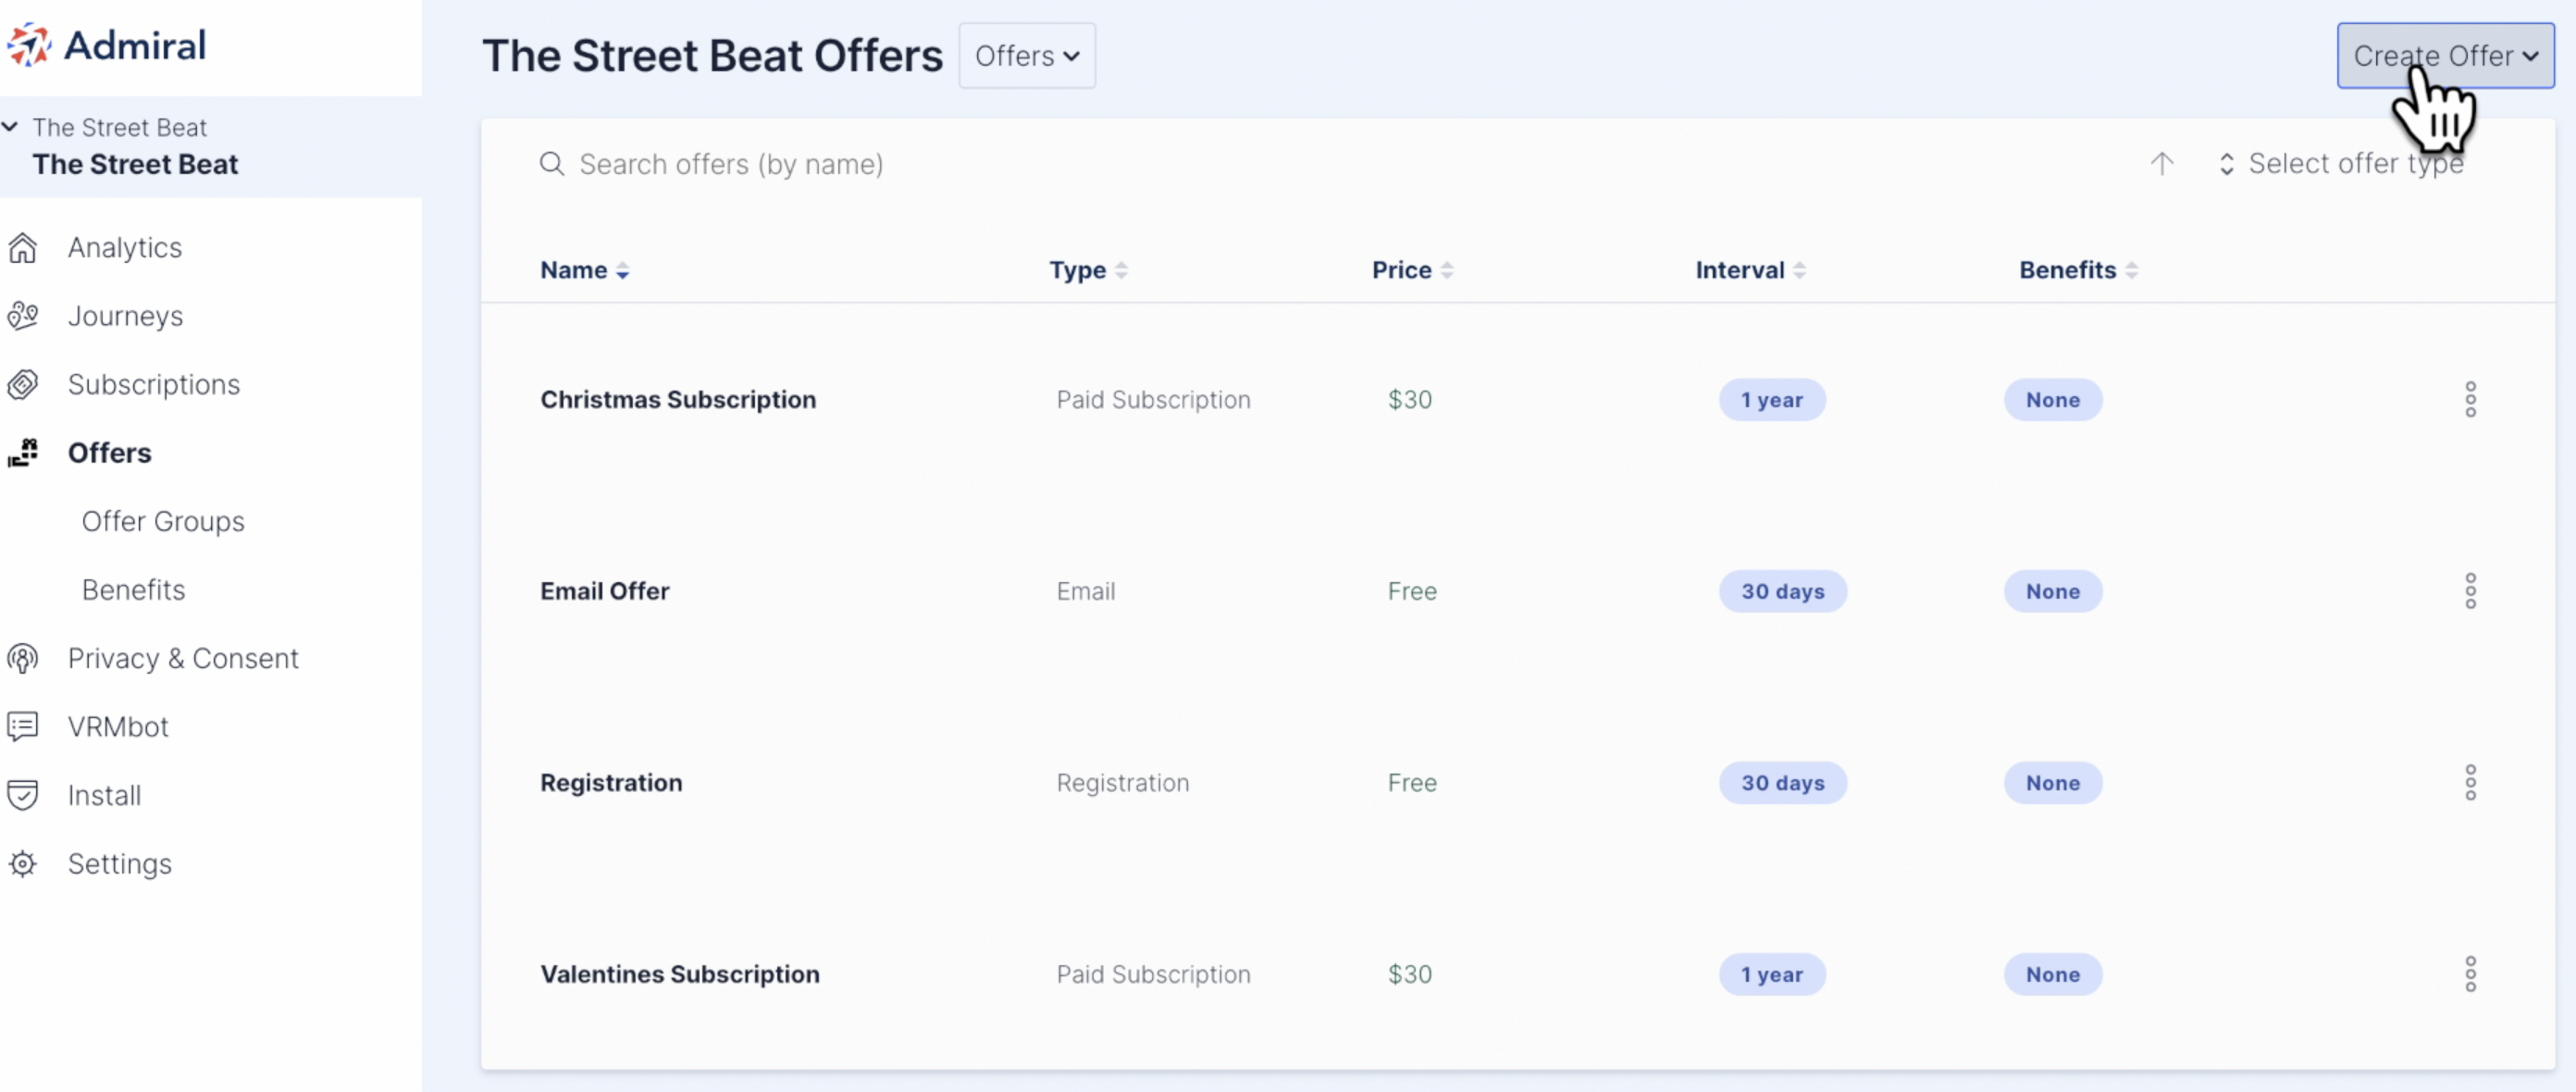
Click "Create Offer."
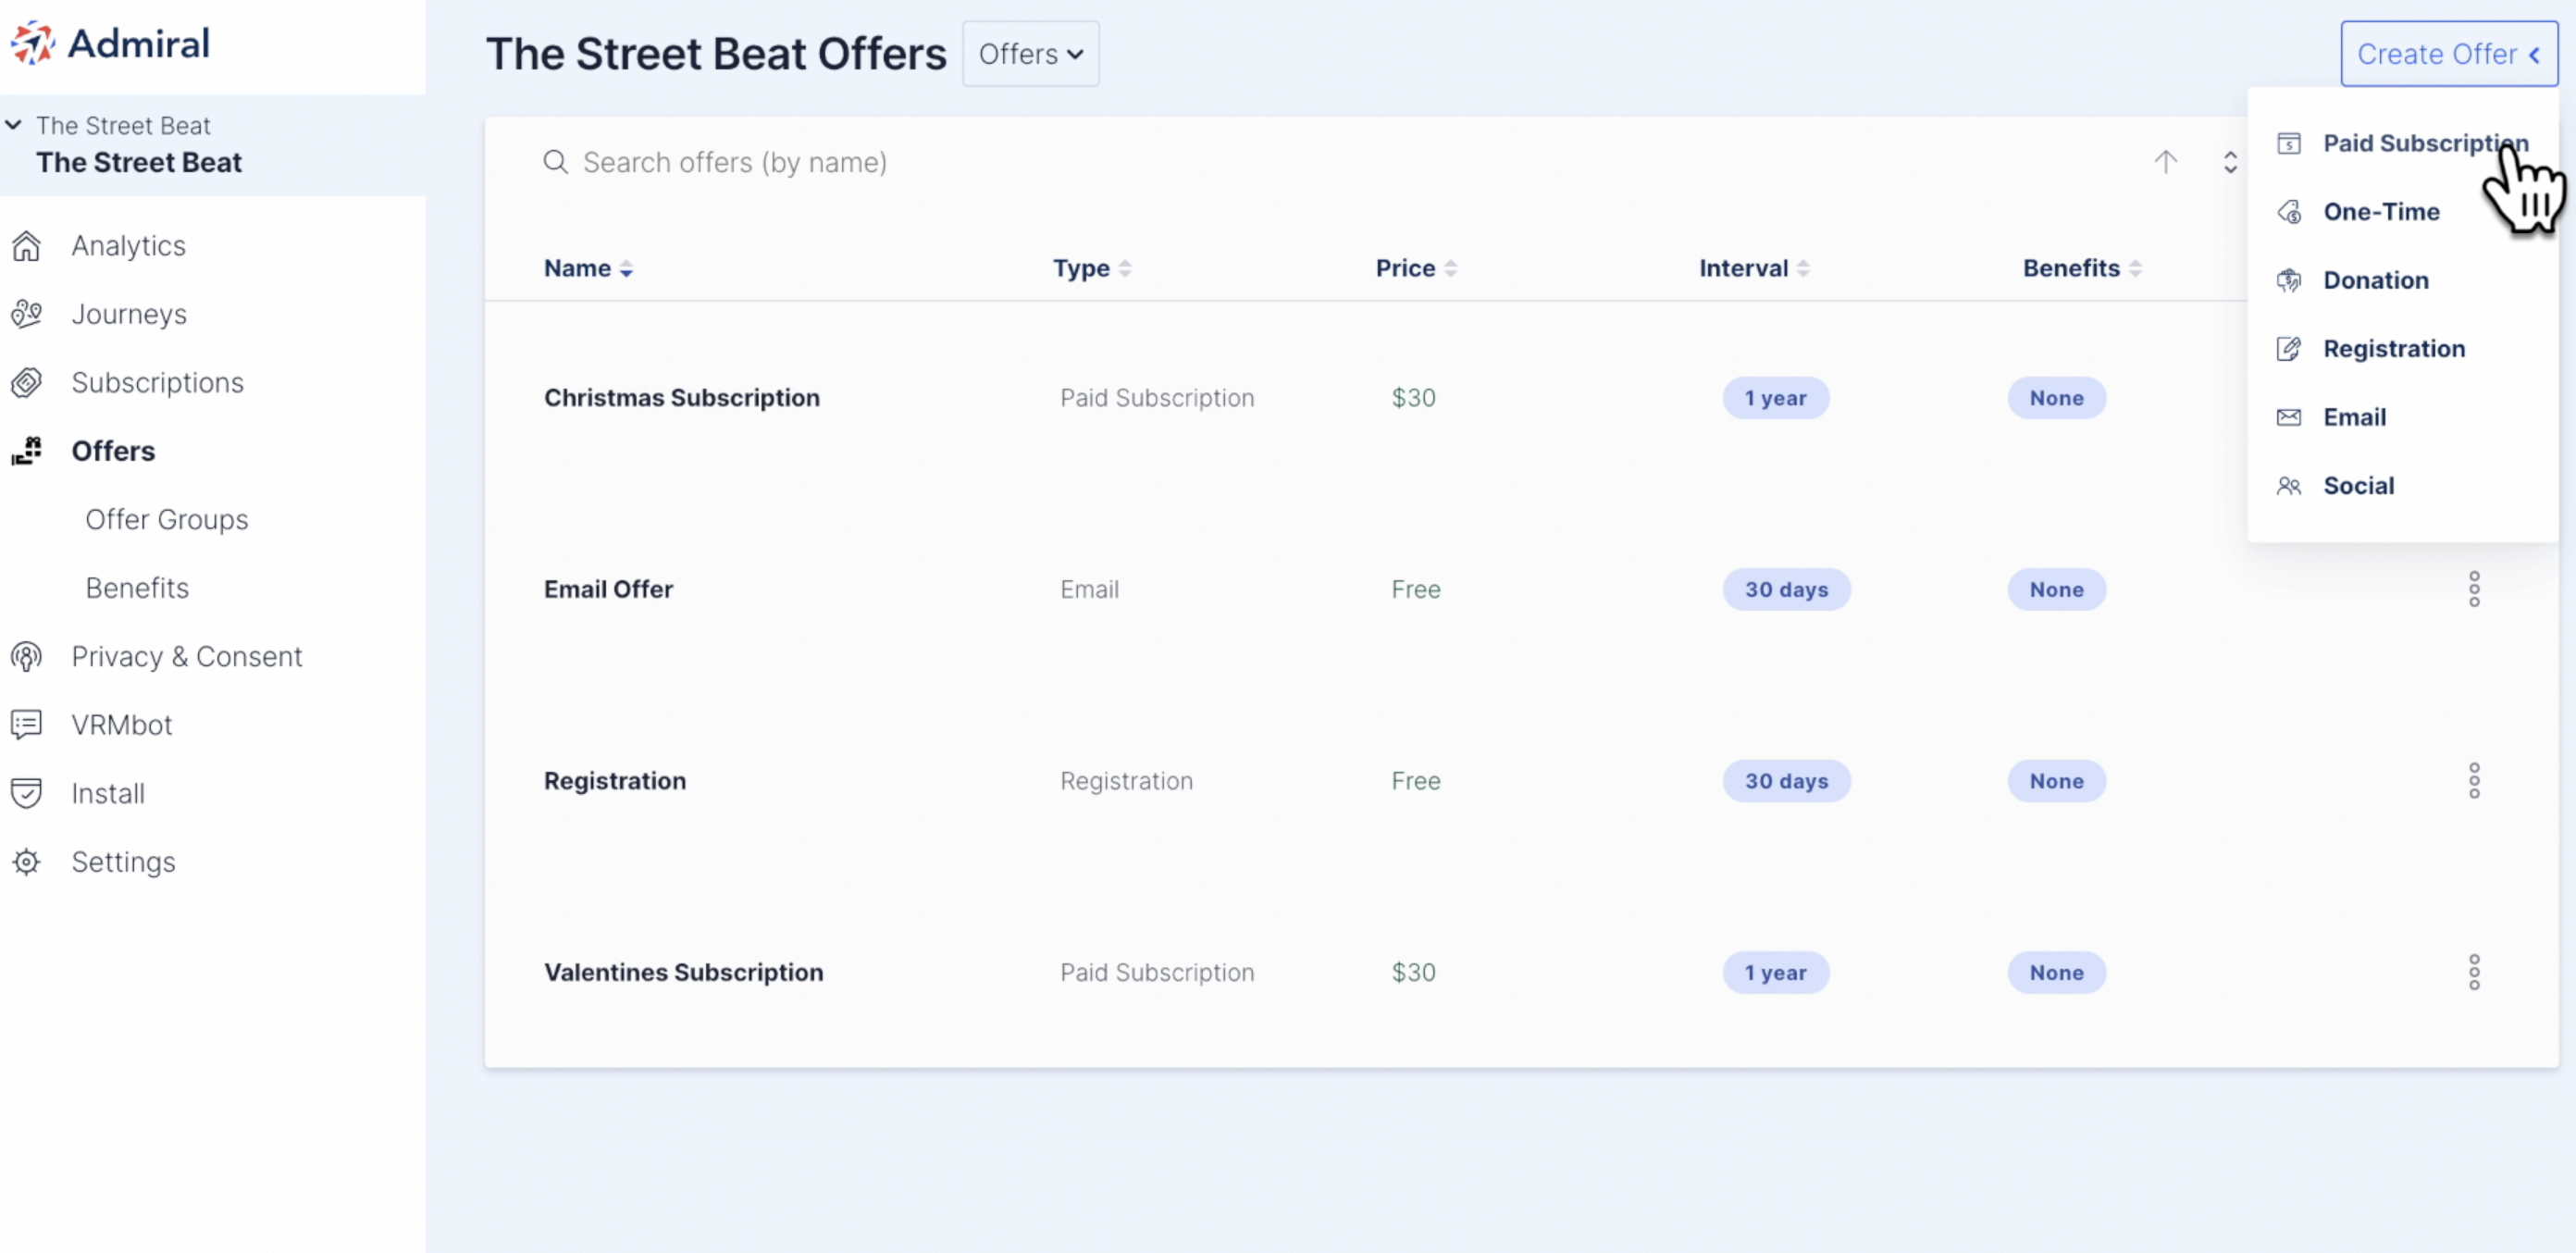
Click "Paid Subscription" from the list of offer types.
Enter the Offer Name and Description. You can also add an Offer Name Note and Description Note for internal use only.
Next, enter the (recurring) Price and Billing Period. If you are creating a monthly subscription, your billing period should be set at 1 Month.
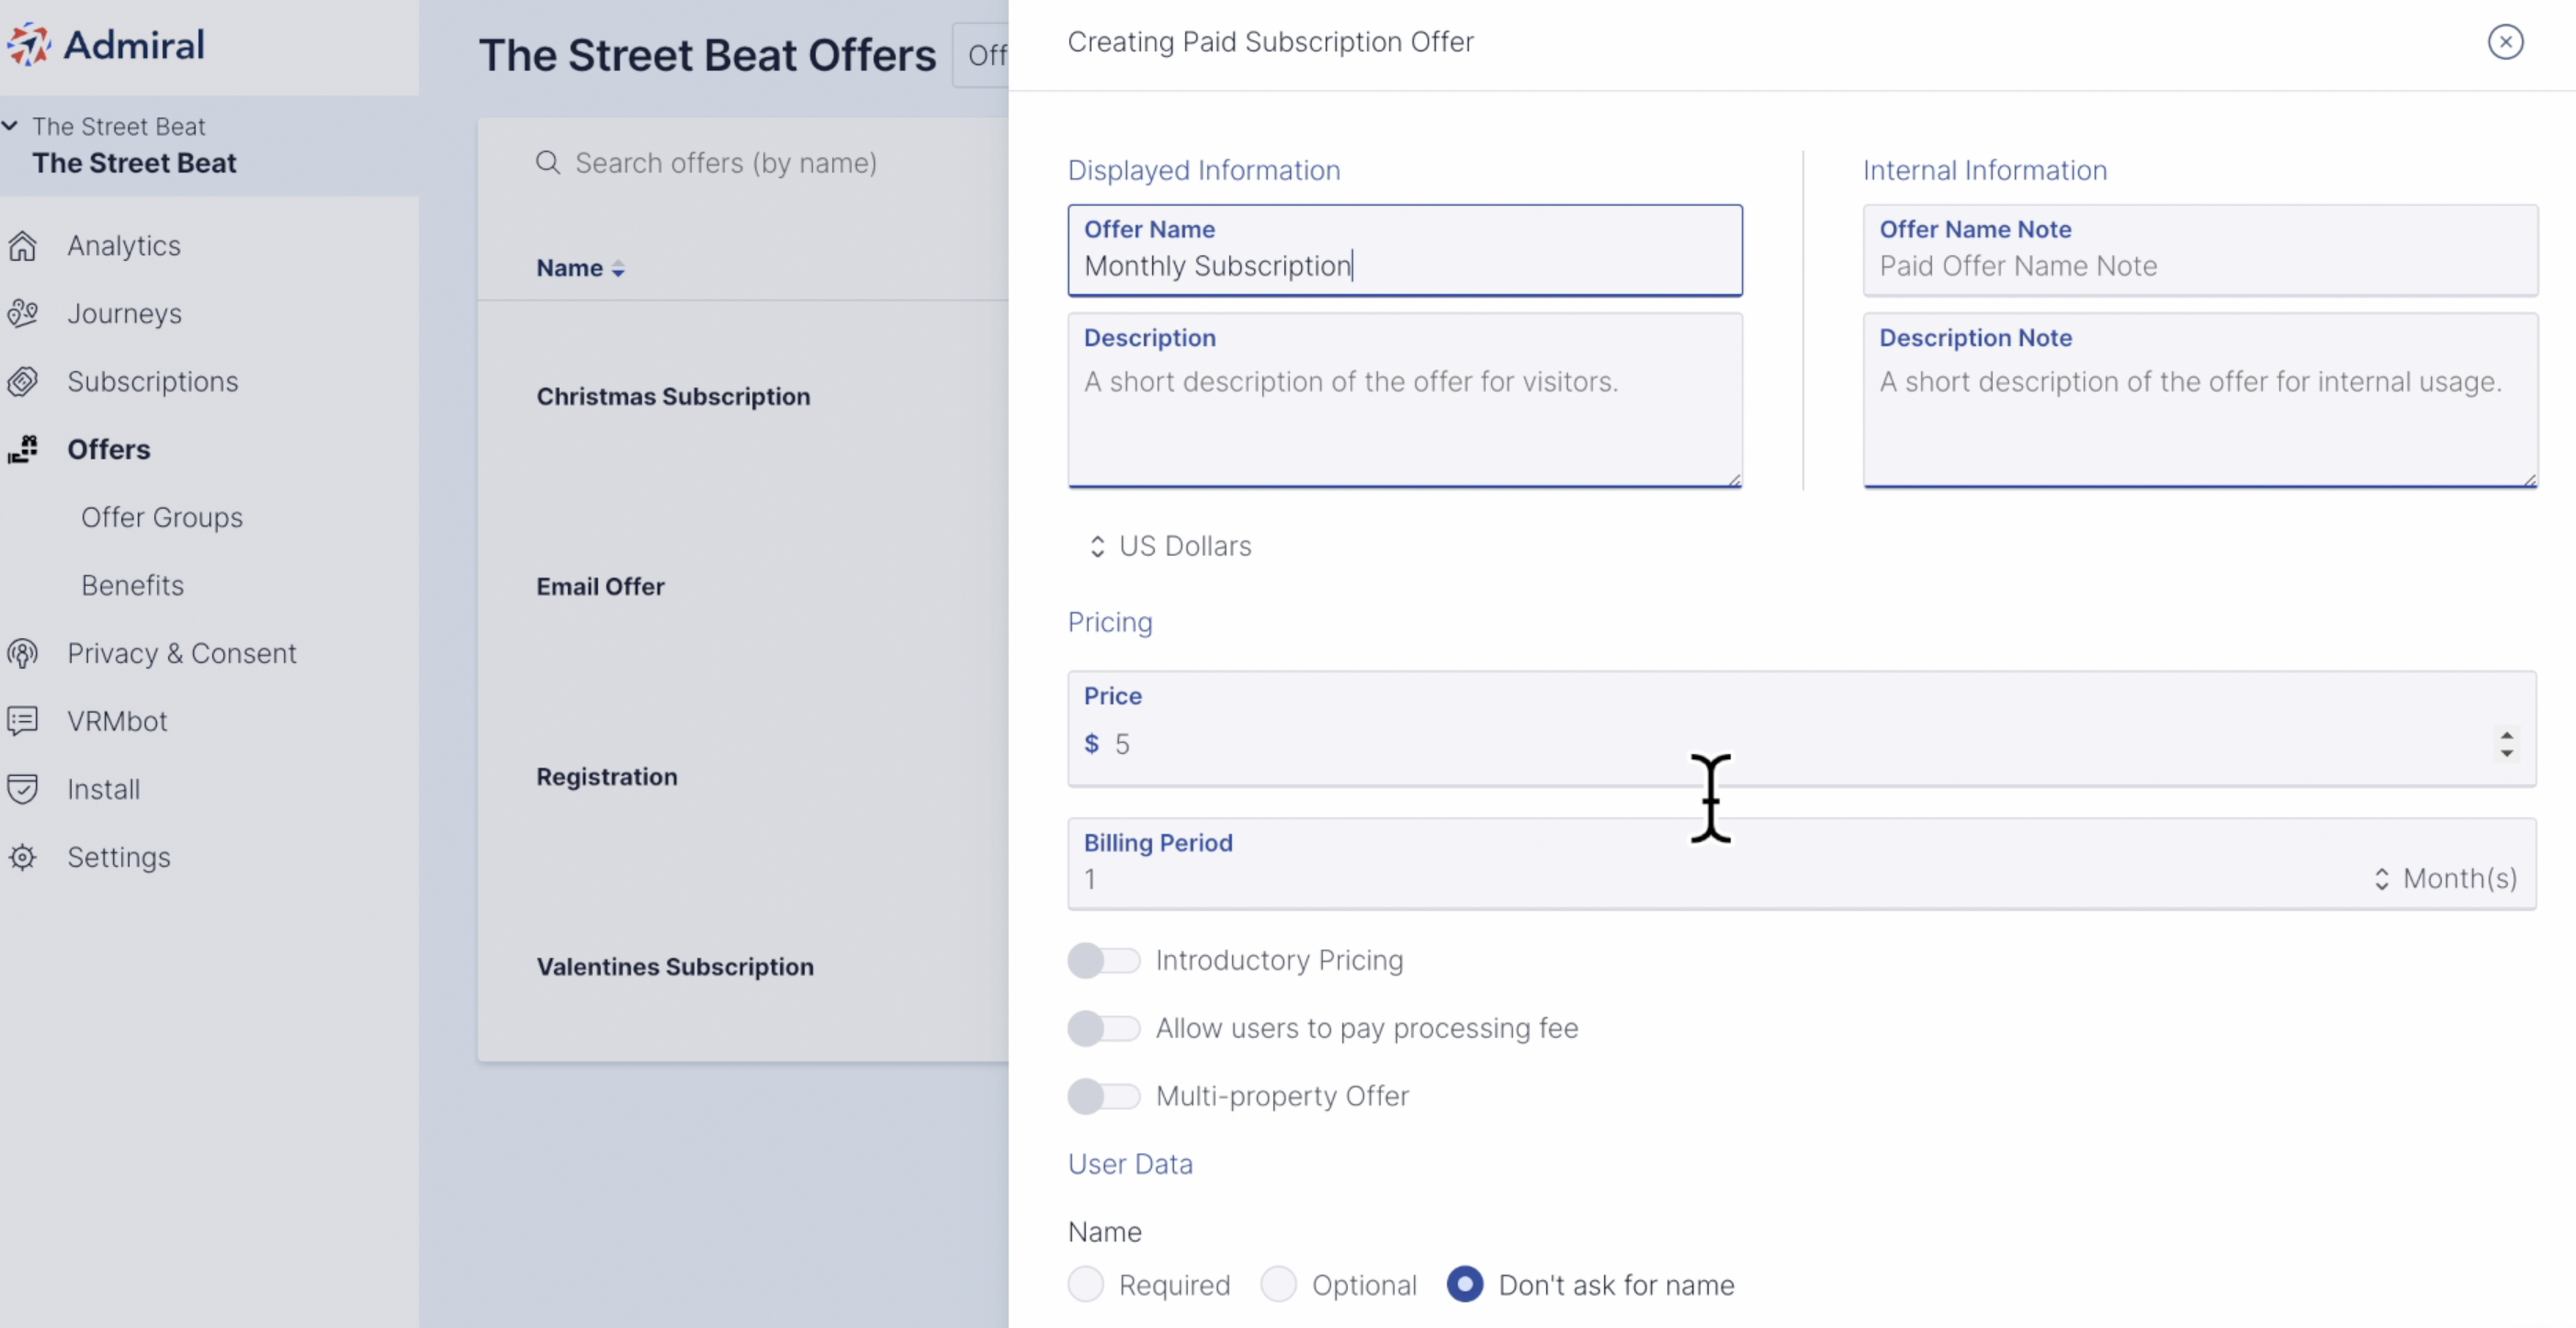
You have the option to enable the following: Introductory Pricing, Allow users to pay processing fee, and Multi-property Offer. A Multi-property offer allows you to extend this offer across more than one property.
You also have the option to require subscribers to enter their name, address, phone, company name.
Click "Create Offer" once you are done.
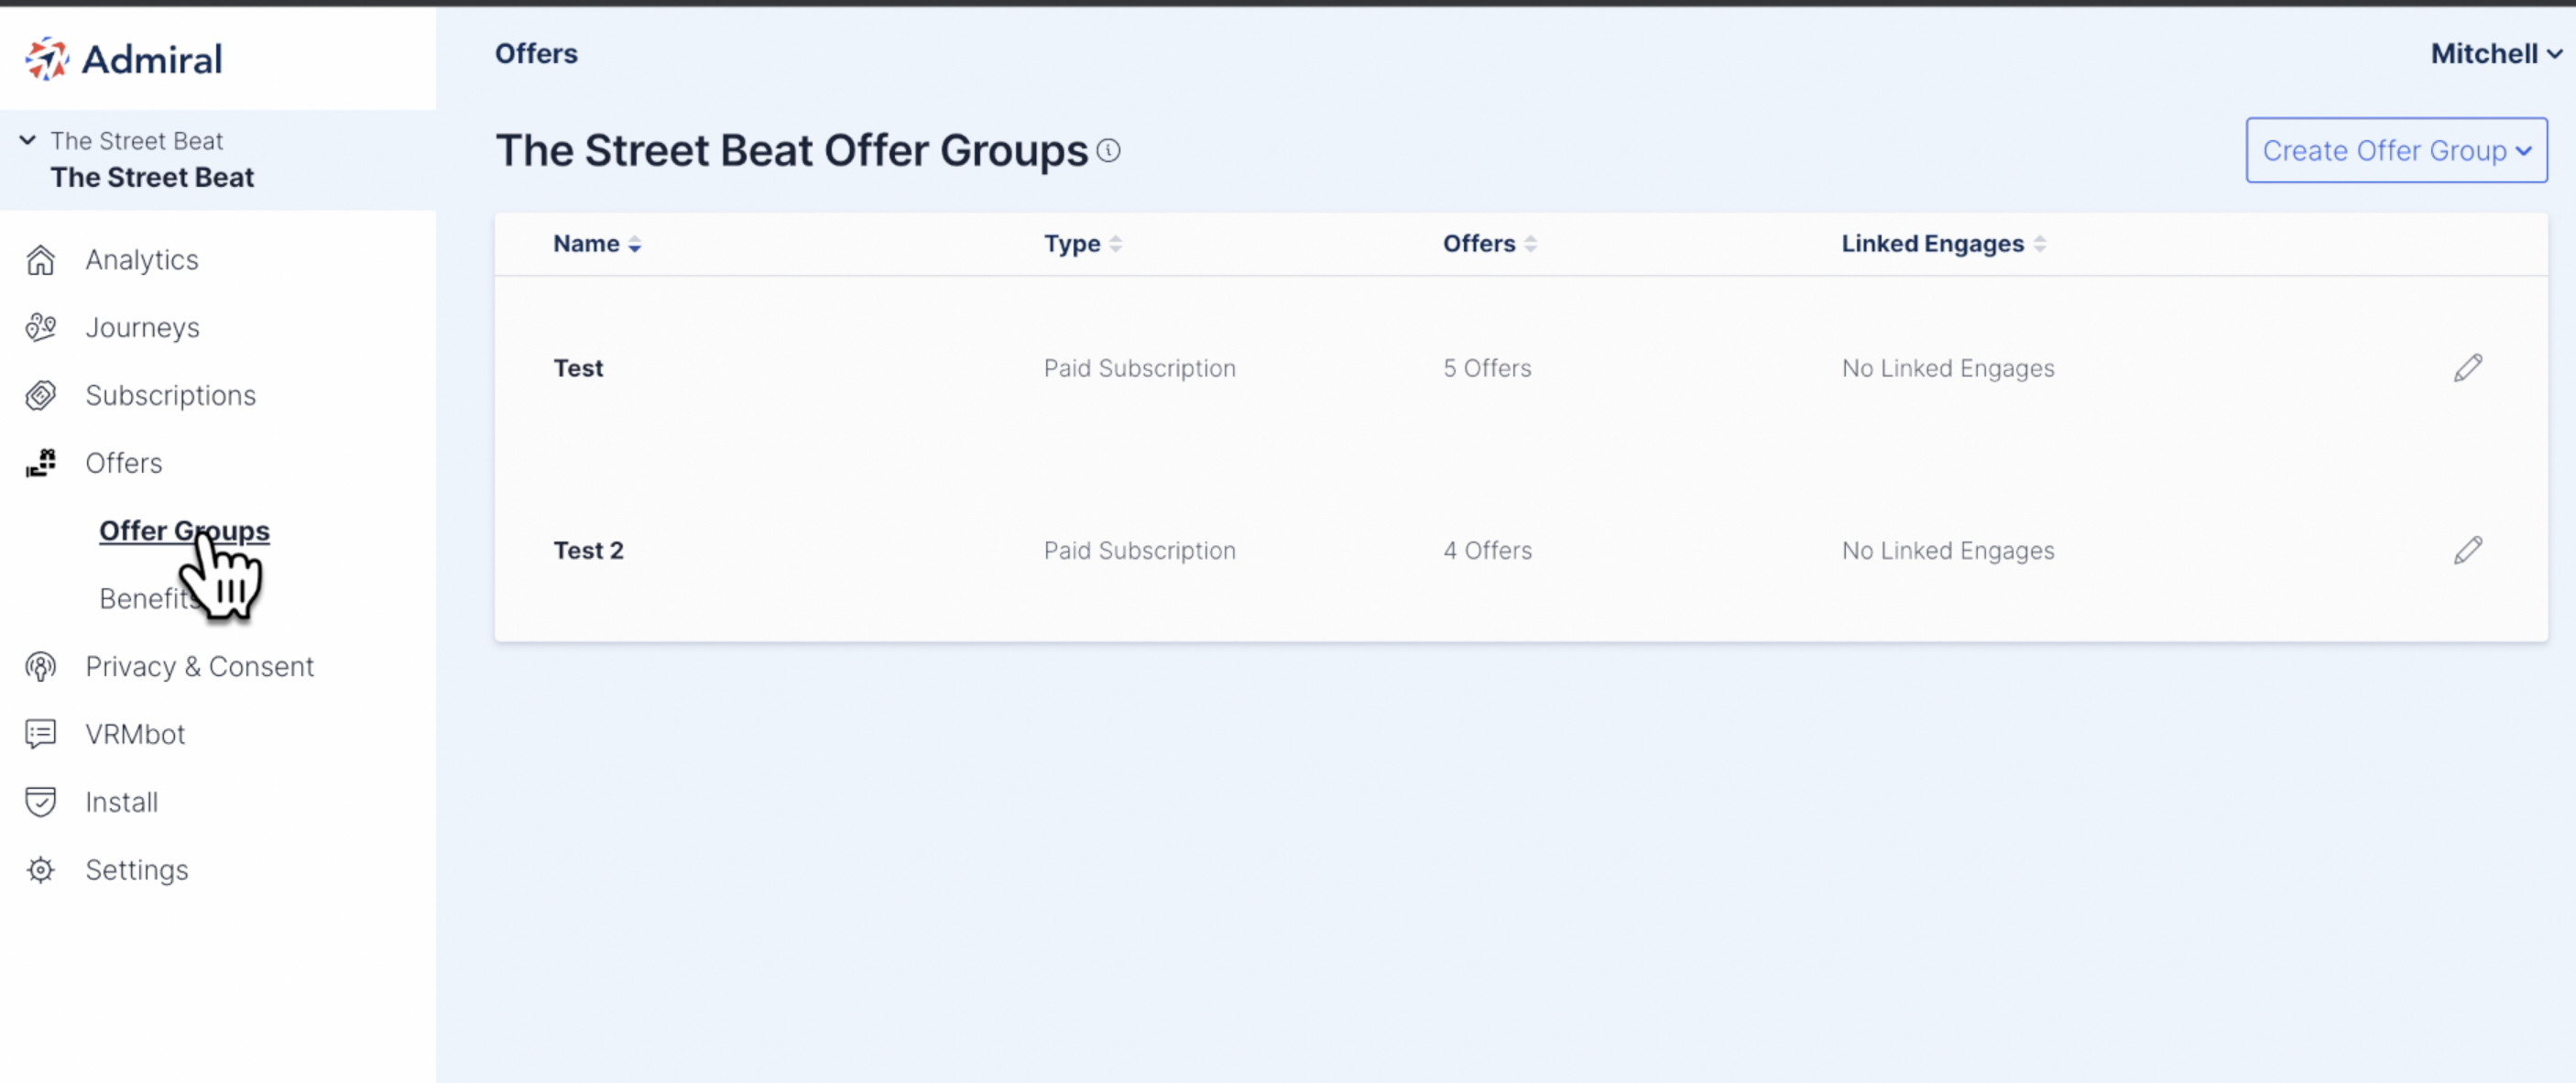
If you create multiple offers, such as a Monthly and an Annual Subscription, you can group them by clicking on "Offer Groups."
Tip: Grouping offers will allow you to offer multiple offers at the same time, via one subscription message.
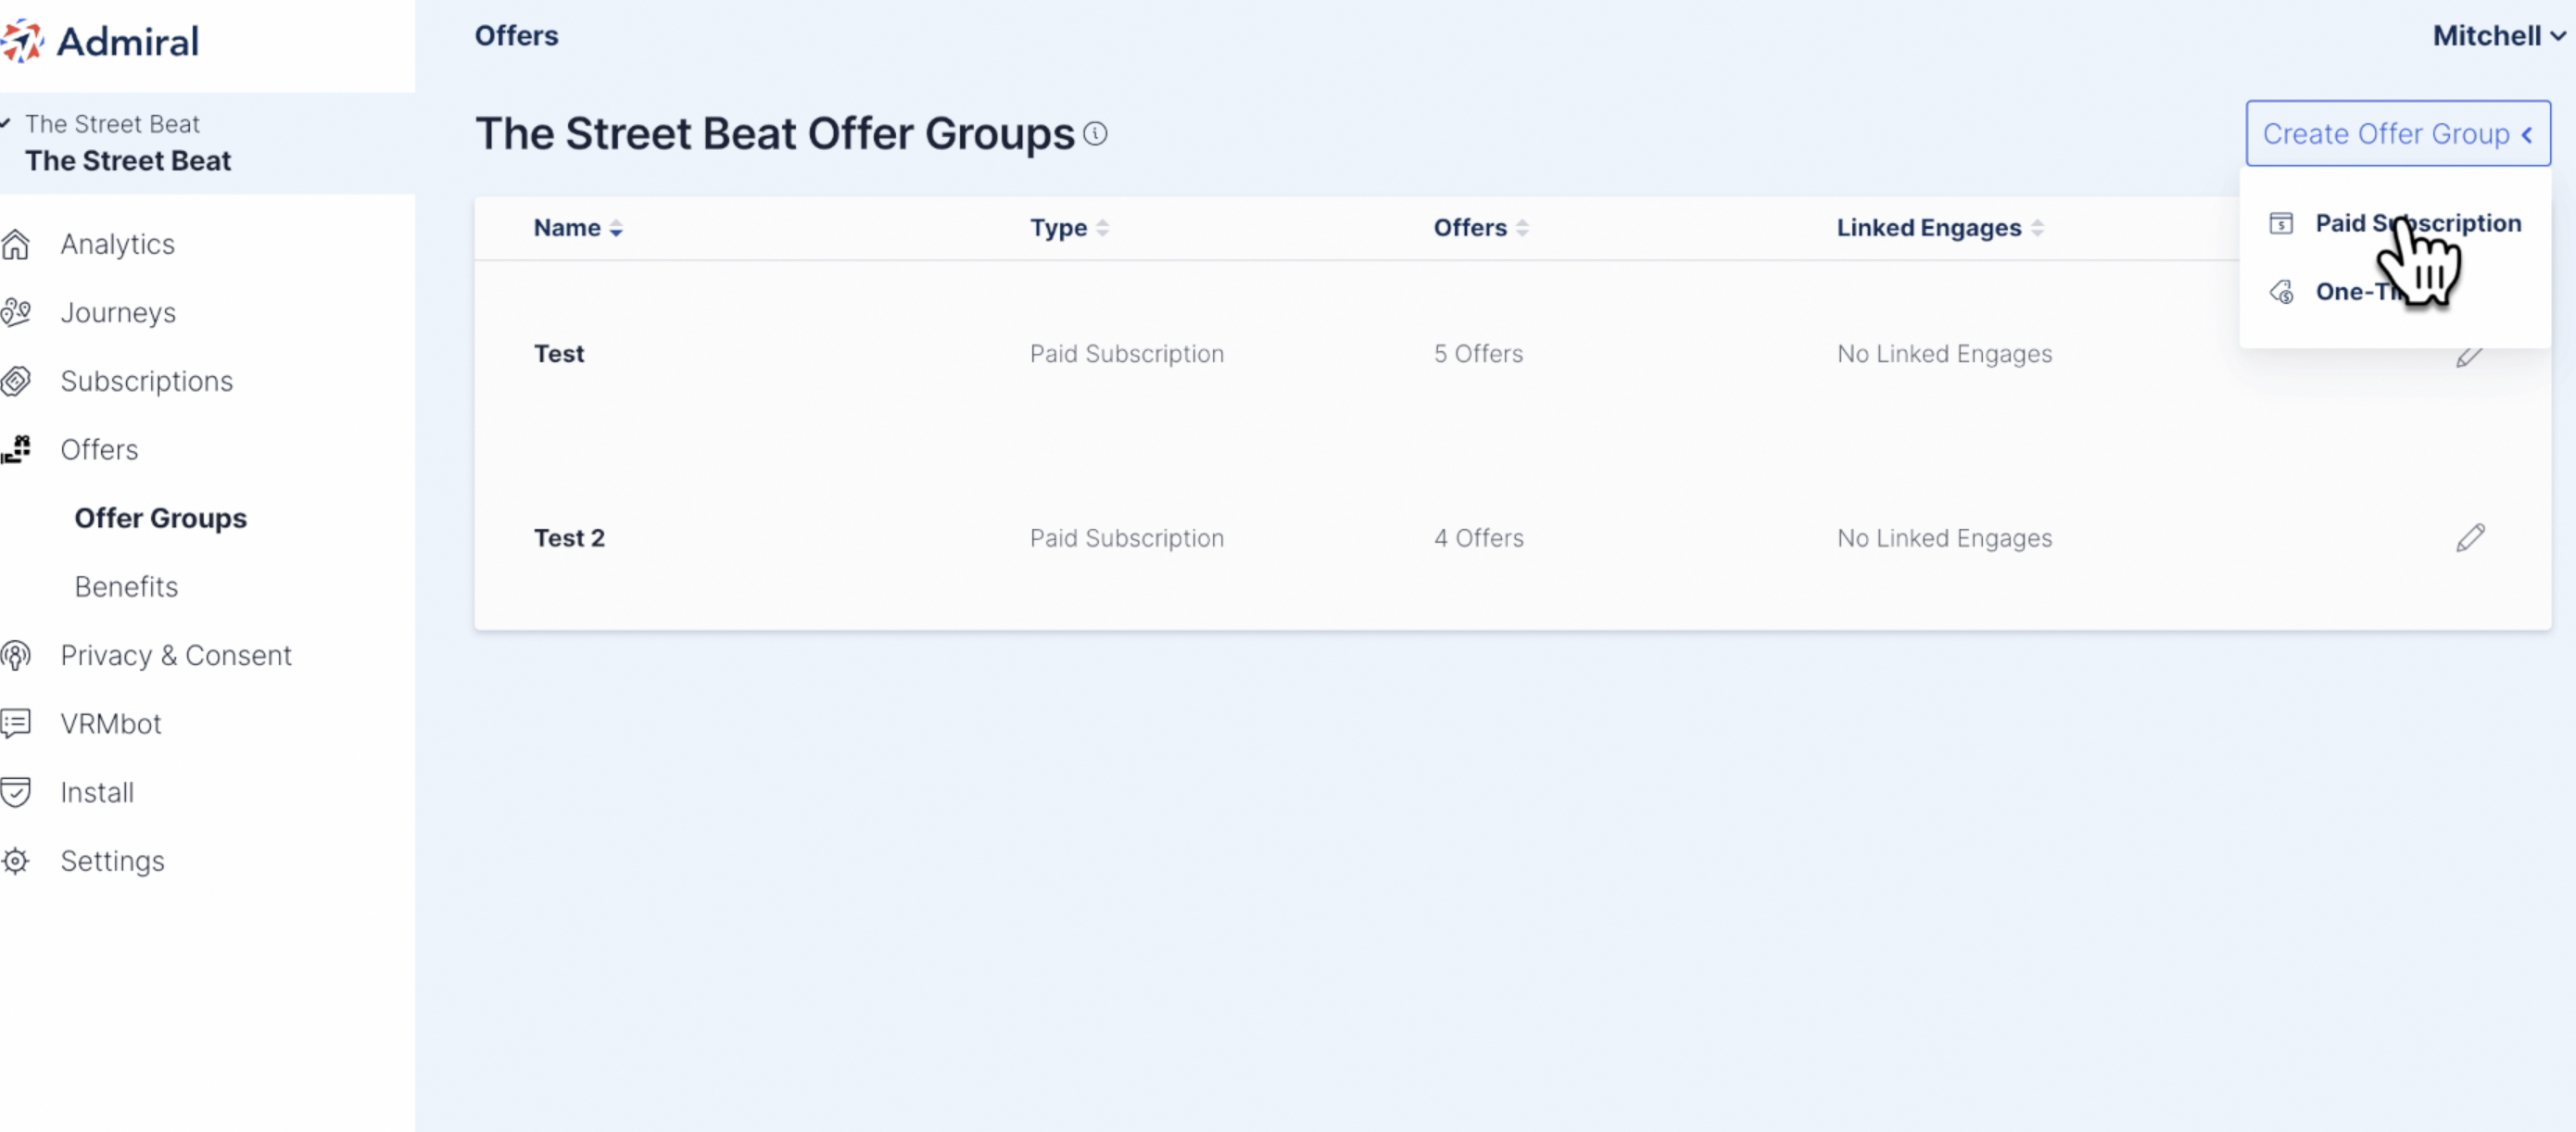
Click "Paid Subscription."
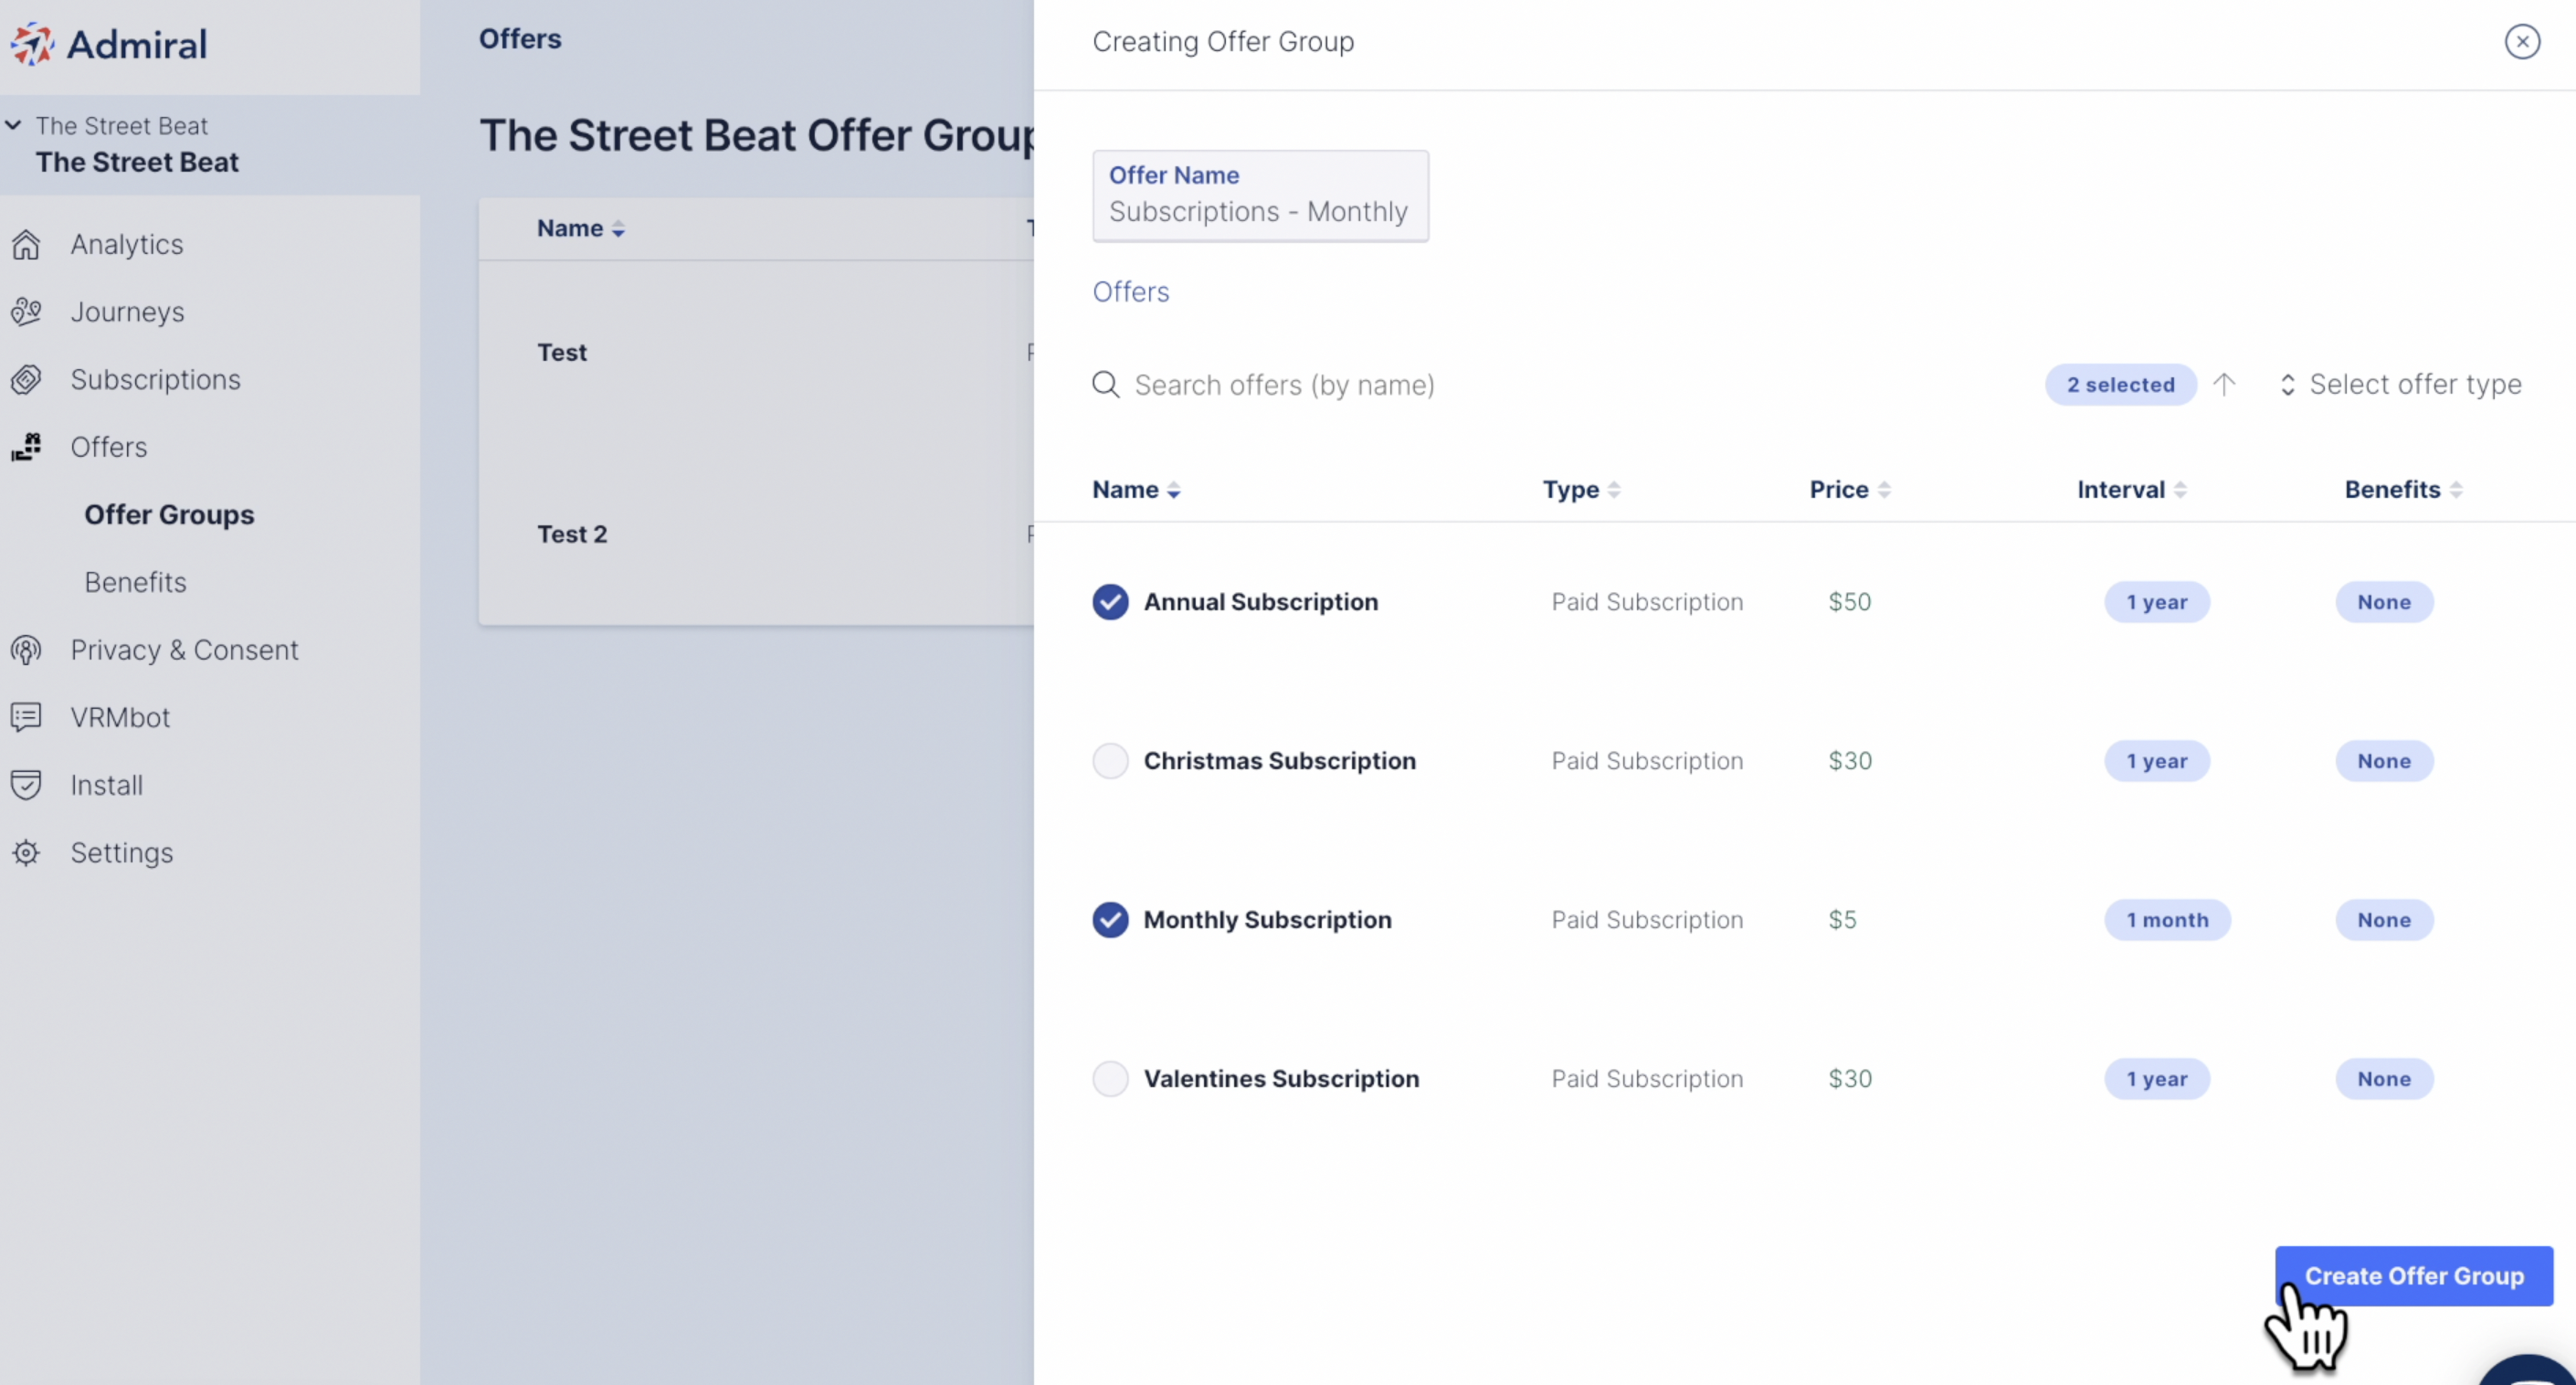
Select the offers you would like to include in your Offer Group. Remember, these are the offers you want your visitors to select from. Click "Create Offer Group."
Next, click on Journeys.
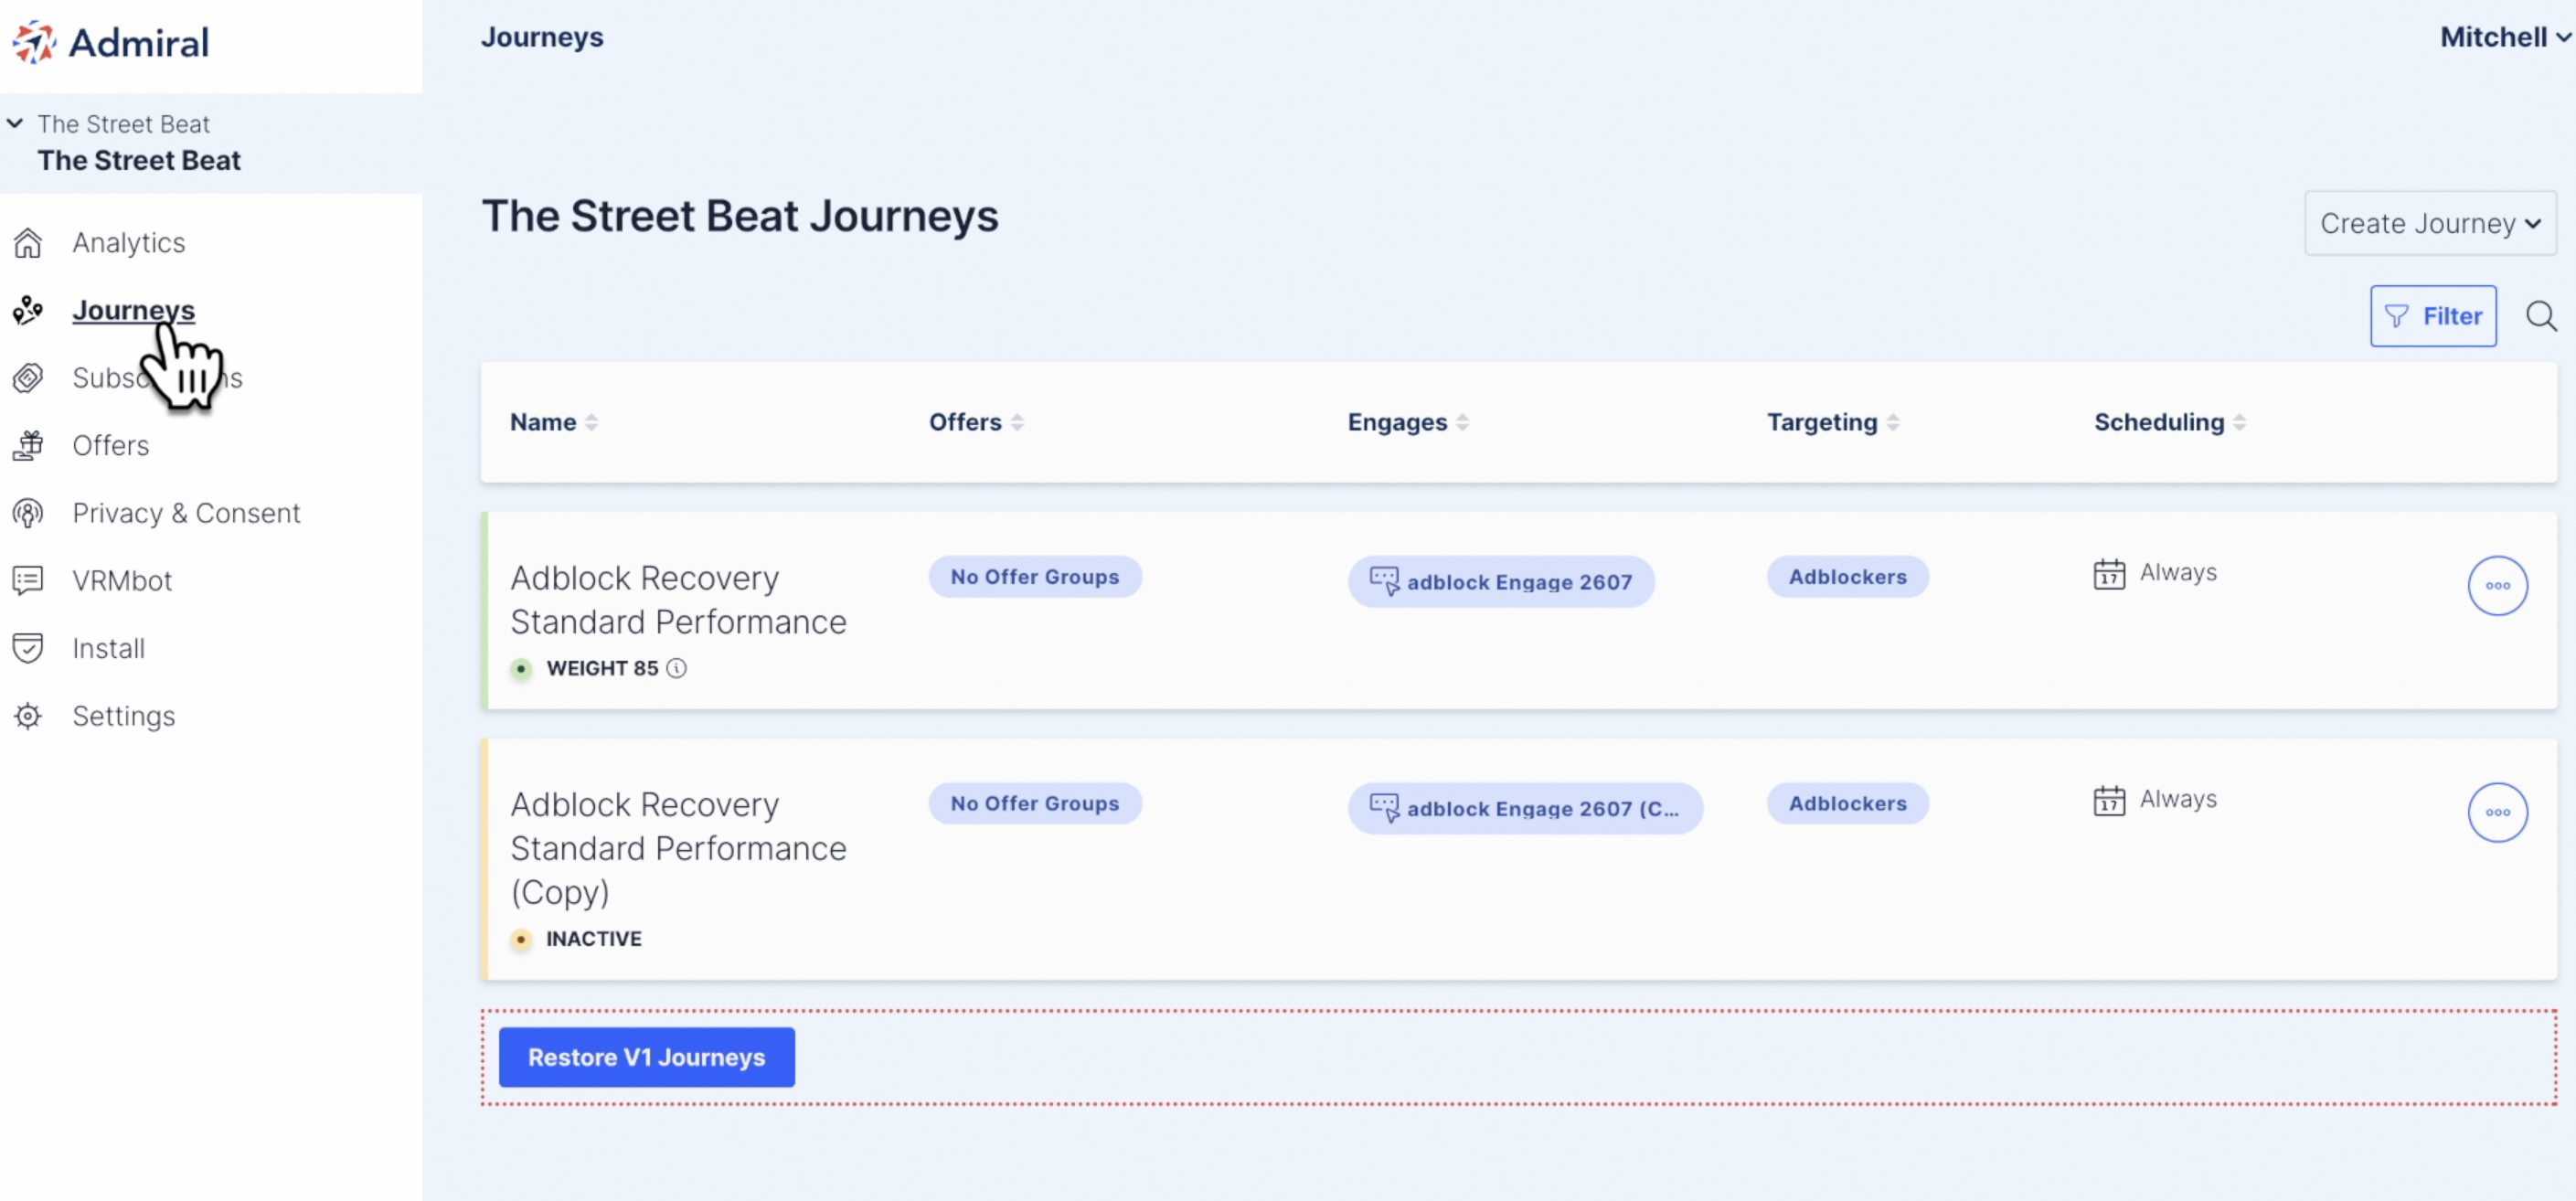
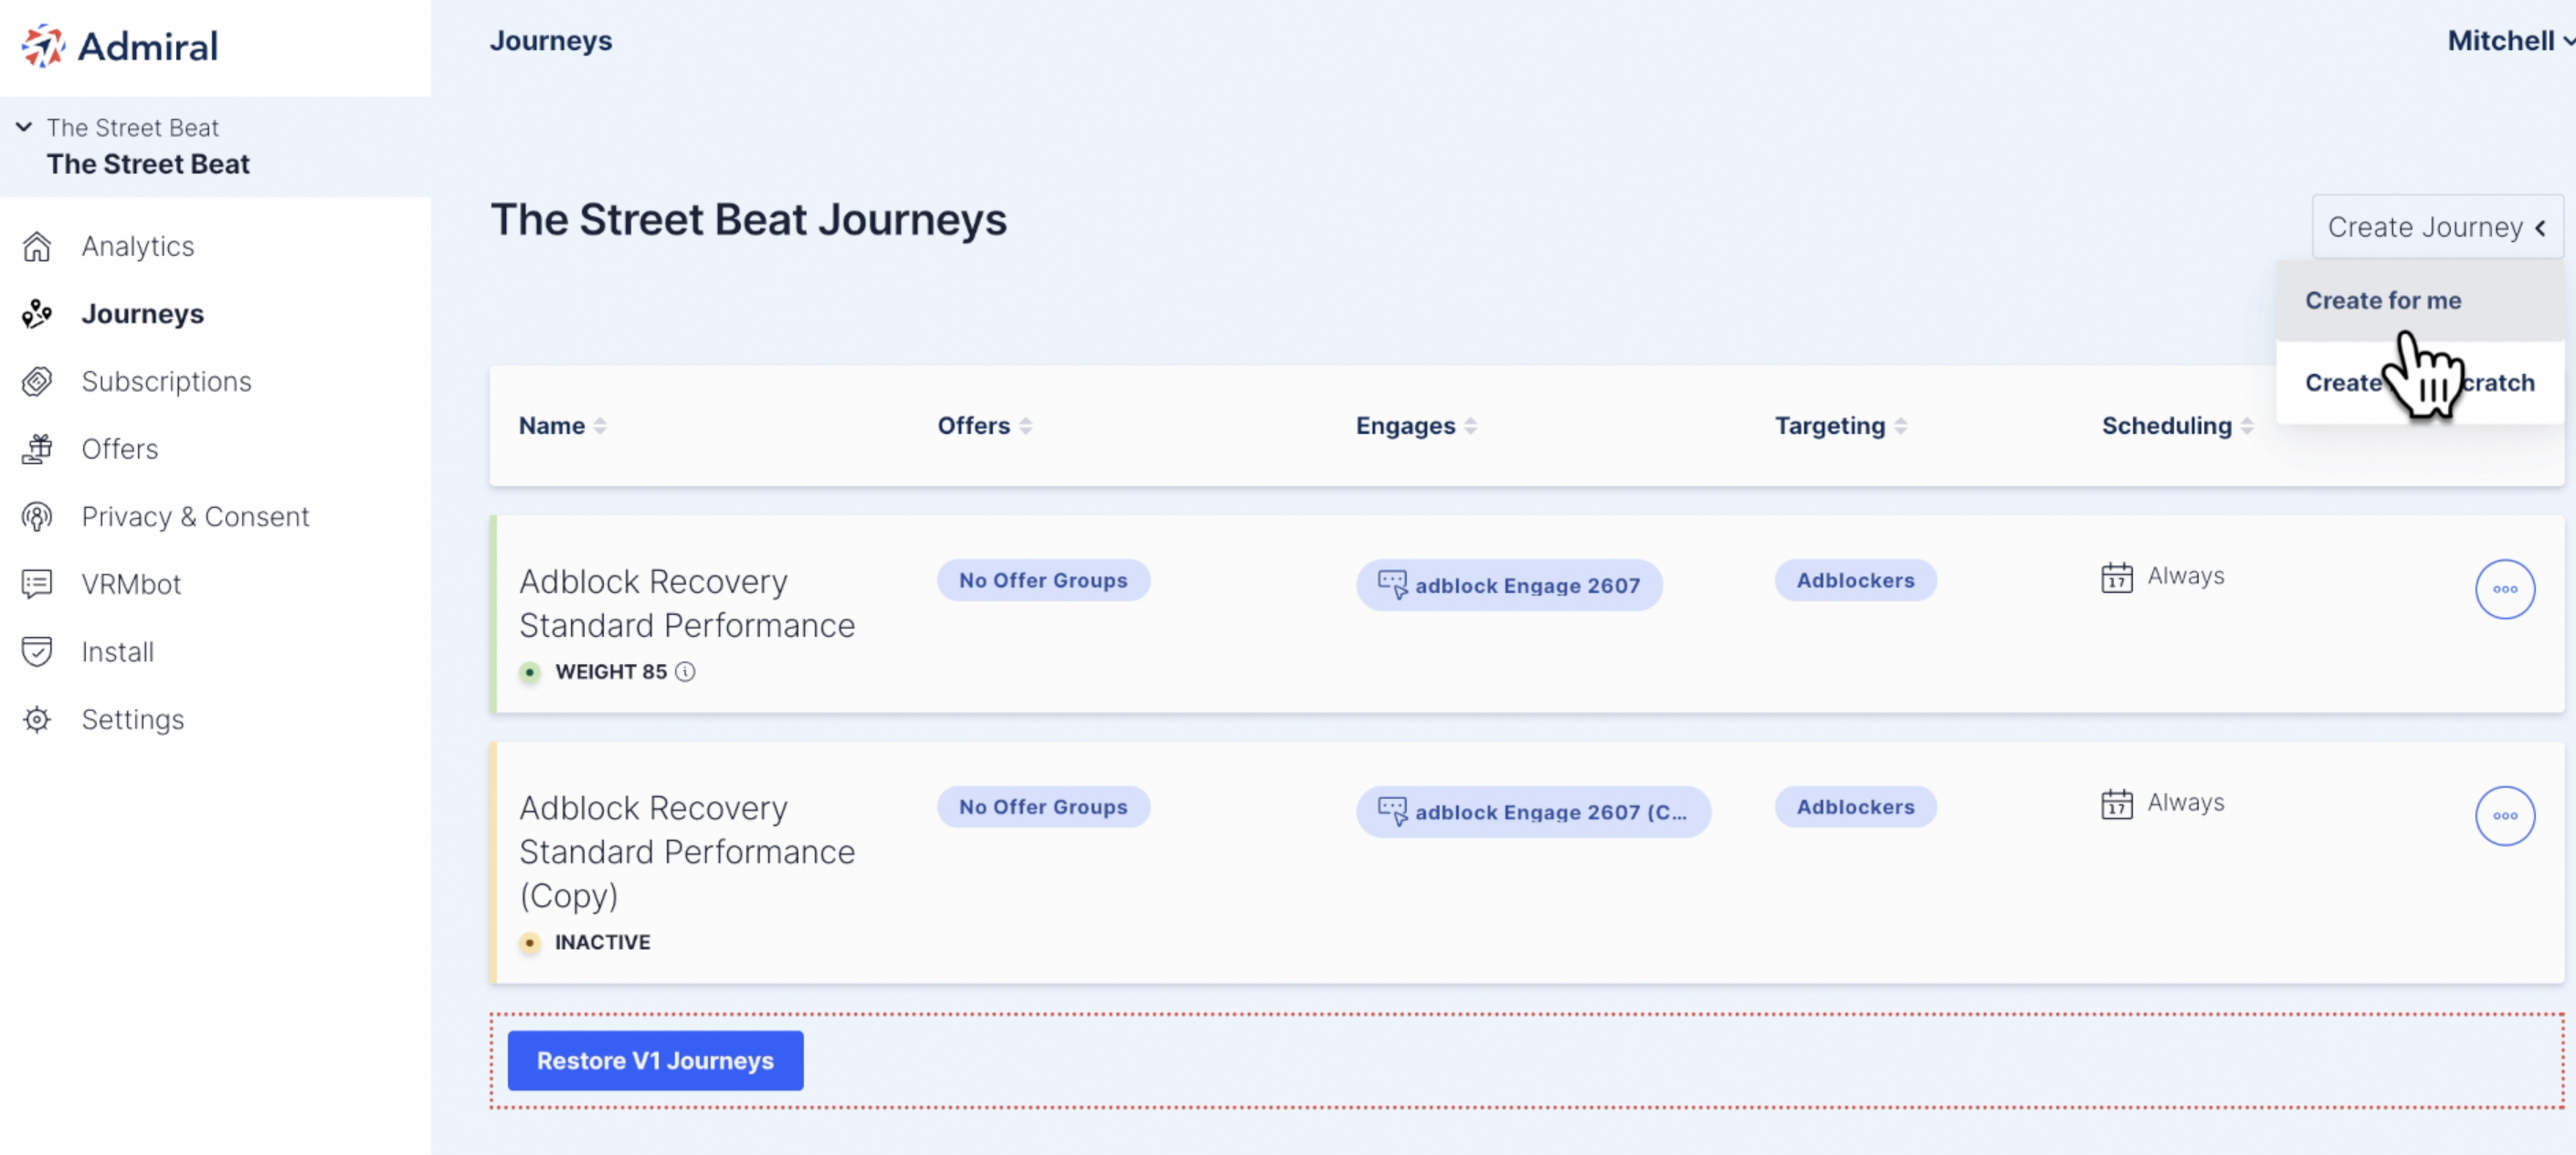
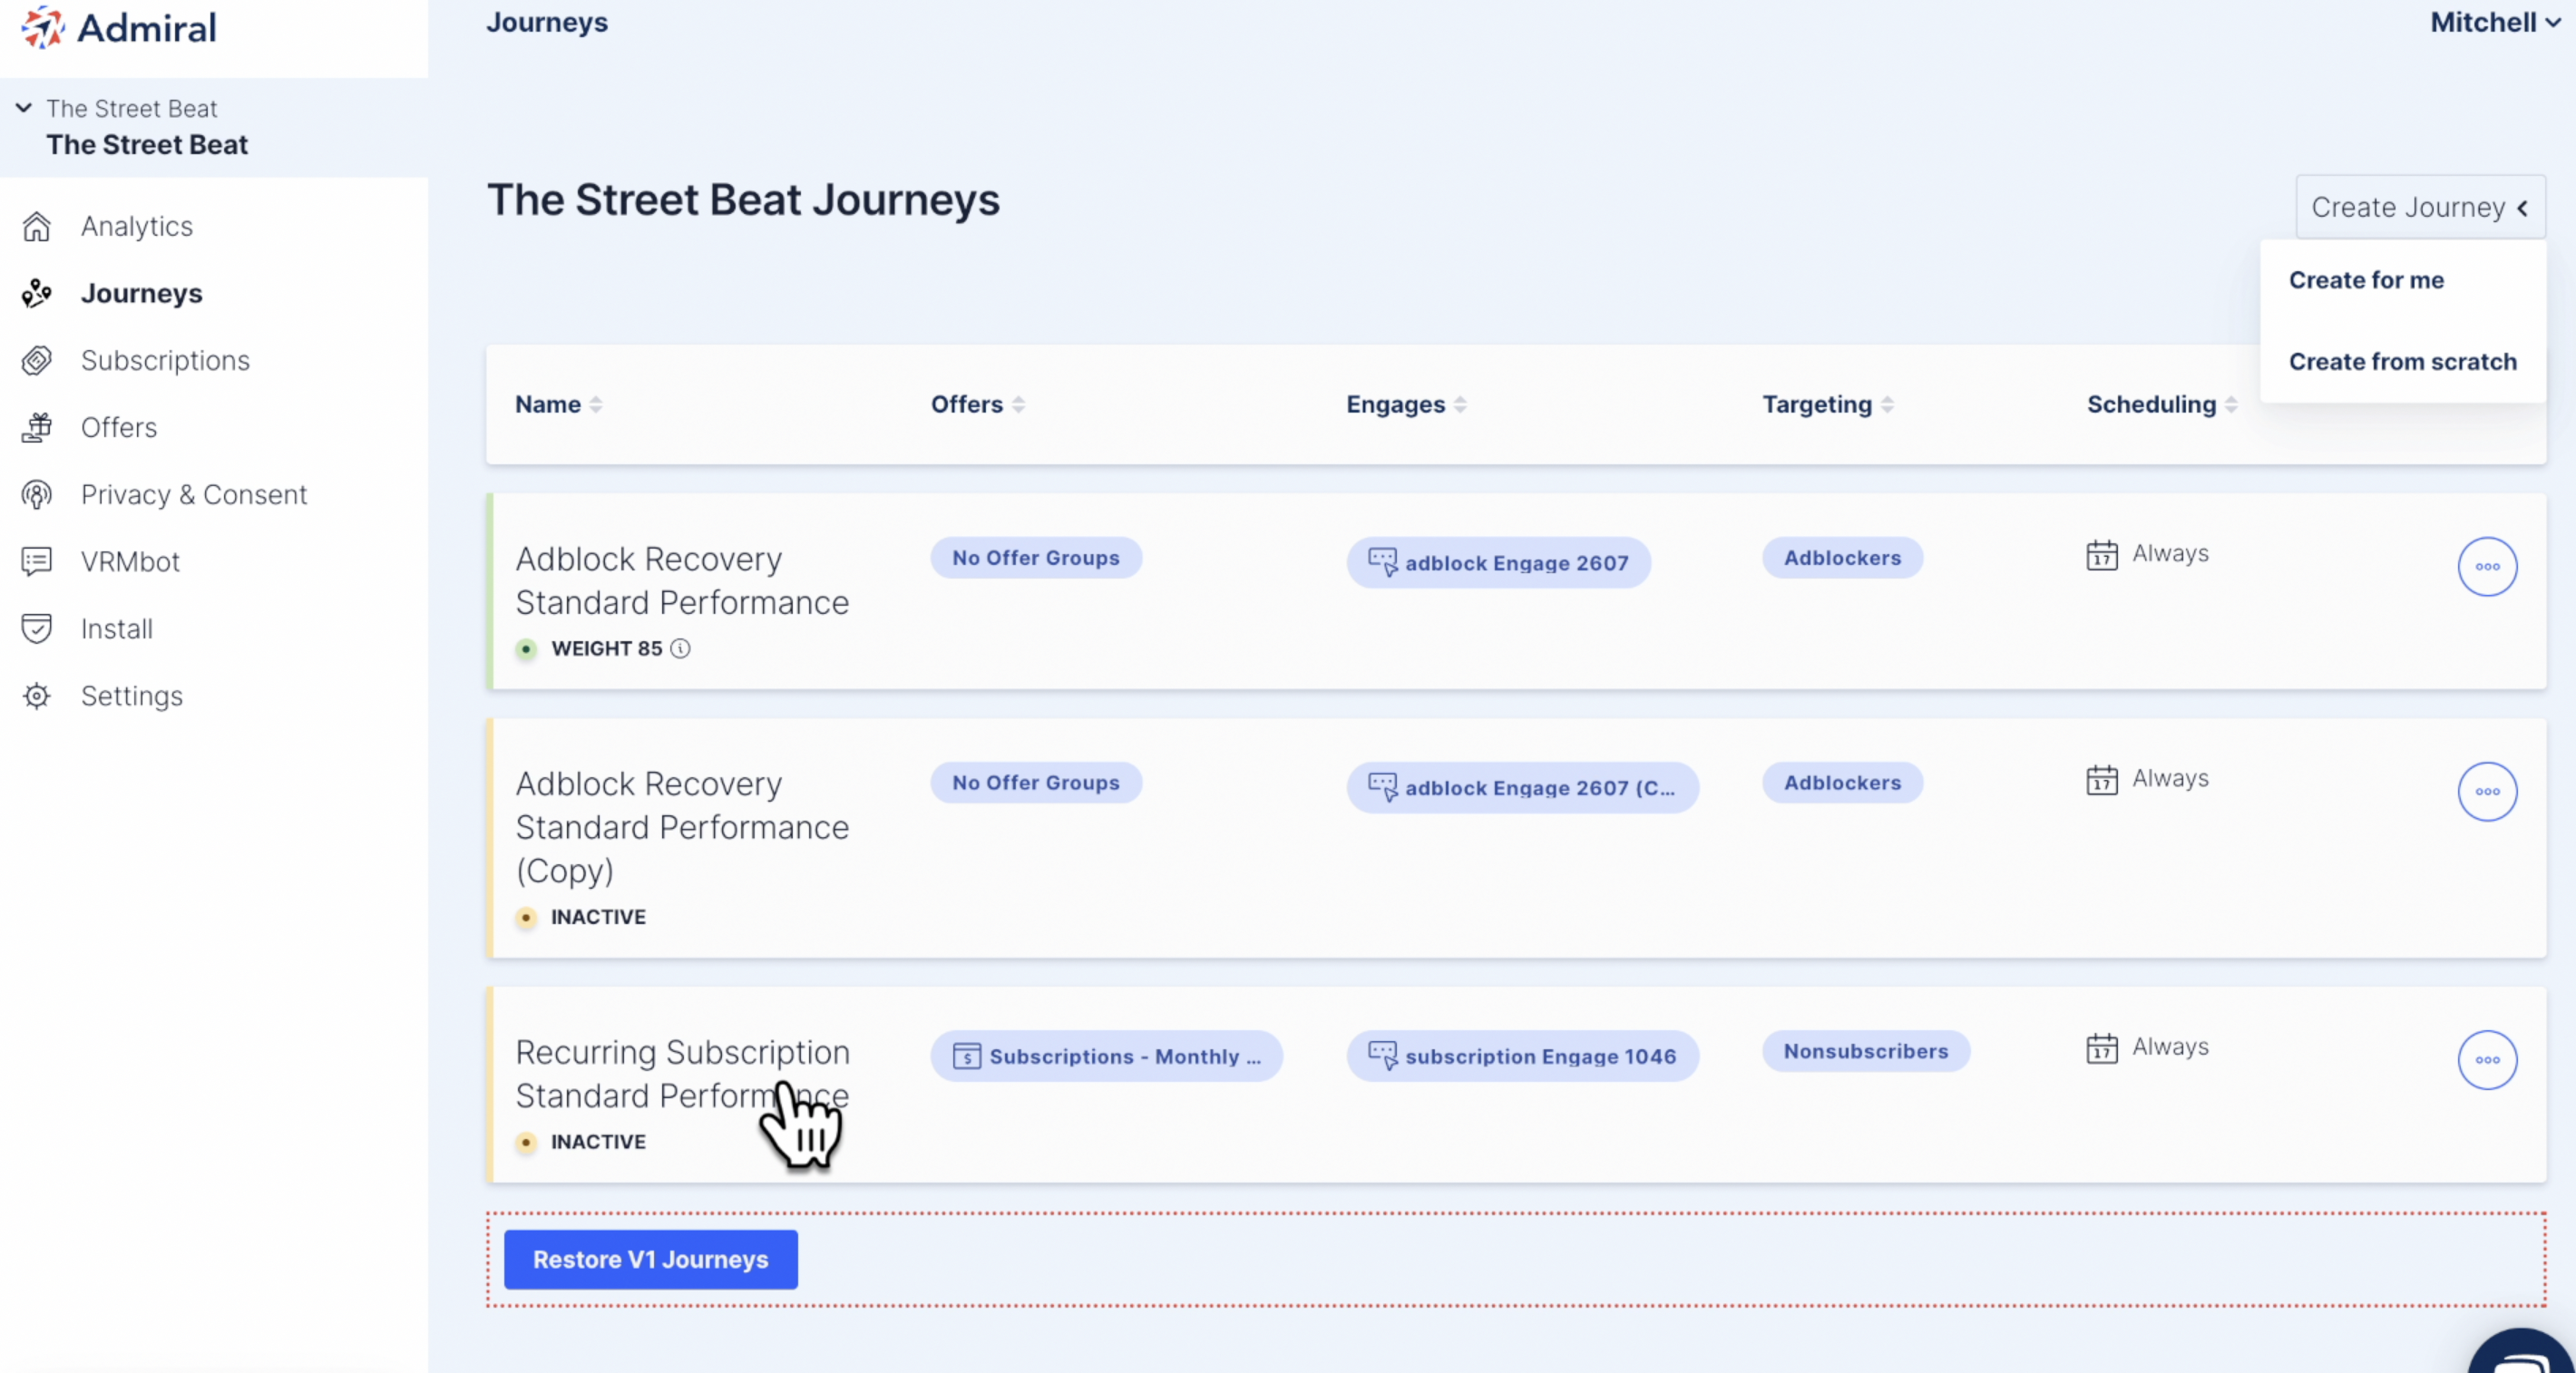
Click on "Create Journey" and select "Create for me."
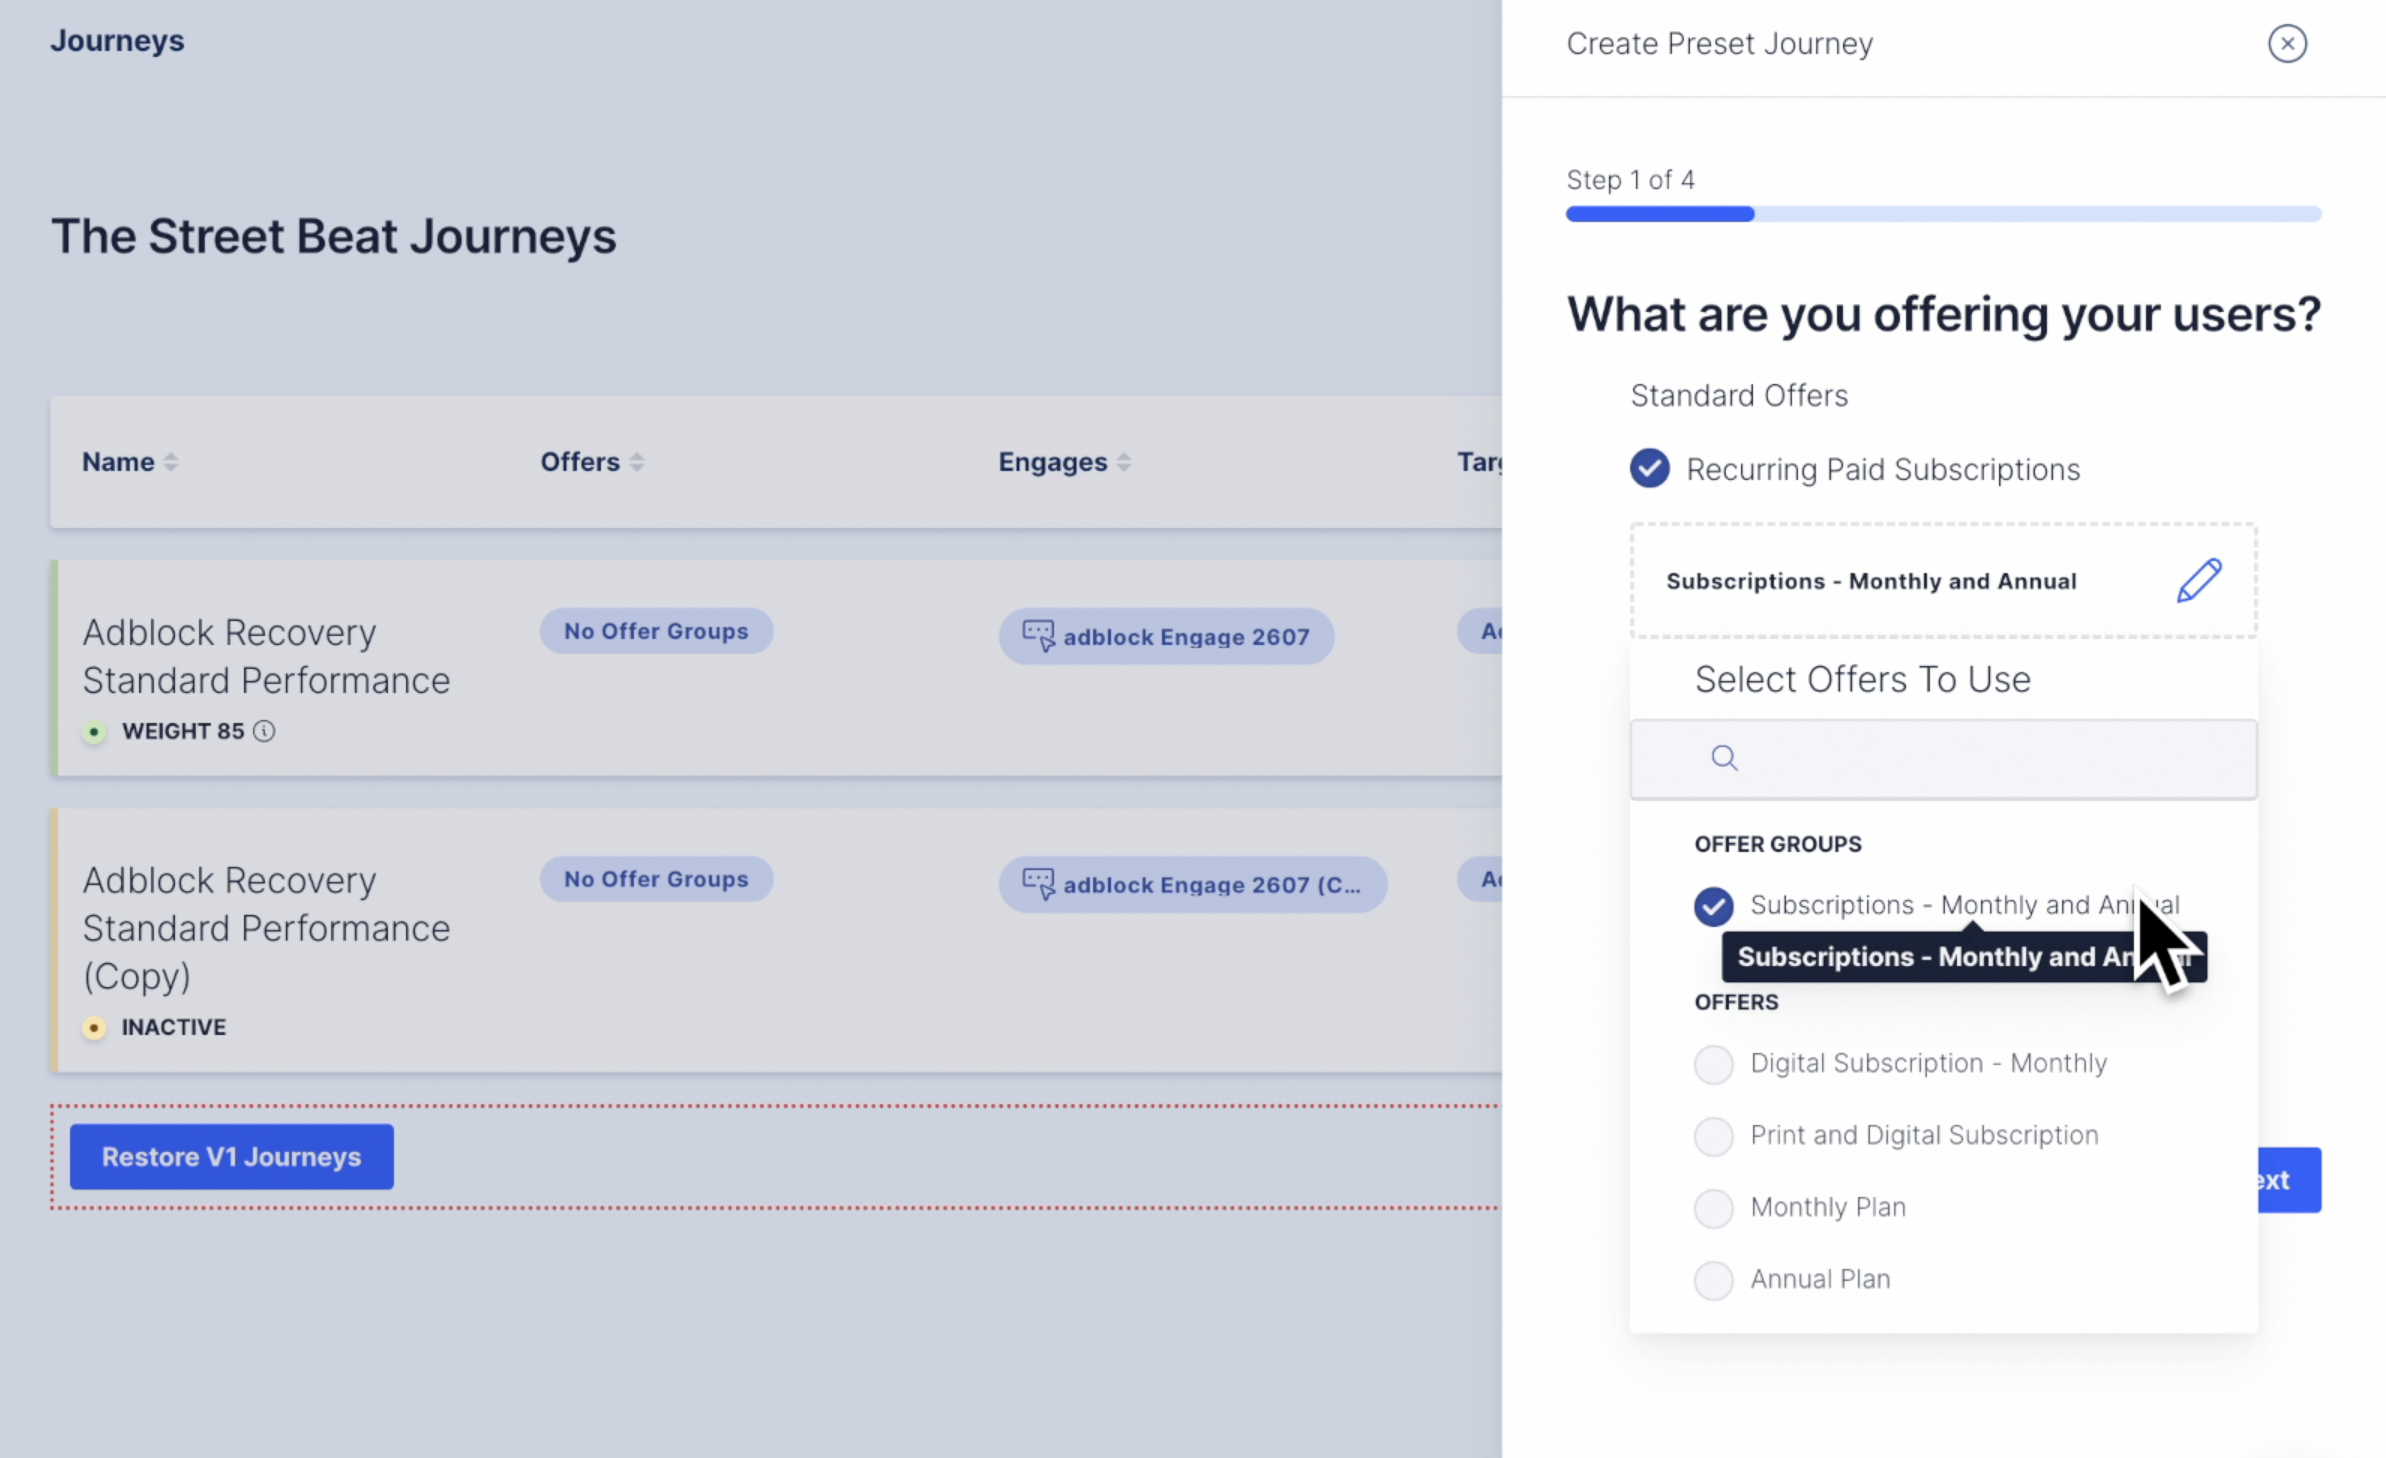
Now select the Offer or Offer Groups you would like to include in this subscription offer.
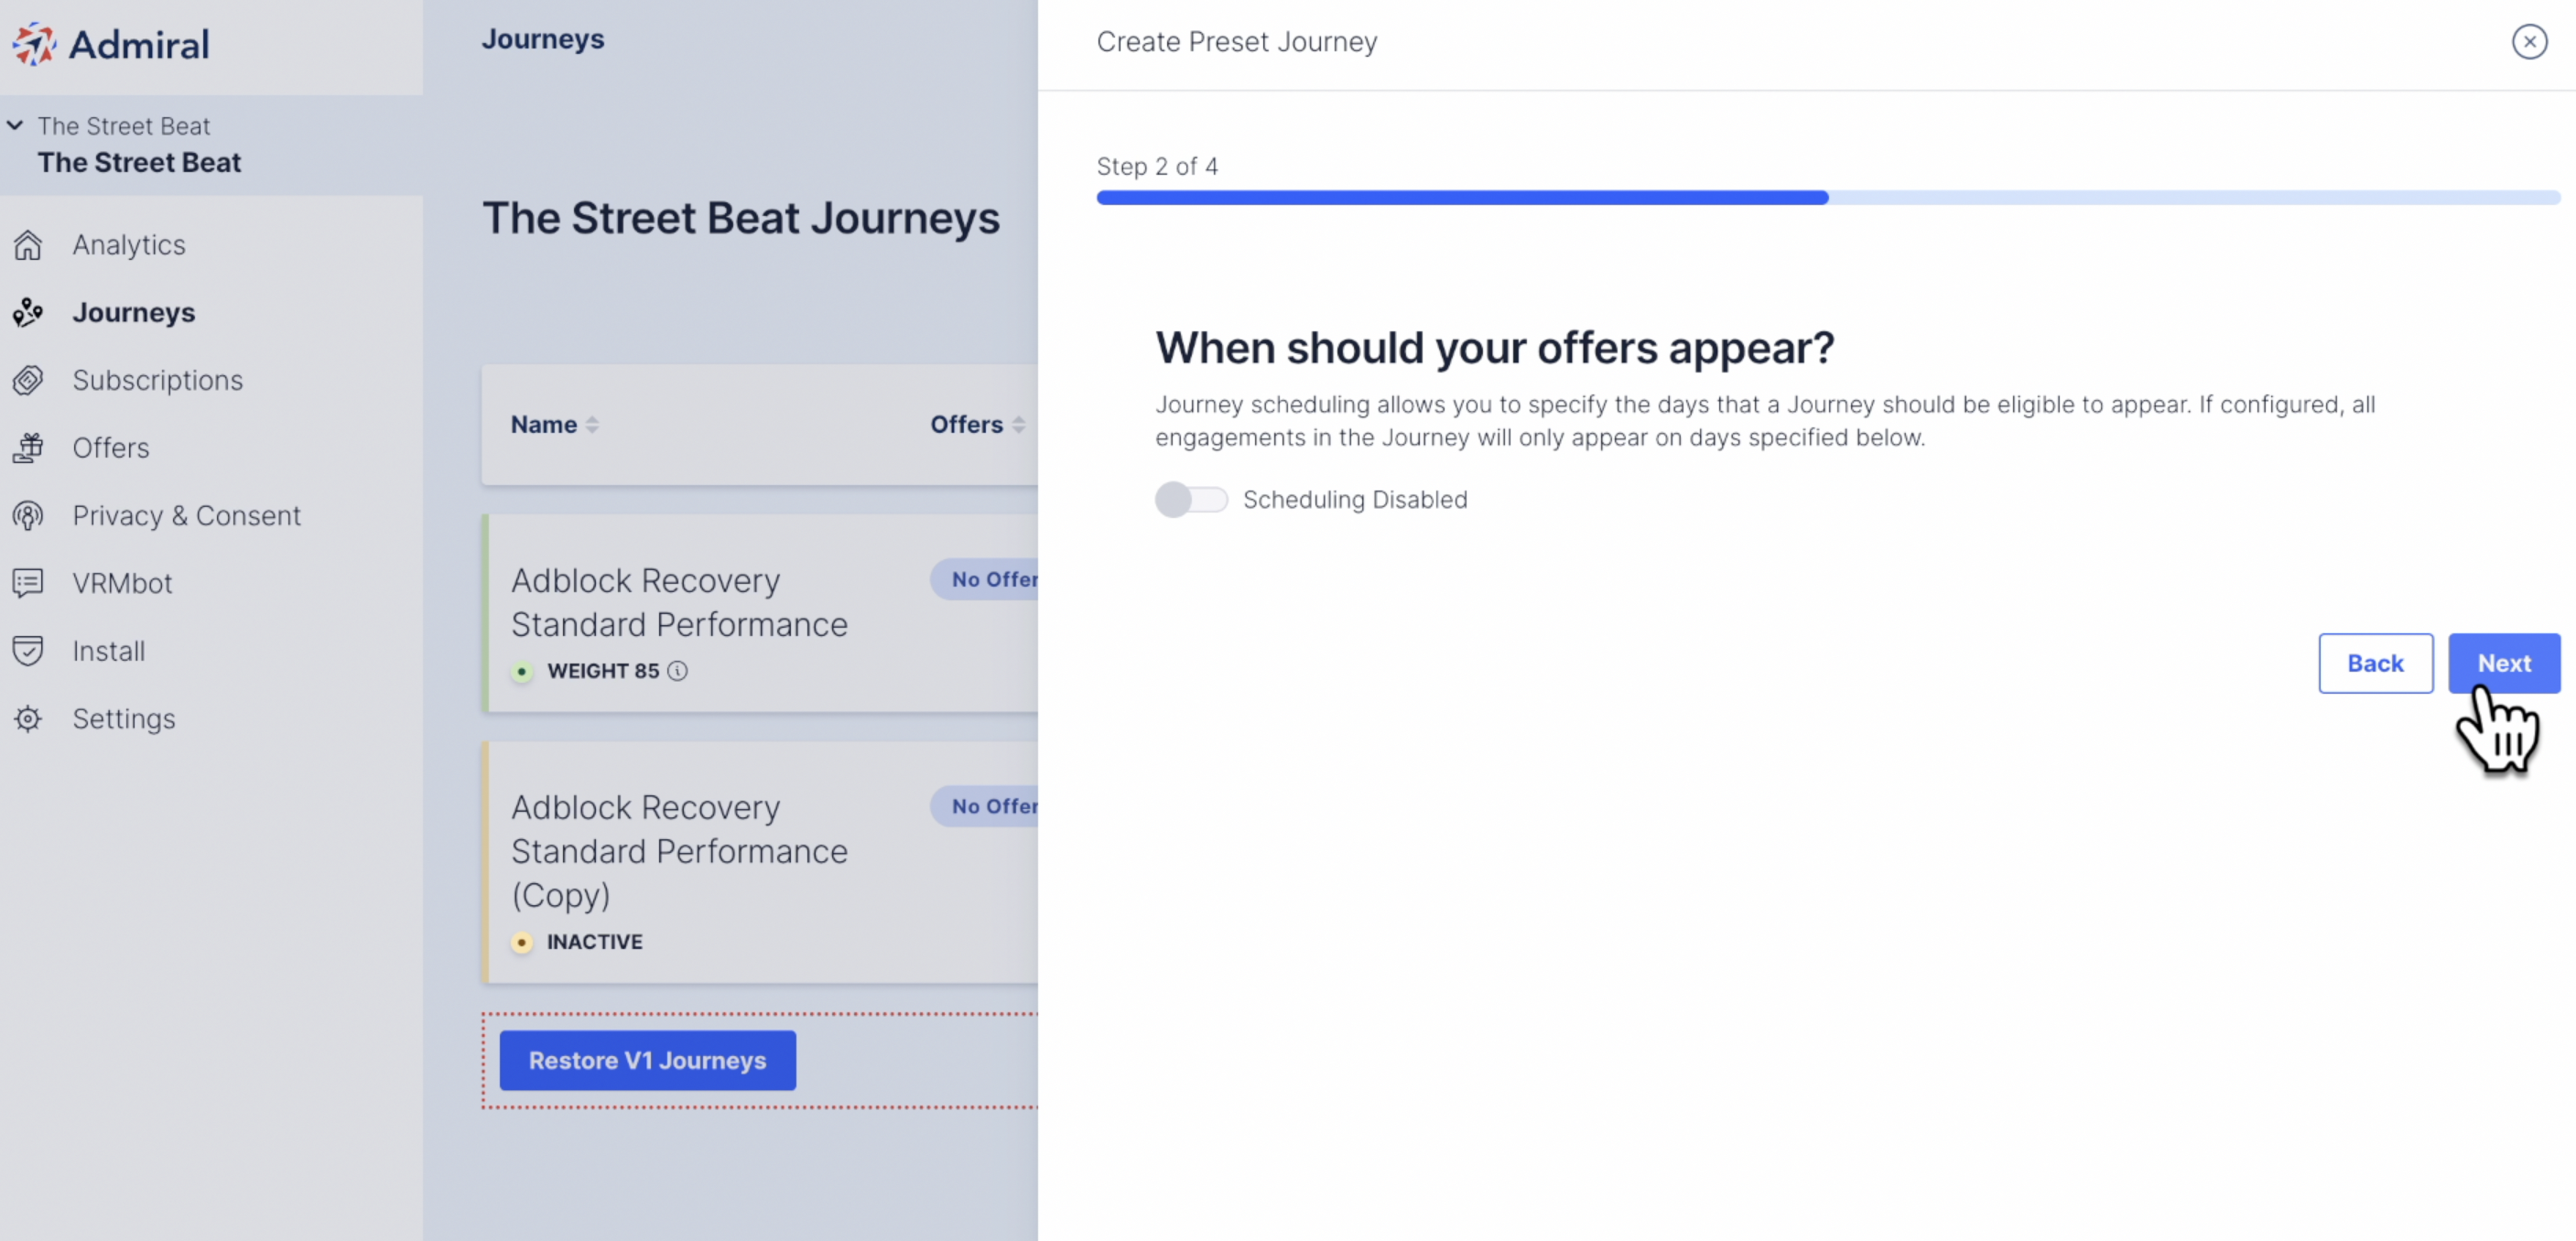
Schedule the time in which you would like this offer to appear. By default the message will appear all the time.
The scheduling feature is best used for special, limited time offers.
Next select how often you want the message to appear. Your options are low, standard, and high. Note: you can edit this once you create the Journey.
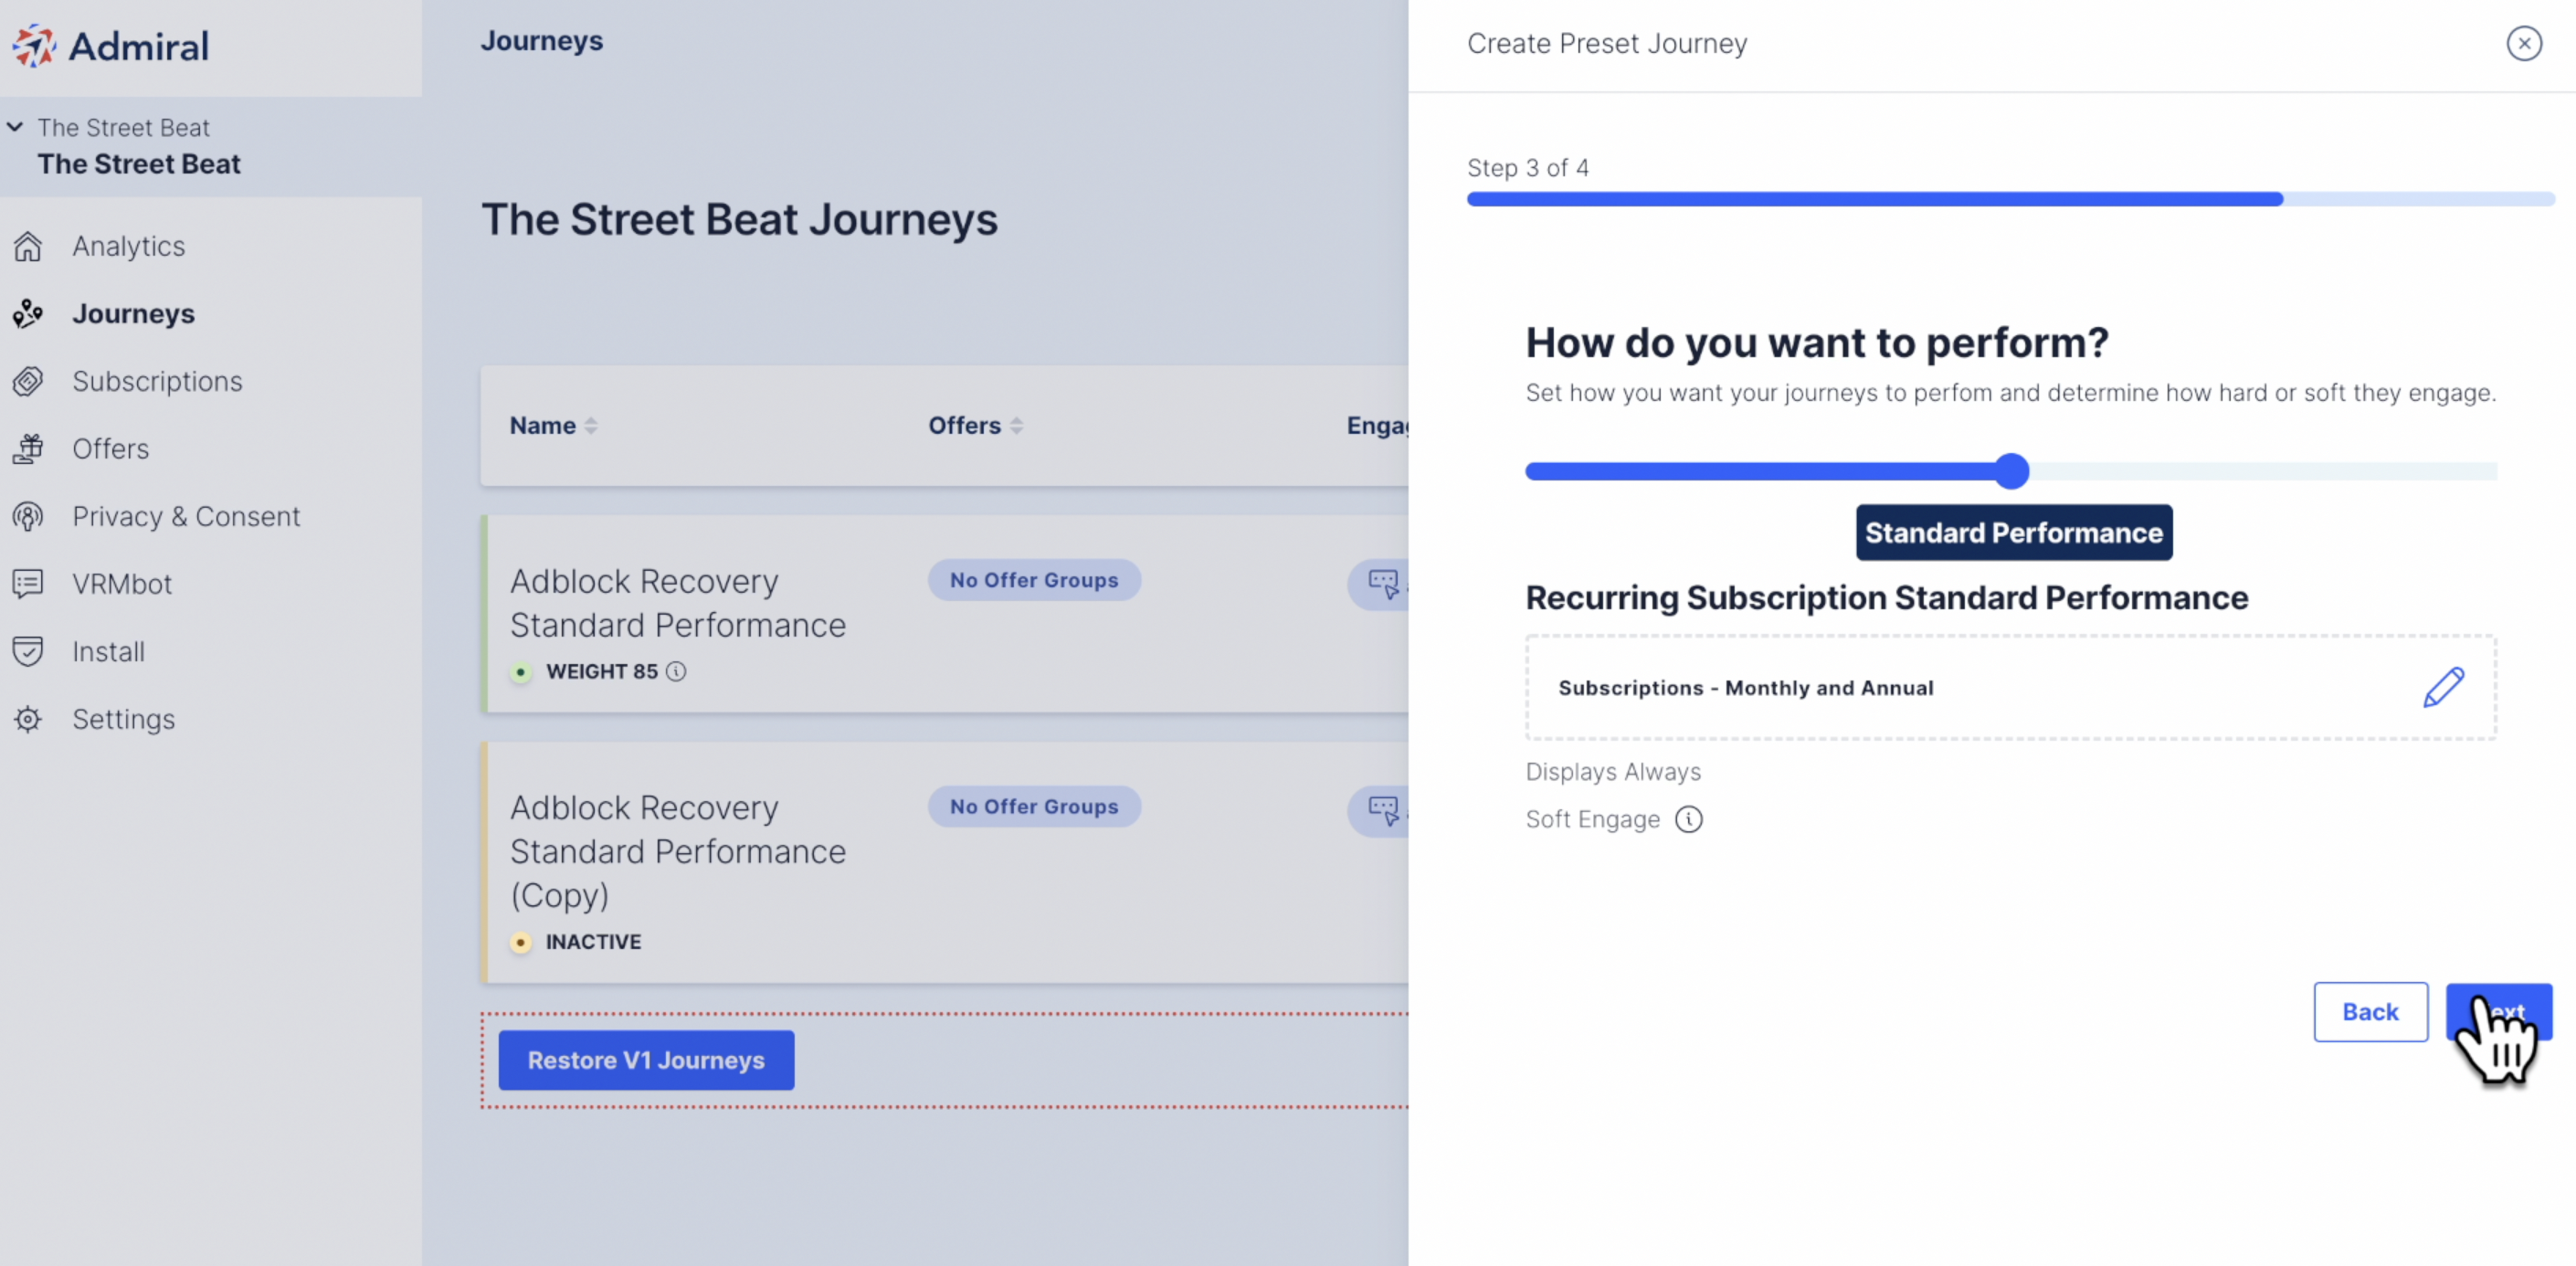
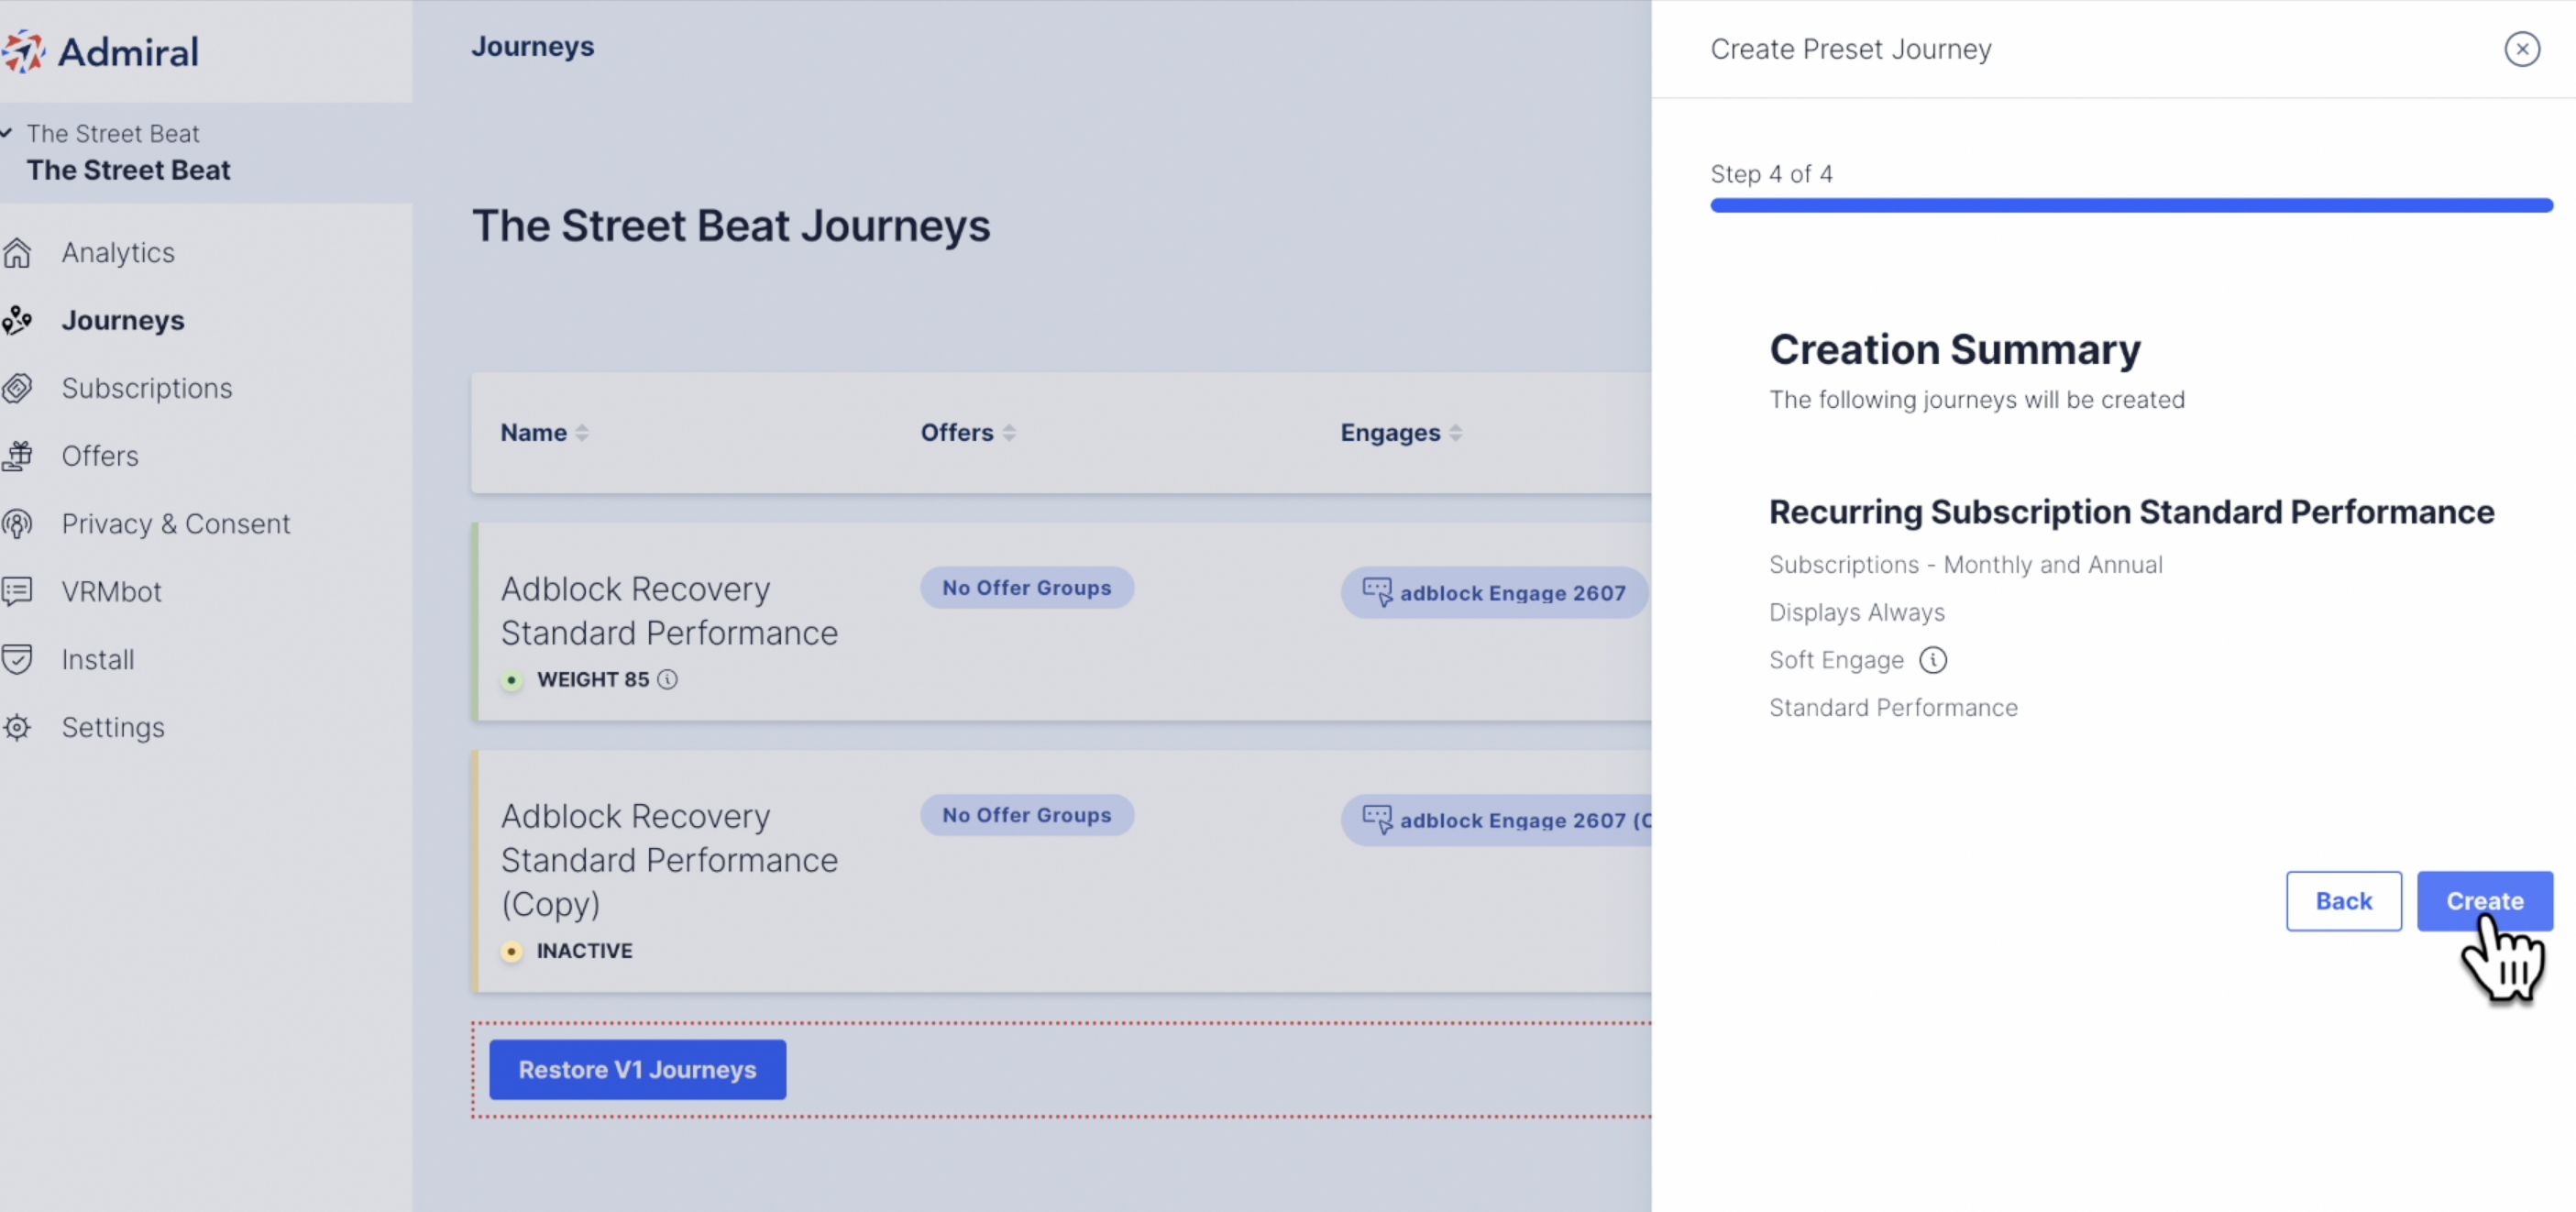
Now click "Create" to create your new Journey.
Click on your newly created Journey.
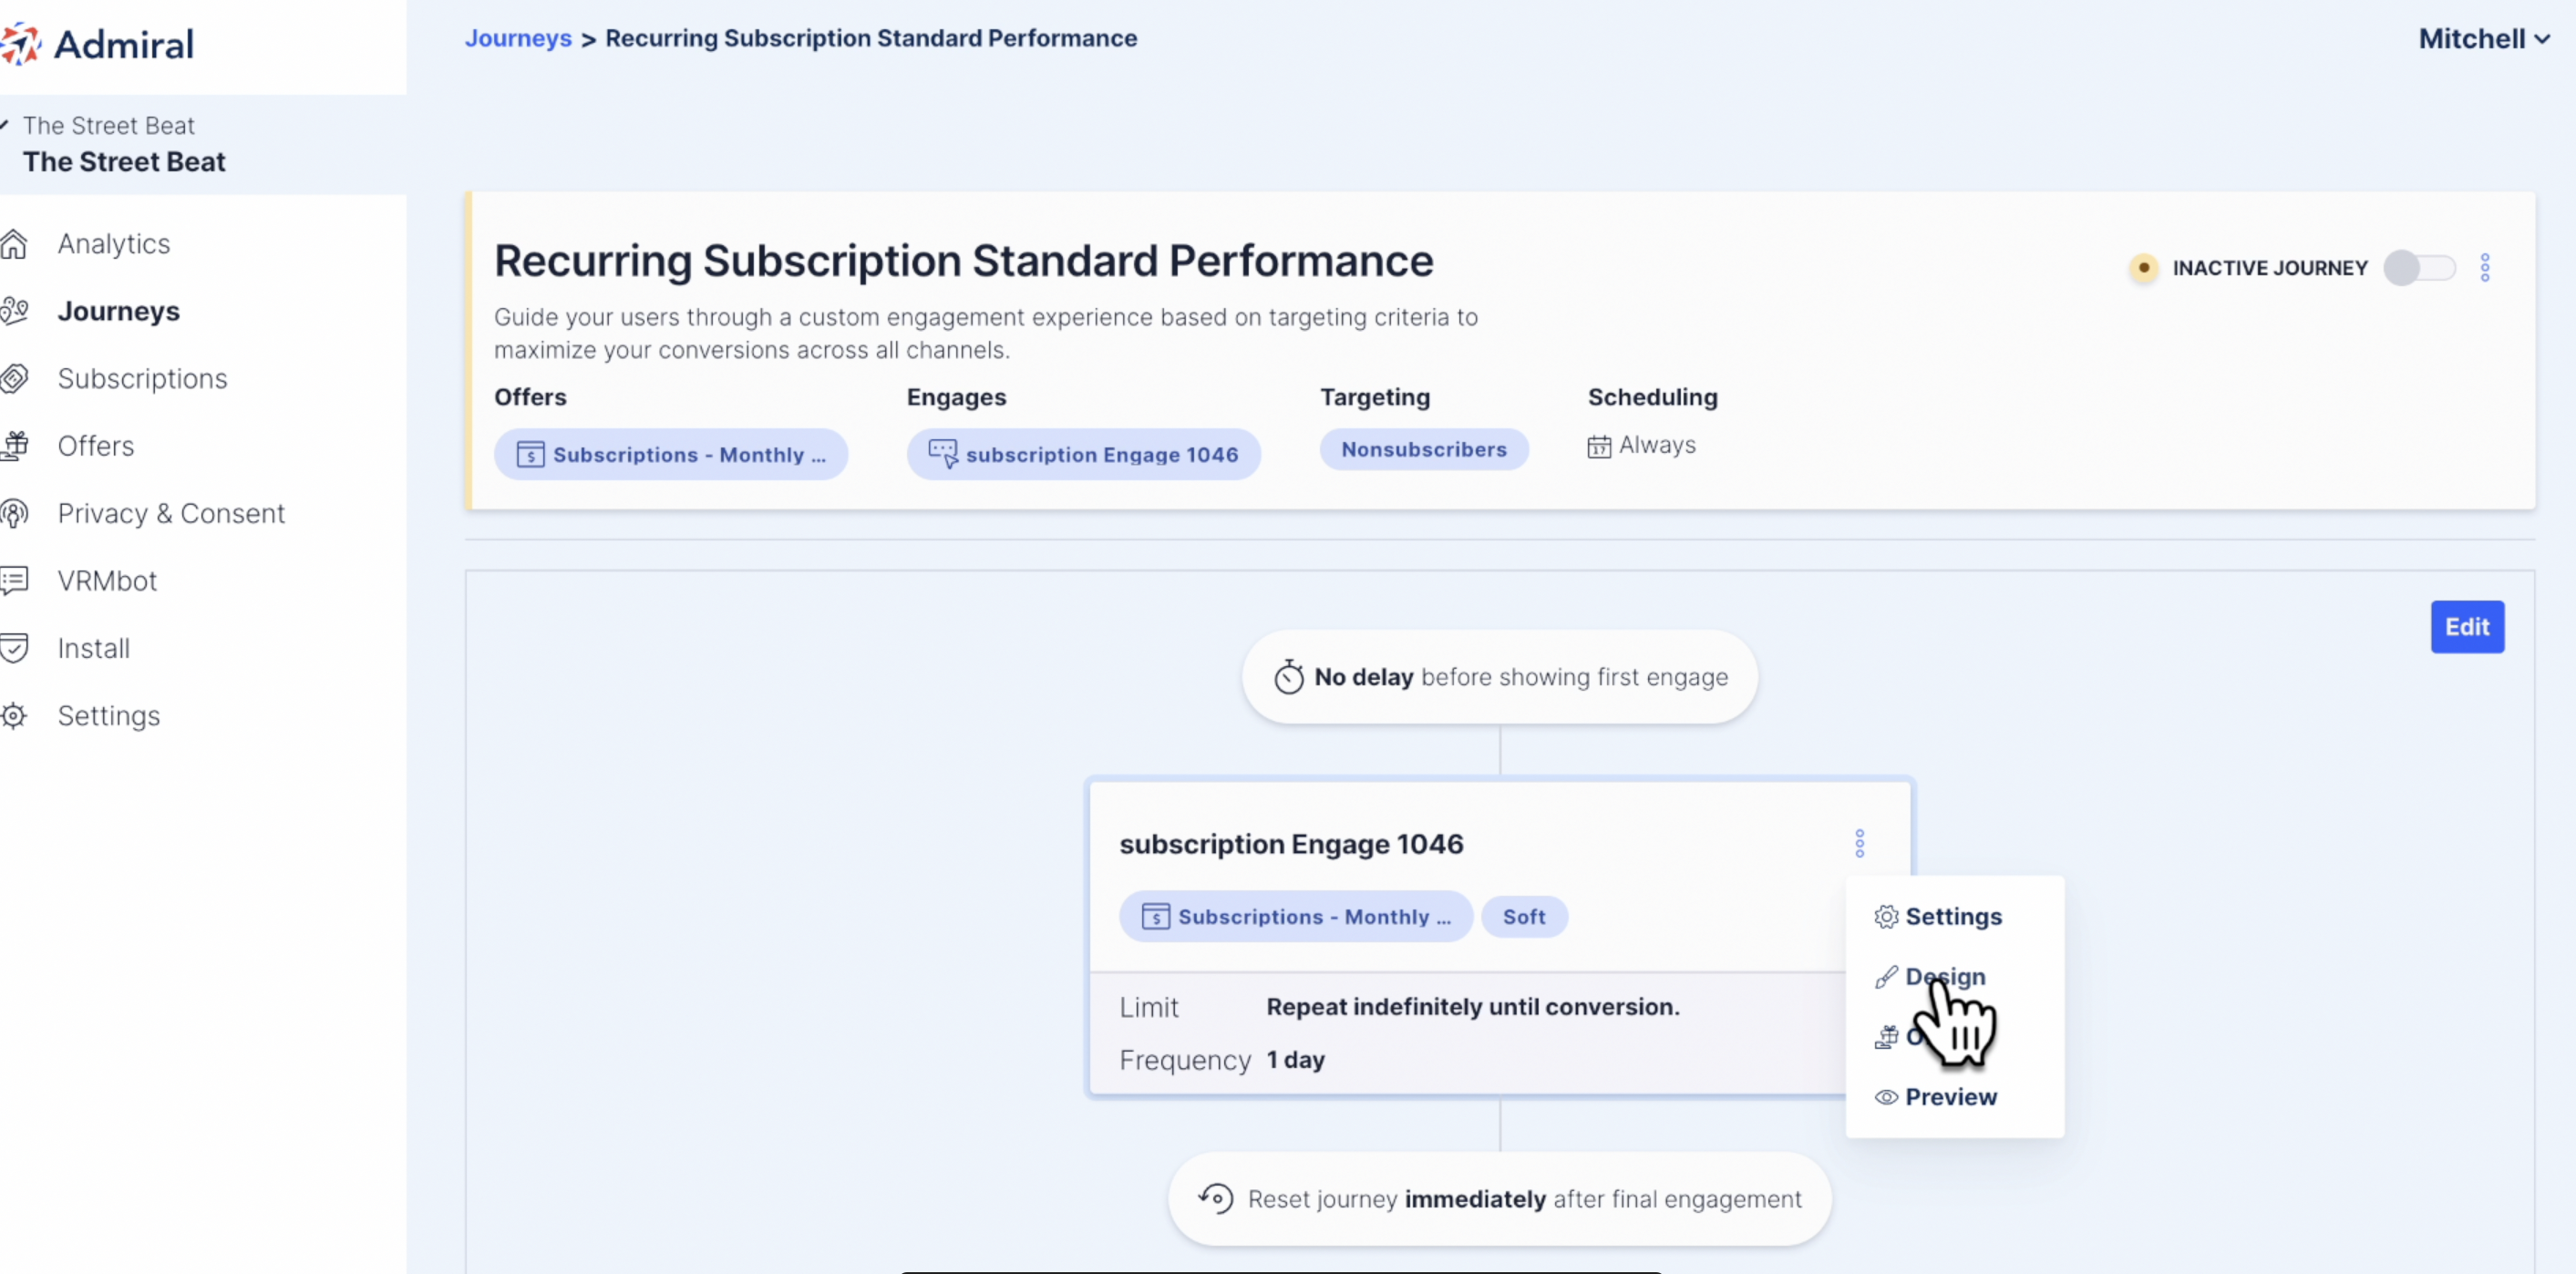
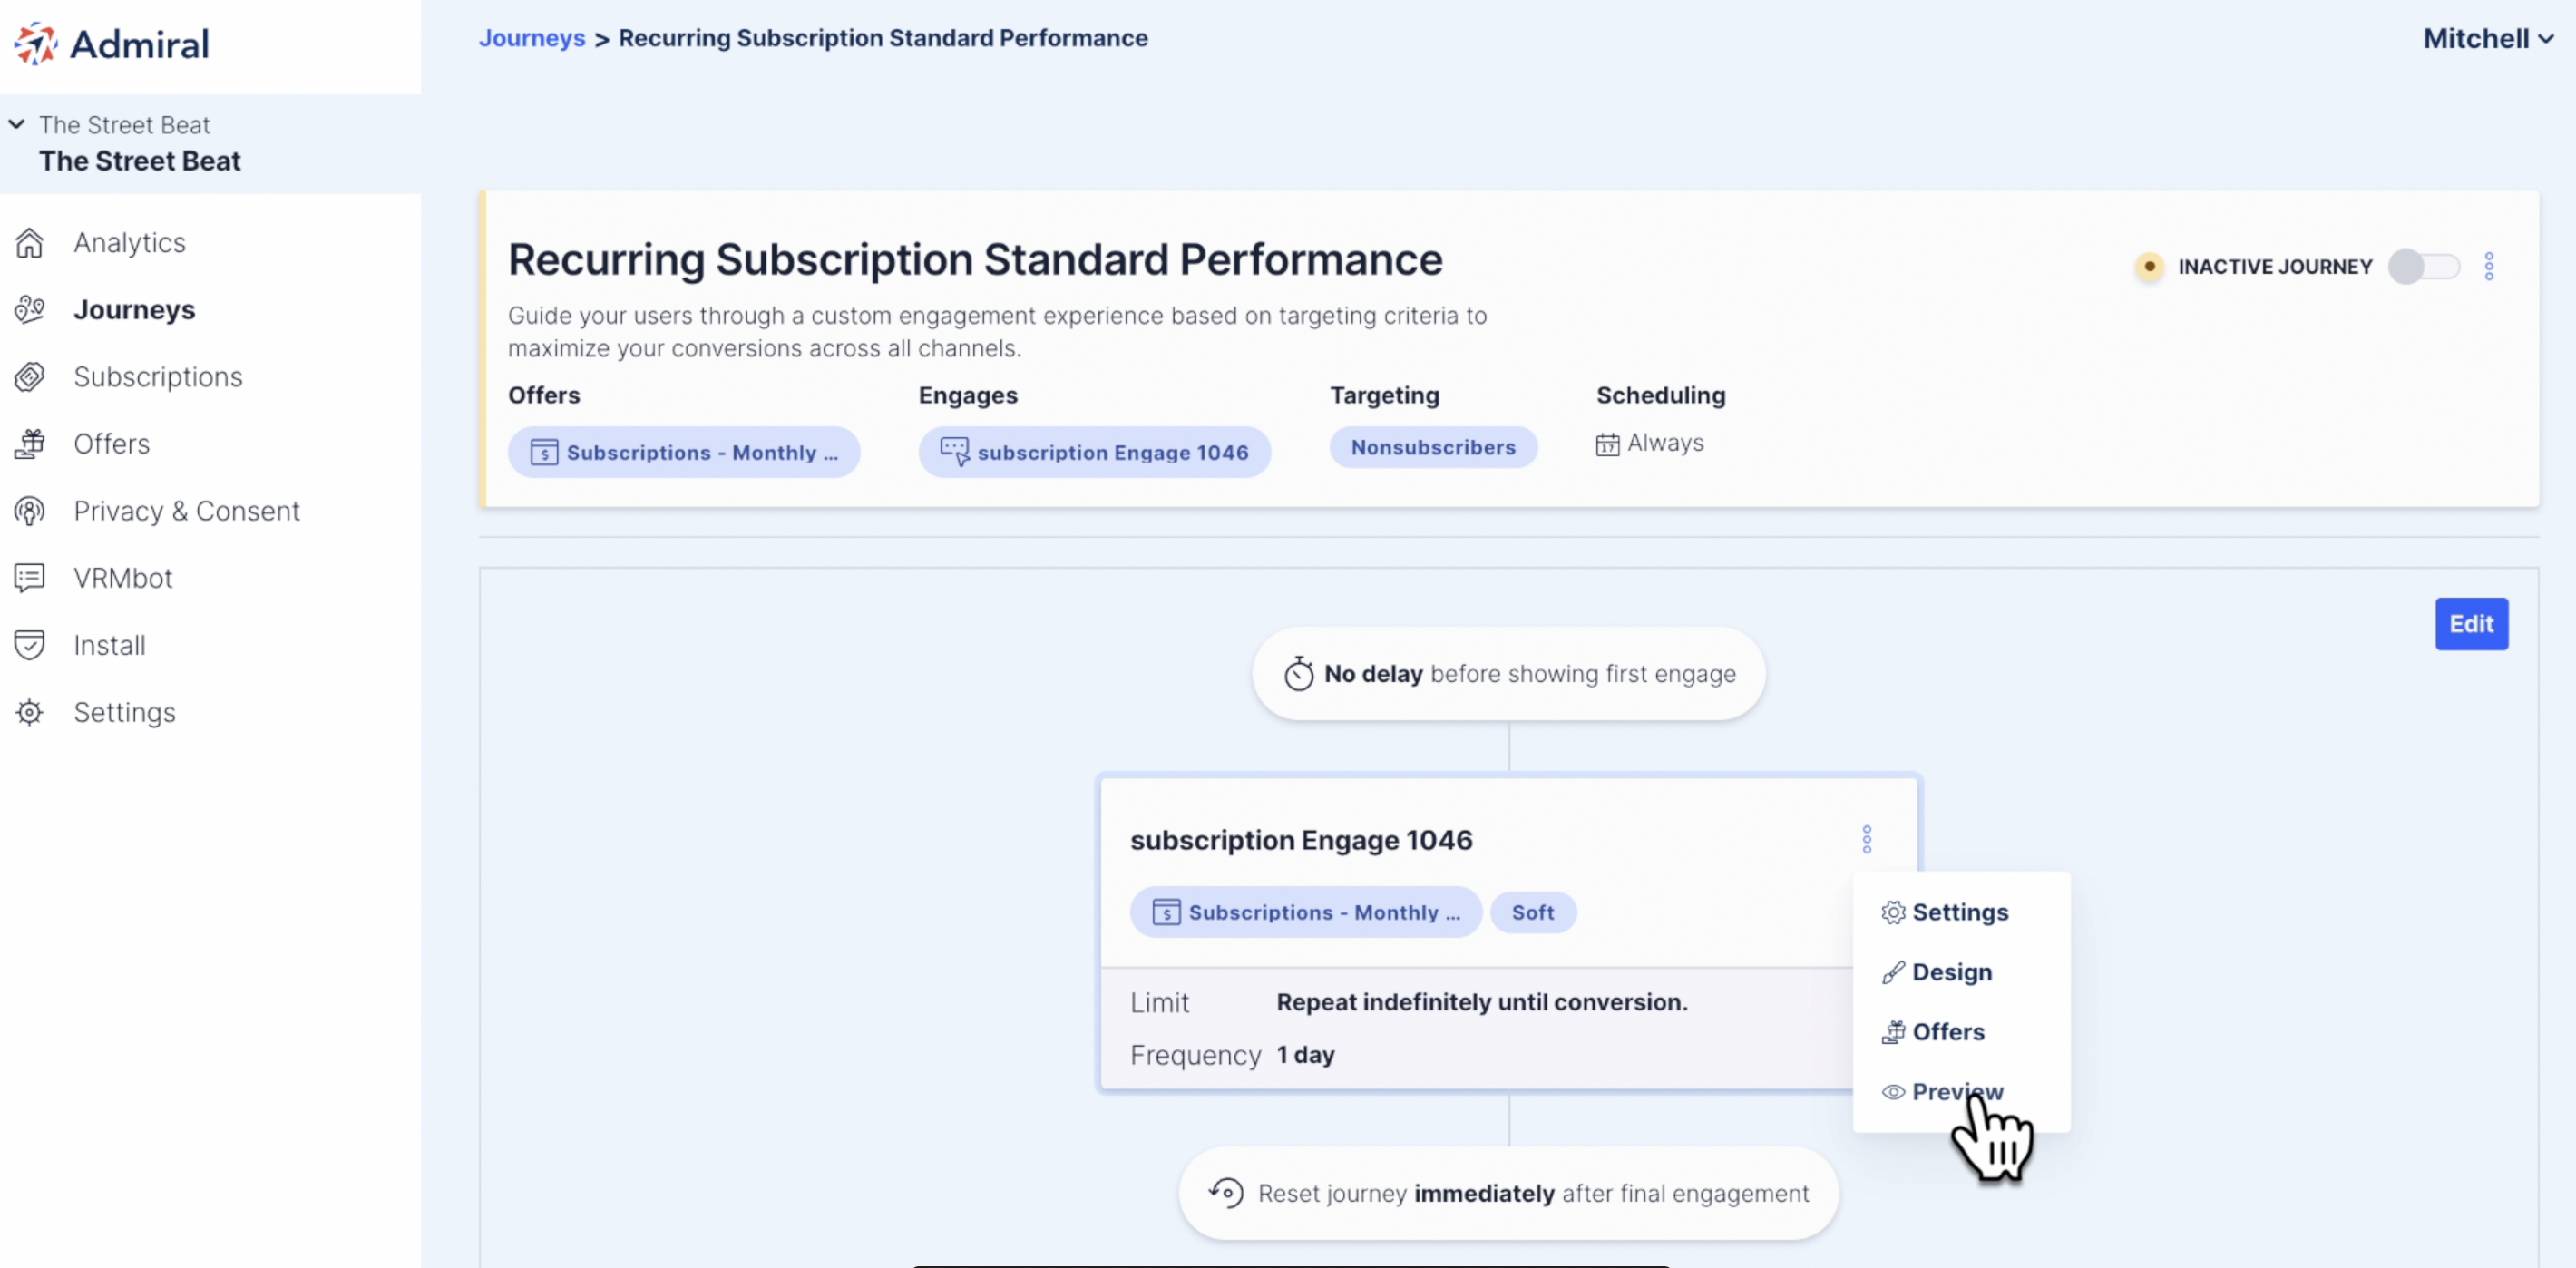
Click on the kabob menu within the engage module.
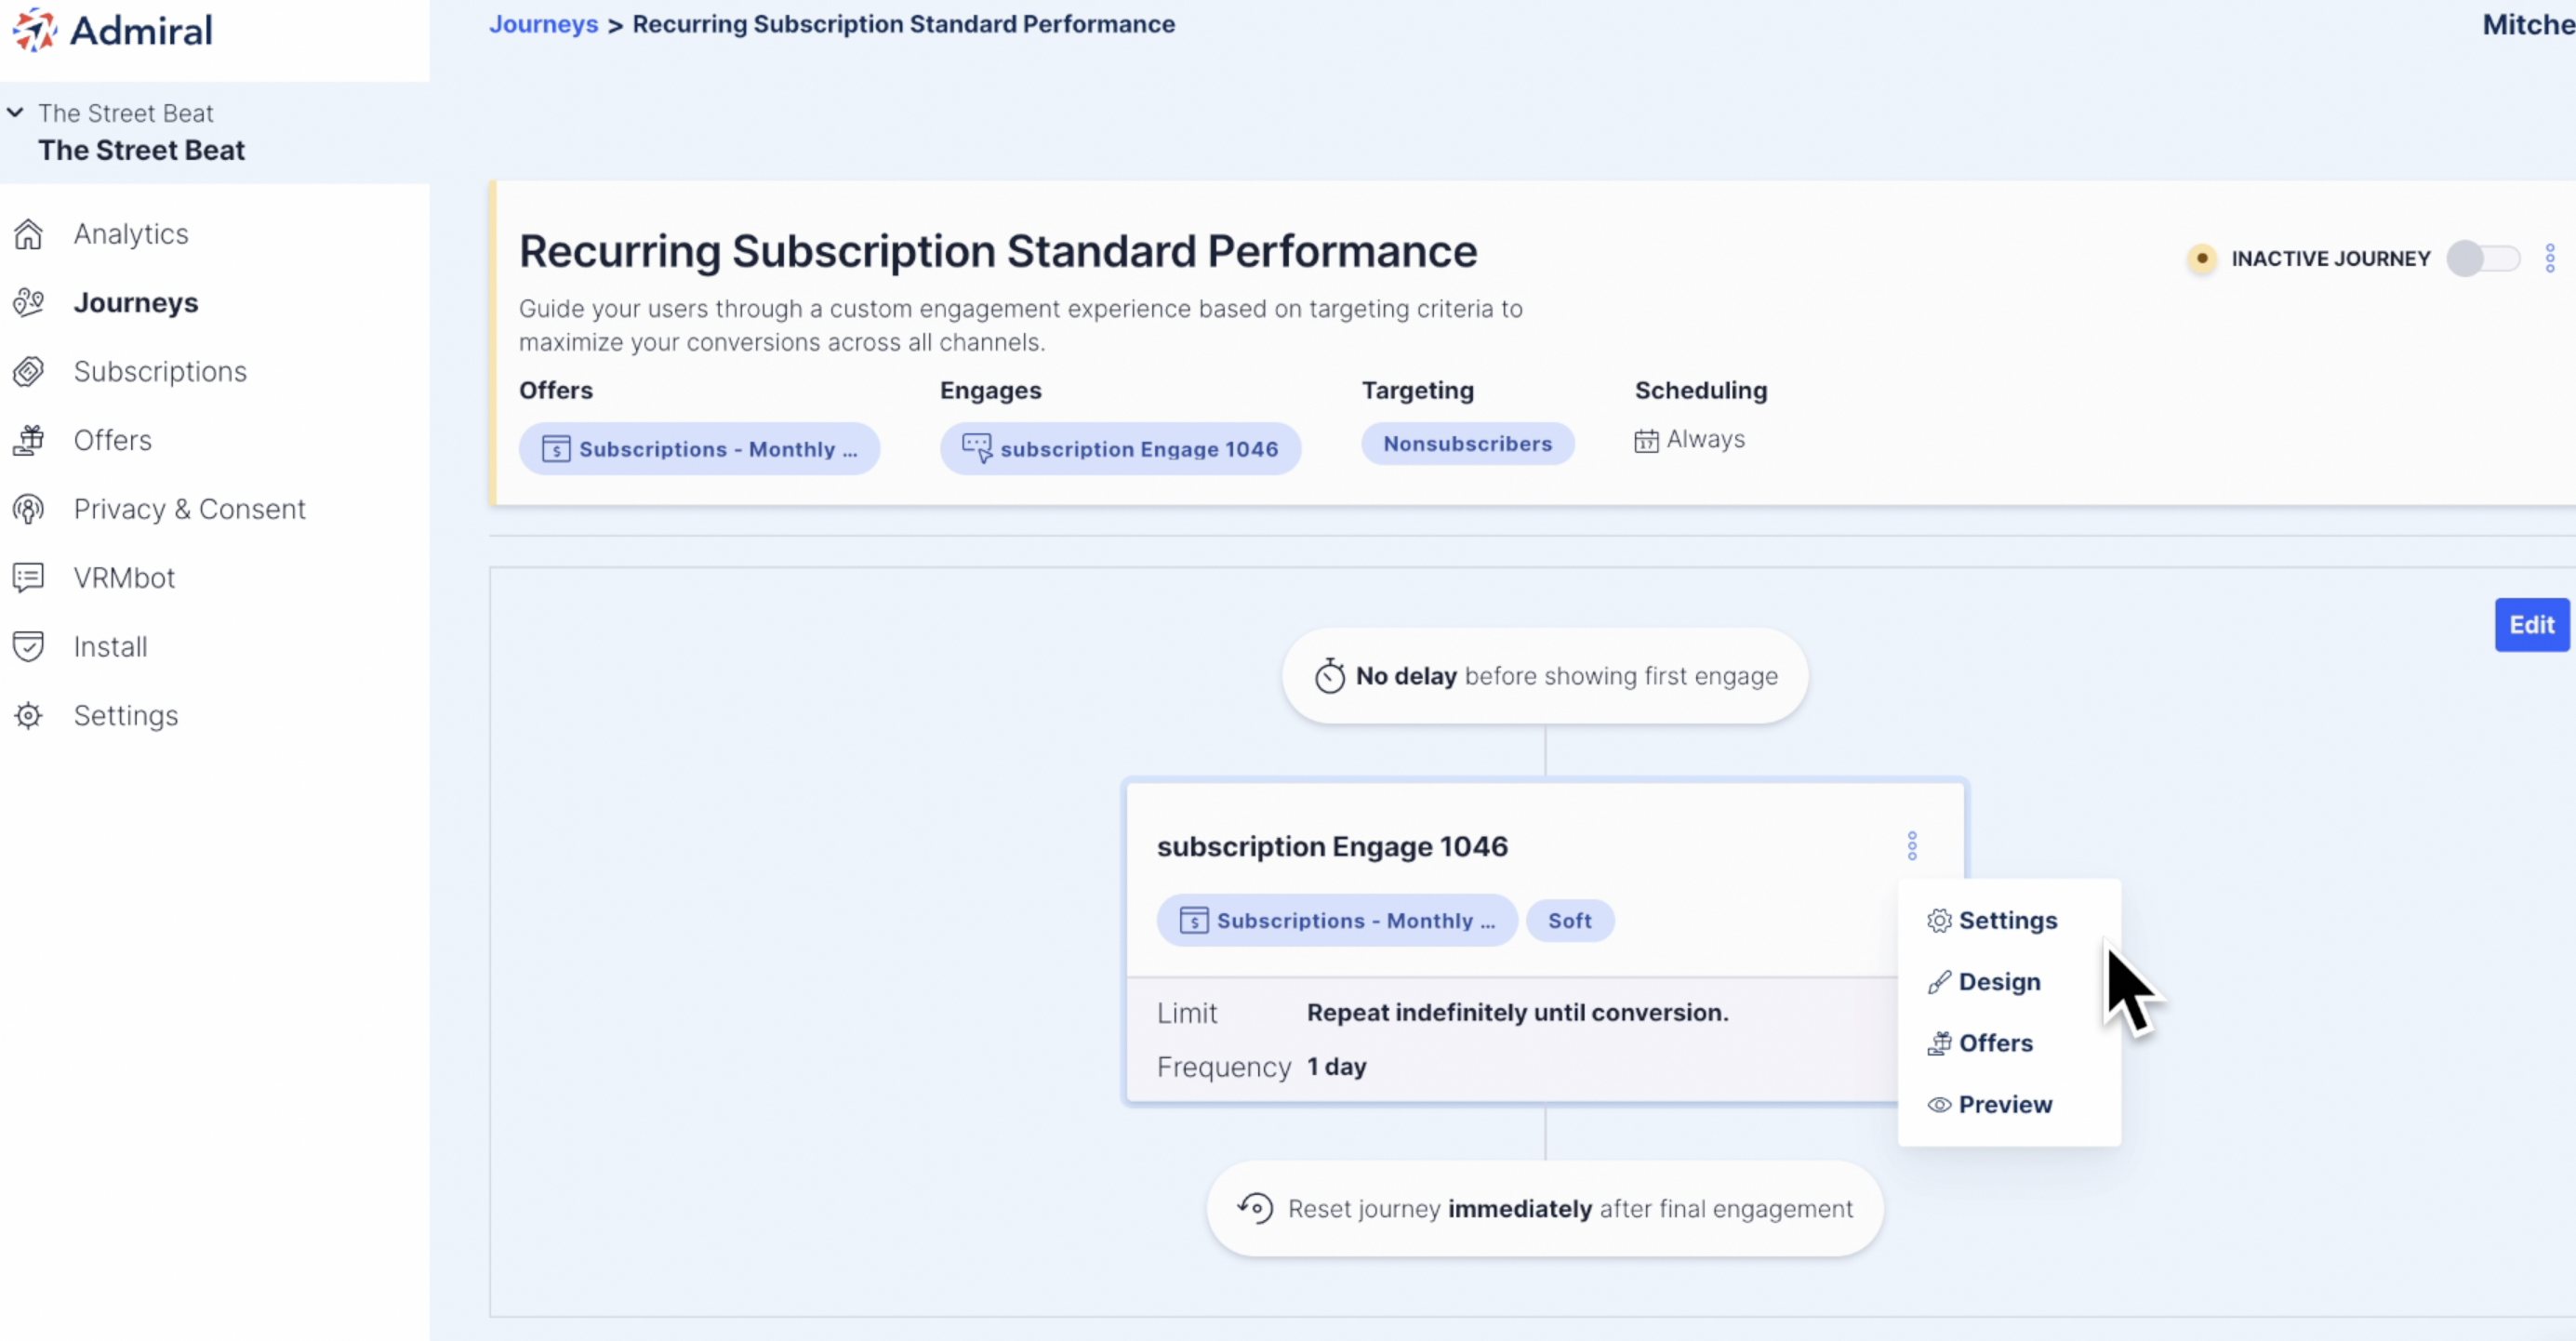
You have the option of selecting from the following:
- Settings: change the name of the engage and the seconds of delay (i.e., the time of delay before the message will appear).
- Design: edit the look and copy of the engage message.
- Offers: add offers or edit offers attached this message. This is also where you can add custom links for the Subscribe button and the Login button.
- Preview: view what your message will look like on your website. You can also click on subscribe and then view your subscription offers.
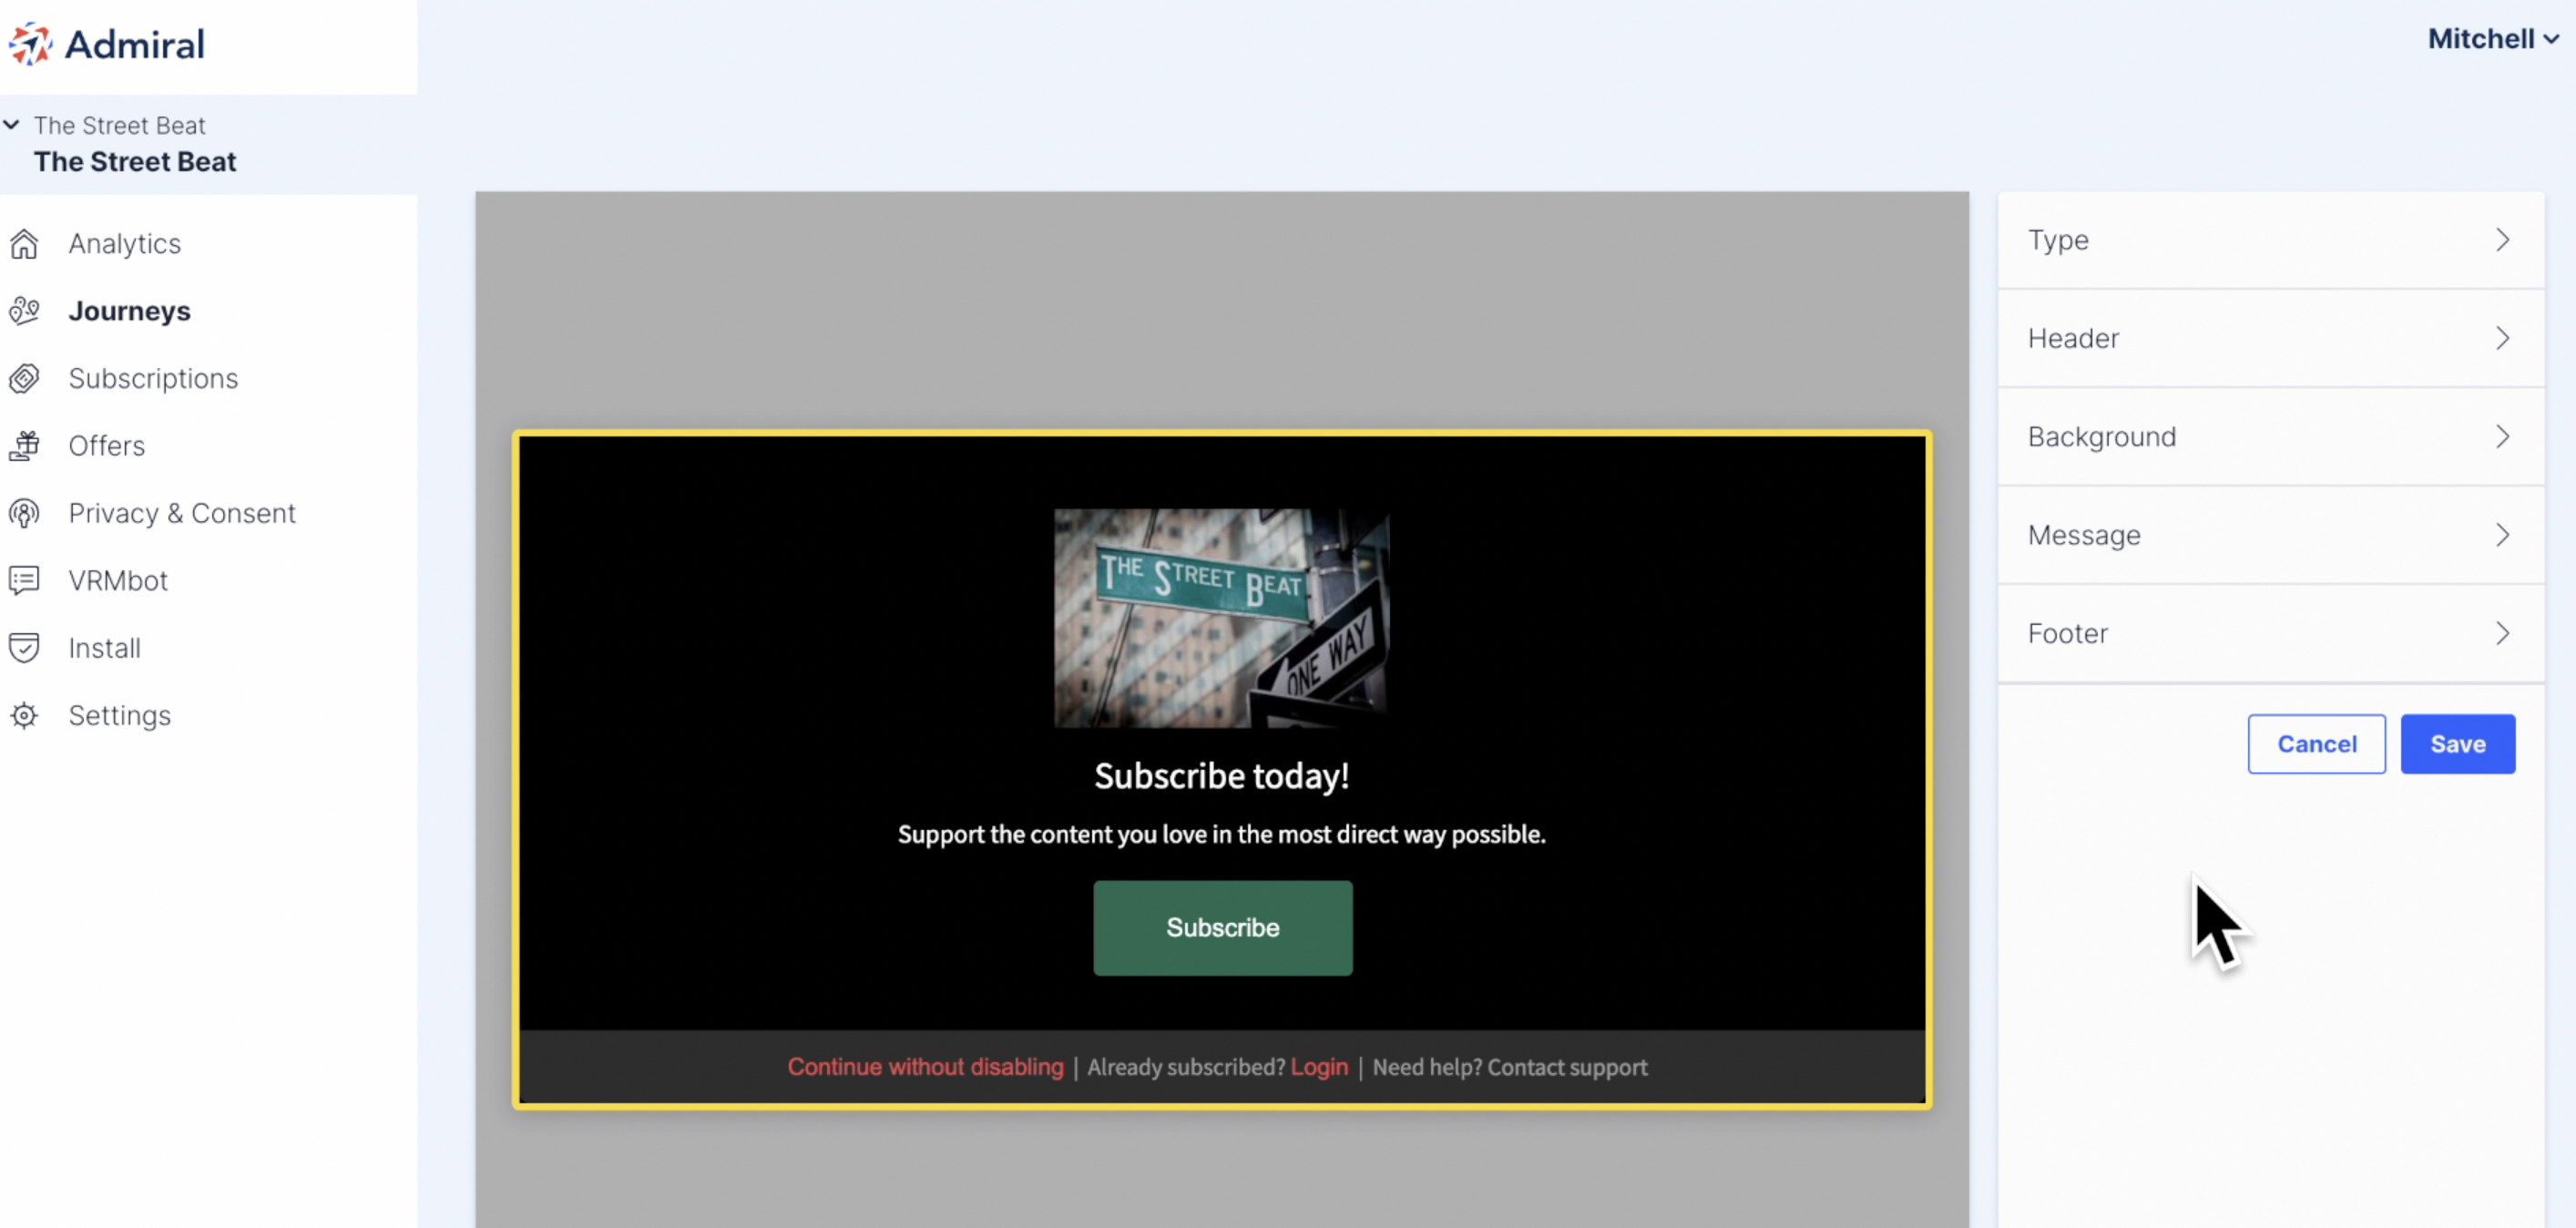
Click "Design" to begin editing the engage message.
From here you are able to edit the colors, copy, and logo.
TIP: If you would like more information on how to customize your engage message, click here.
Next, click "Preview" to preview the engage message that you created.
NOTE: Your tag must be installed on your website to preview the message.
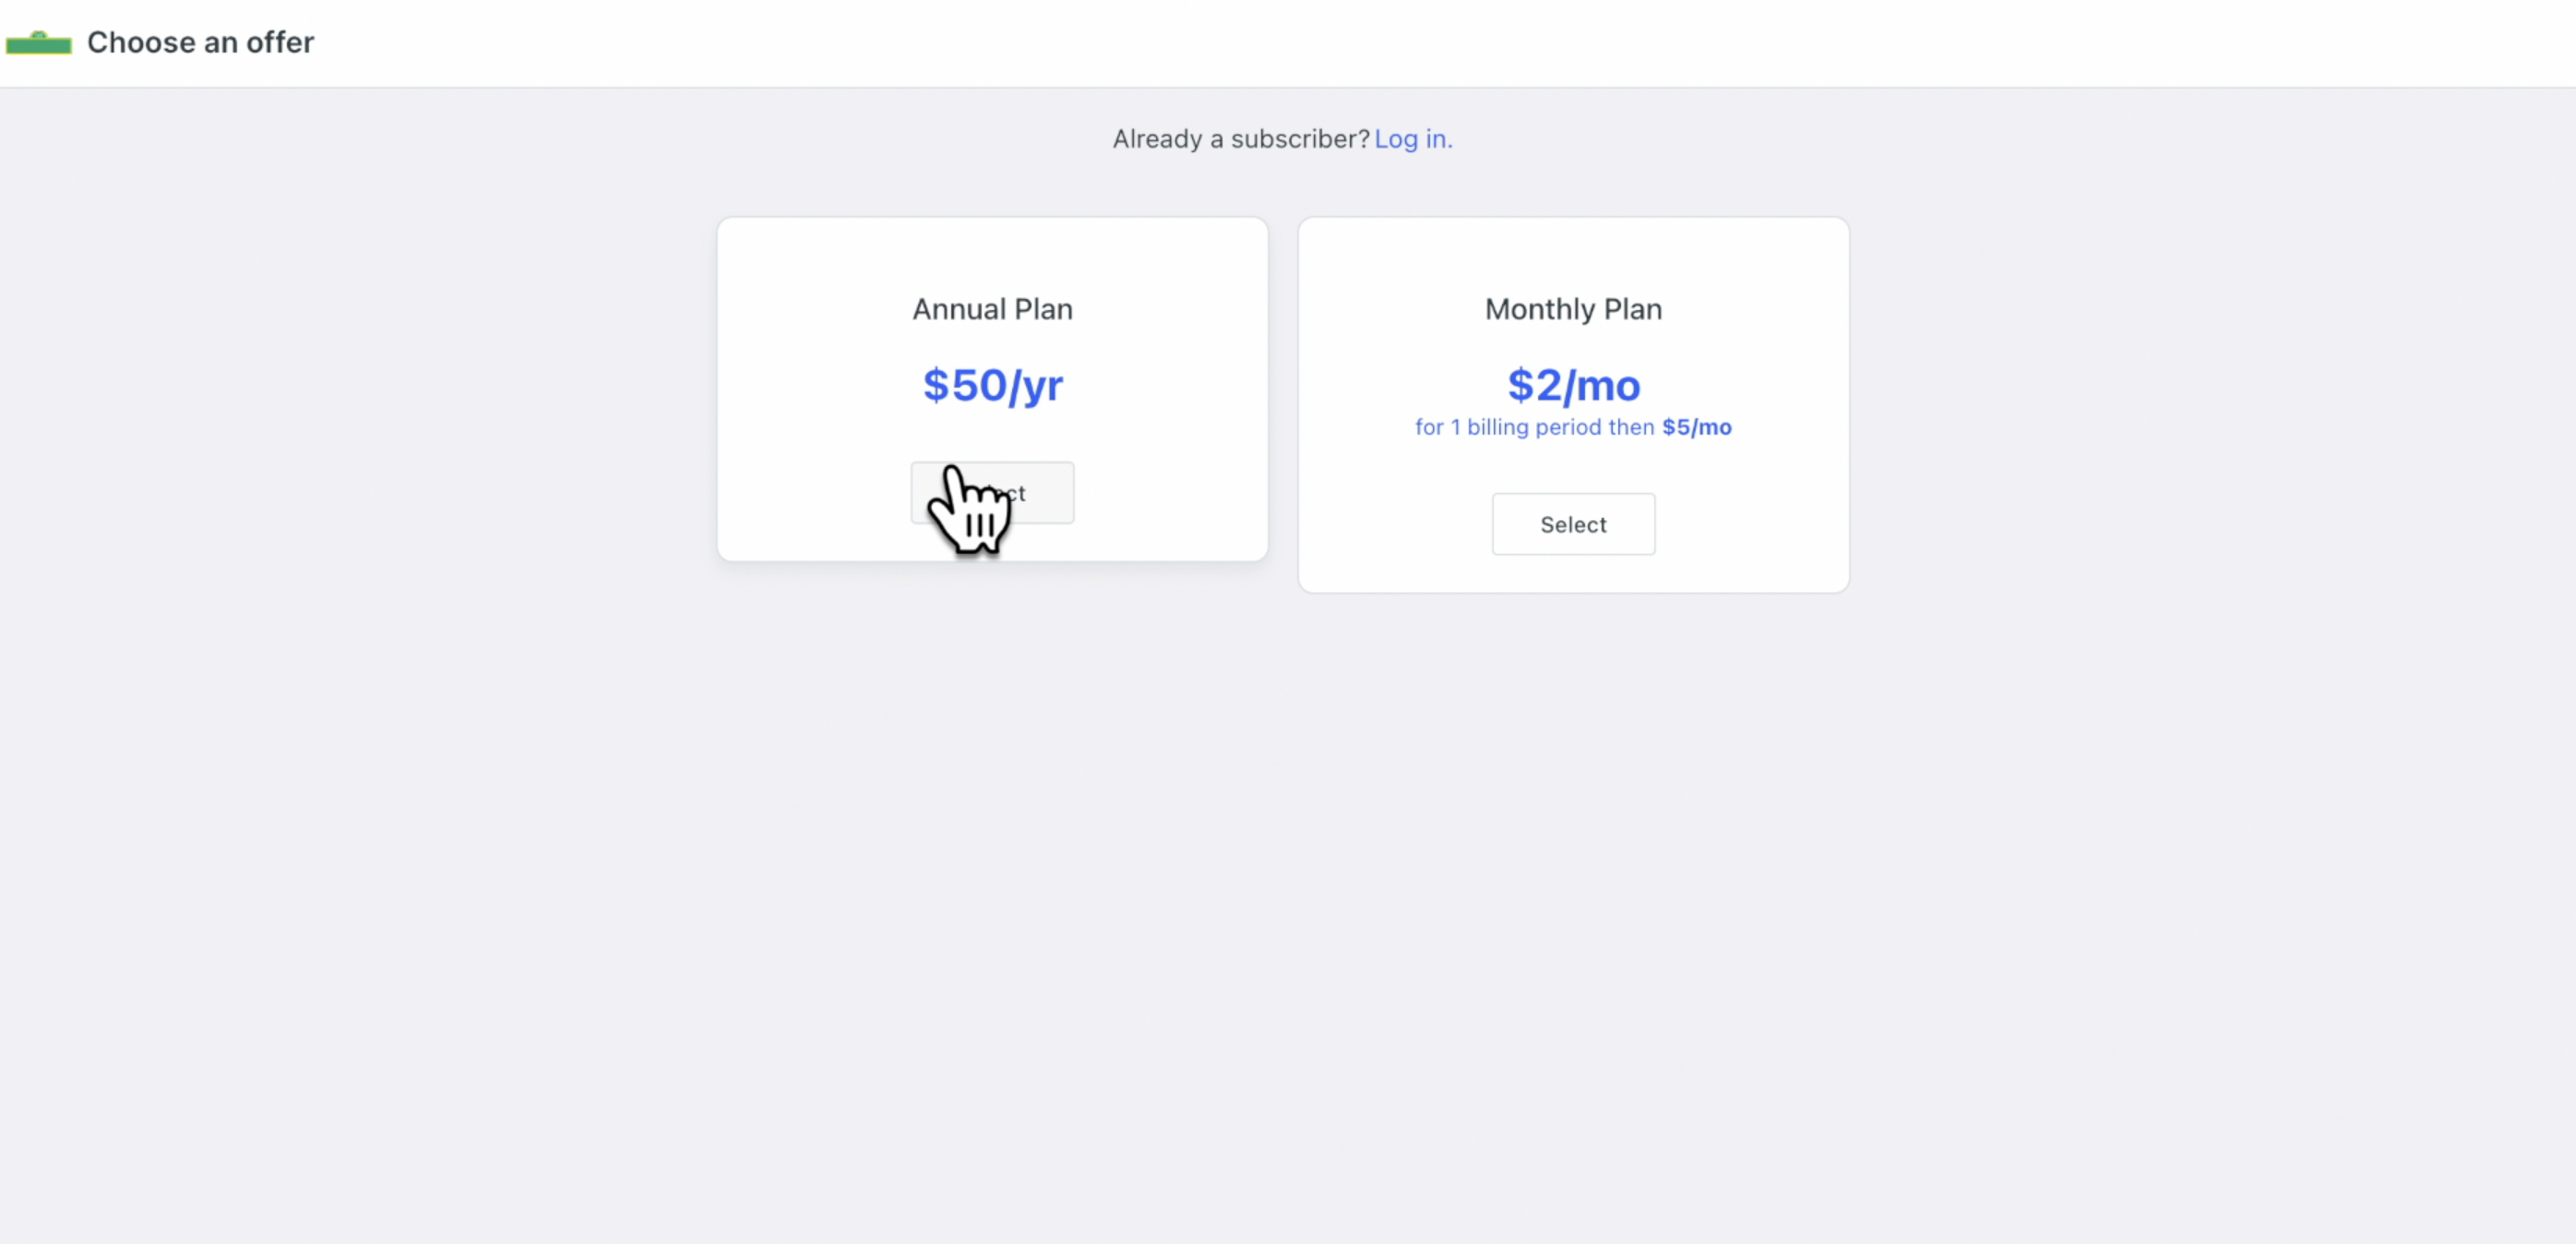
Click on the Subscribe button to view your offer(s).
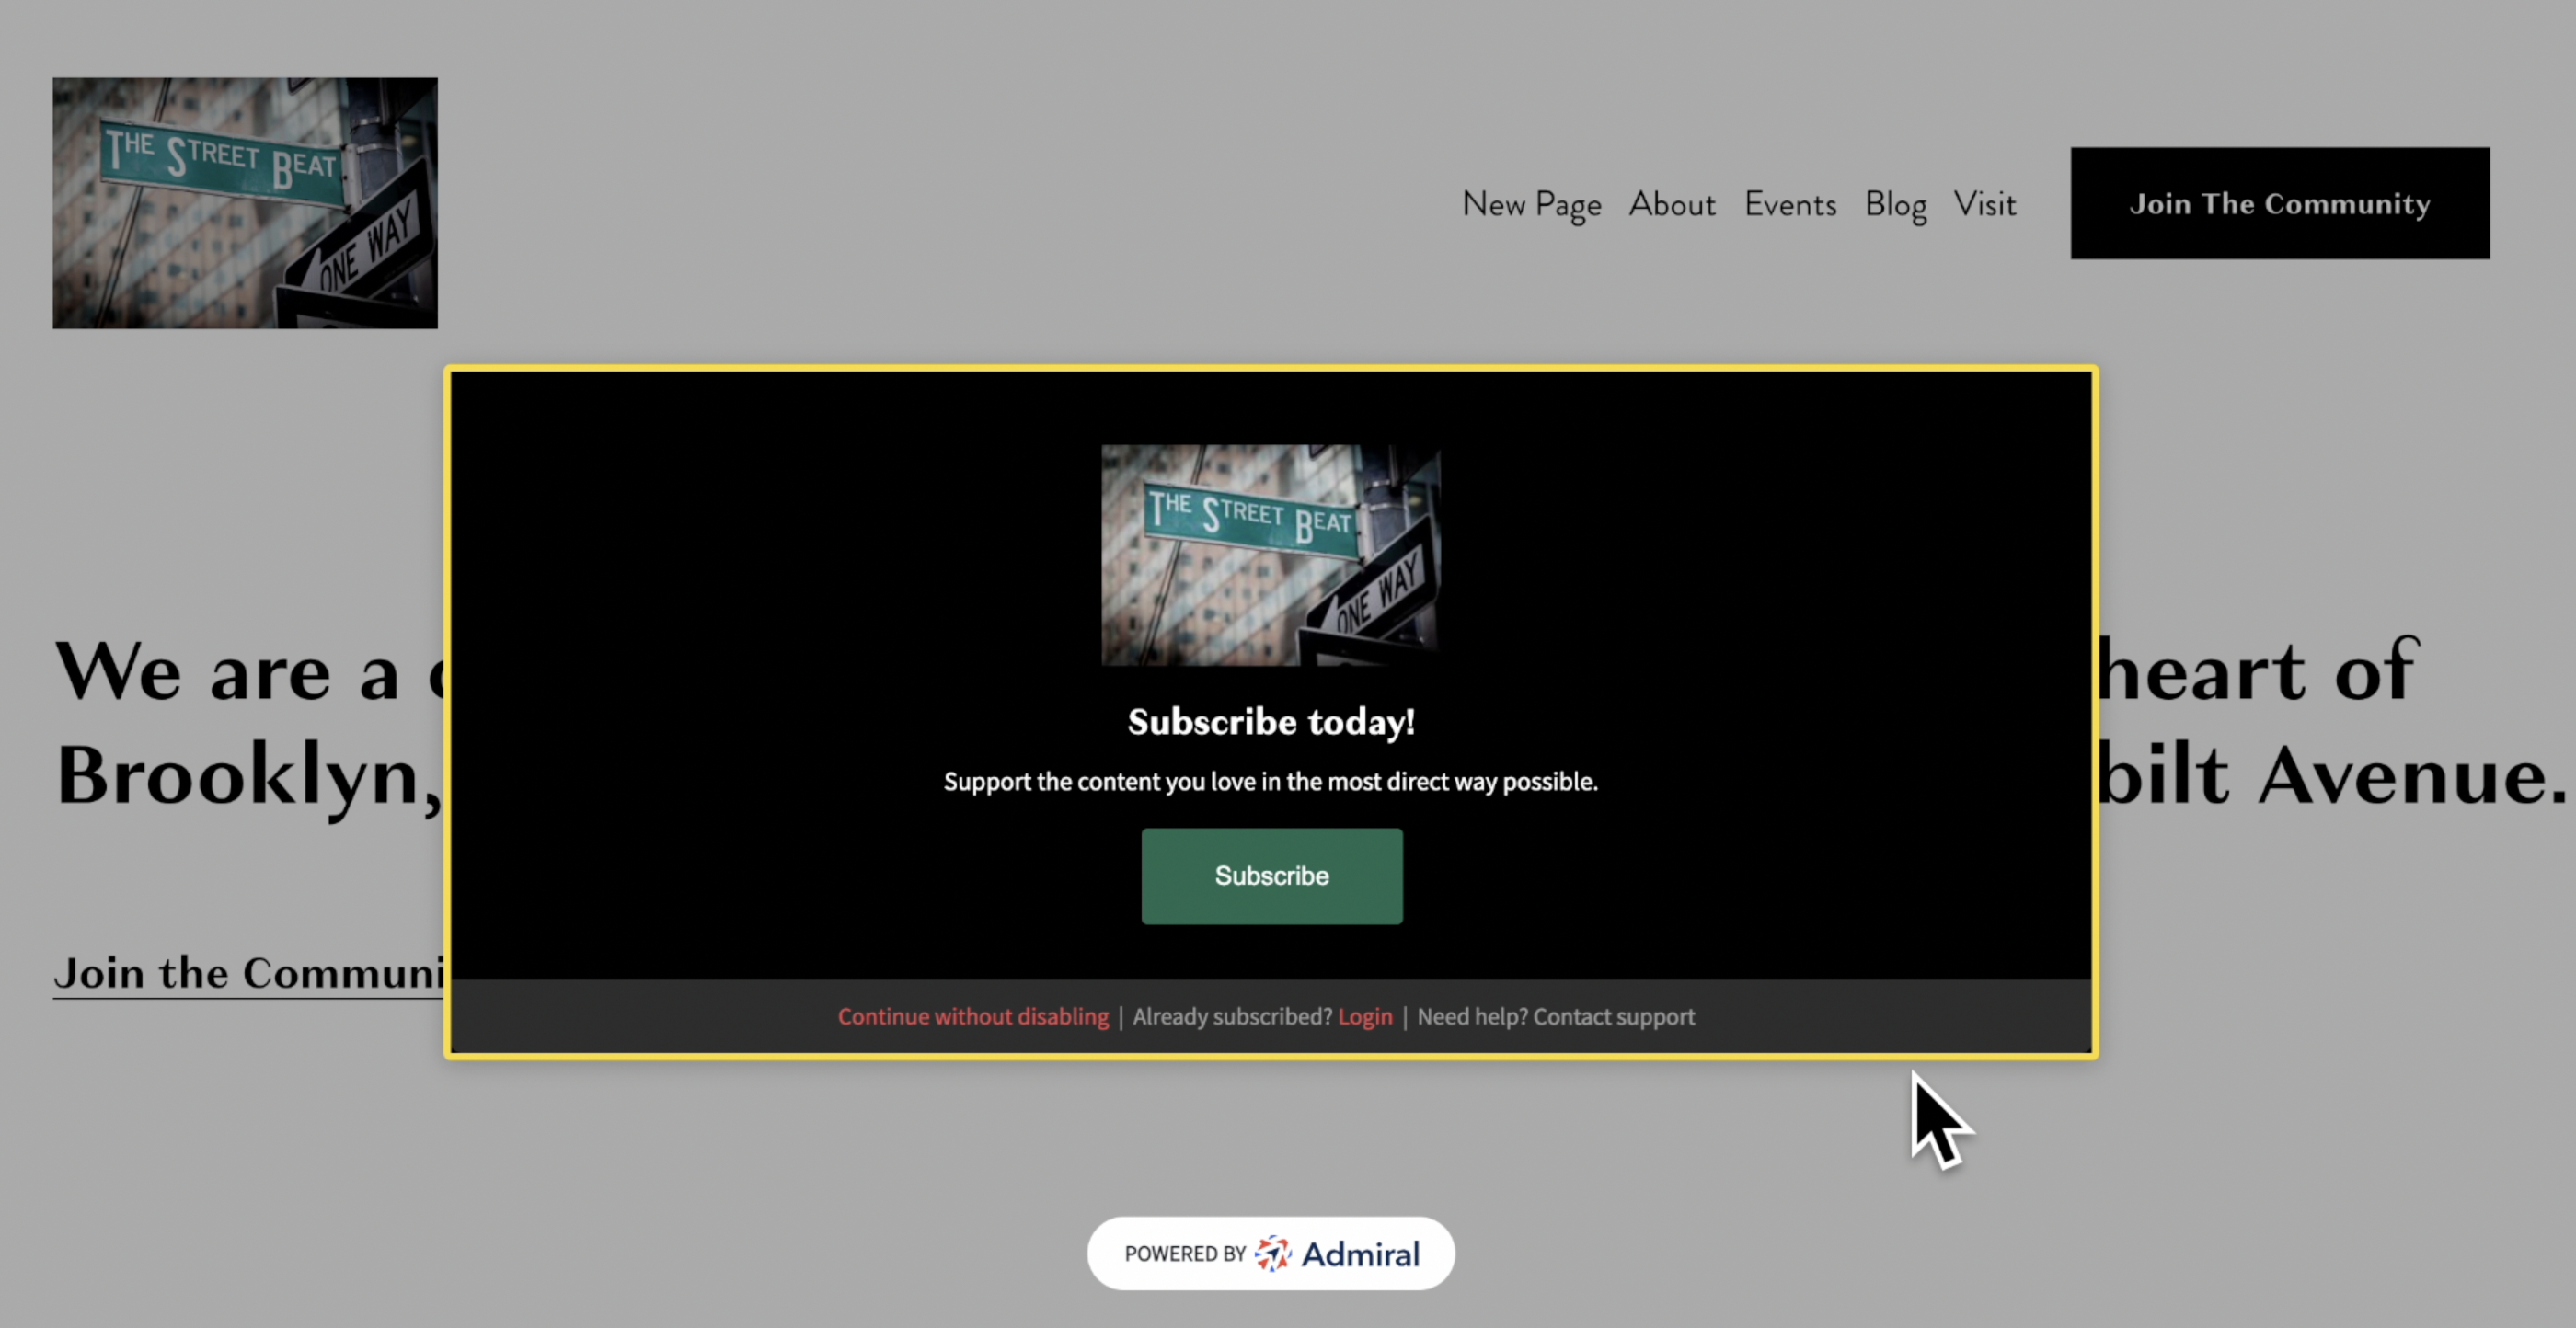
If you created an Offer Group with multiple offers, you should see all of the offers in the Offer Group.
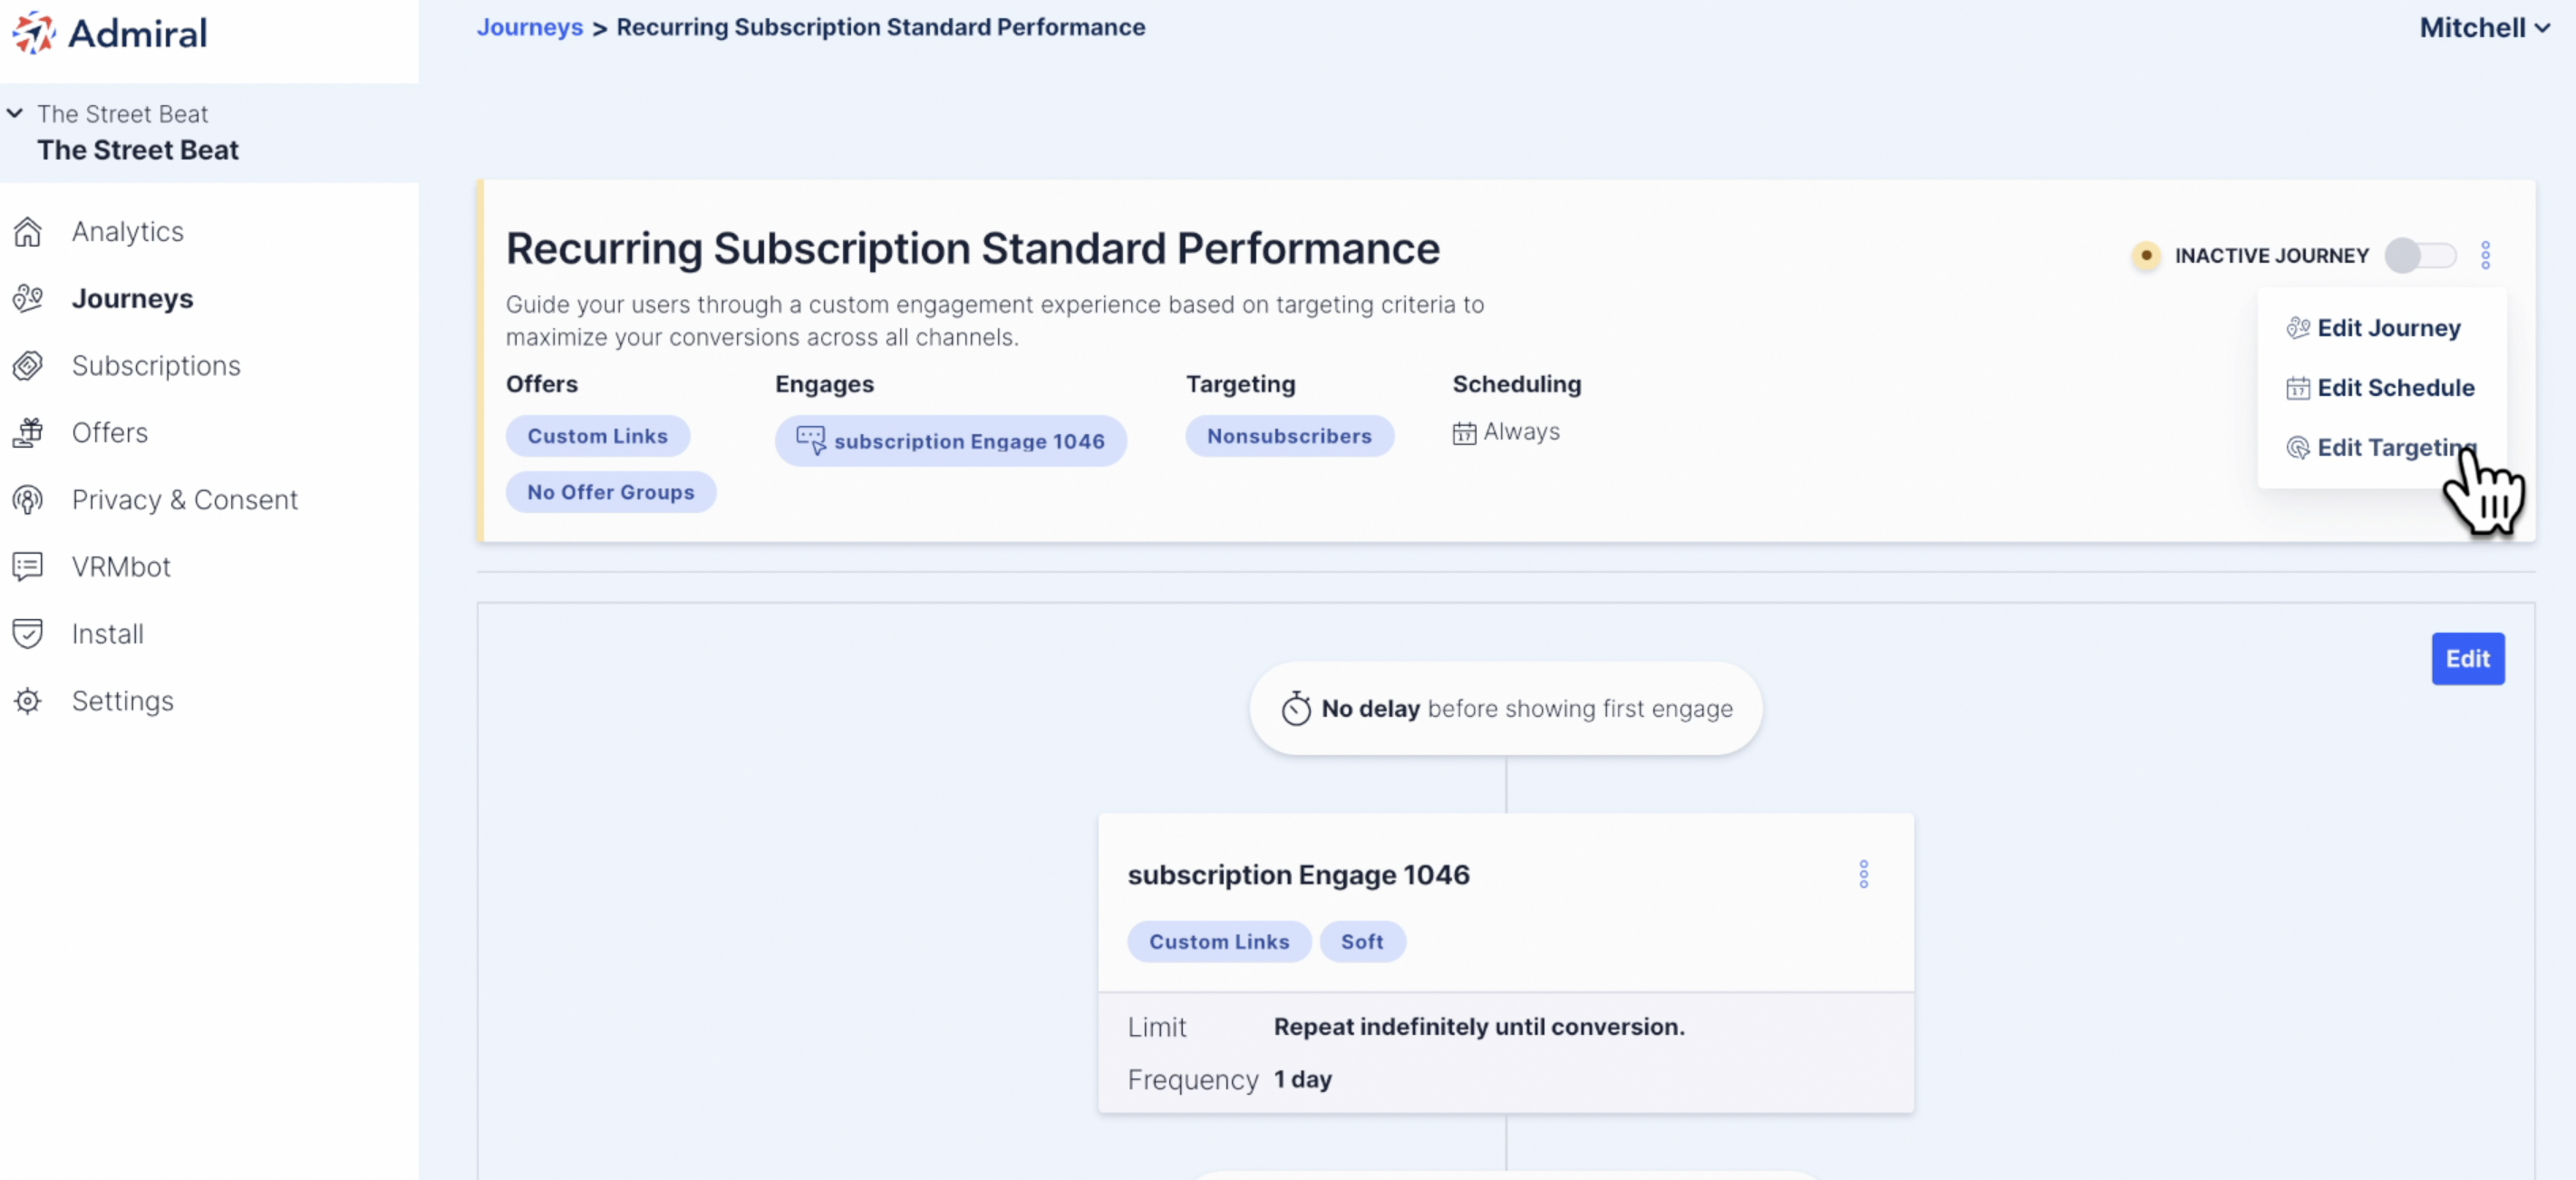
Now go back to the dashboard and click on the kabob menu in the upper right hand corner.
Click "Edit Targeting."
Click on "URL Path."
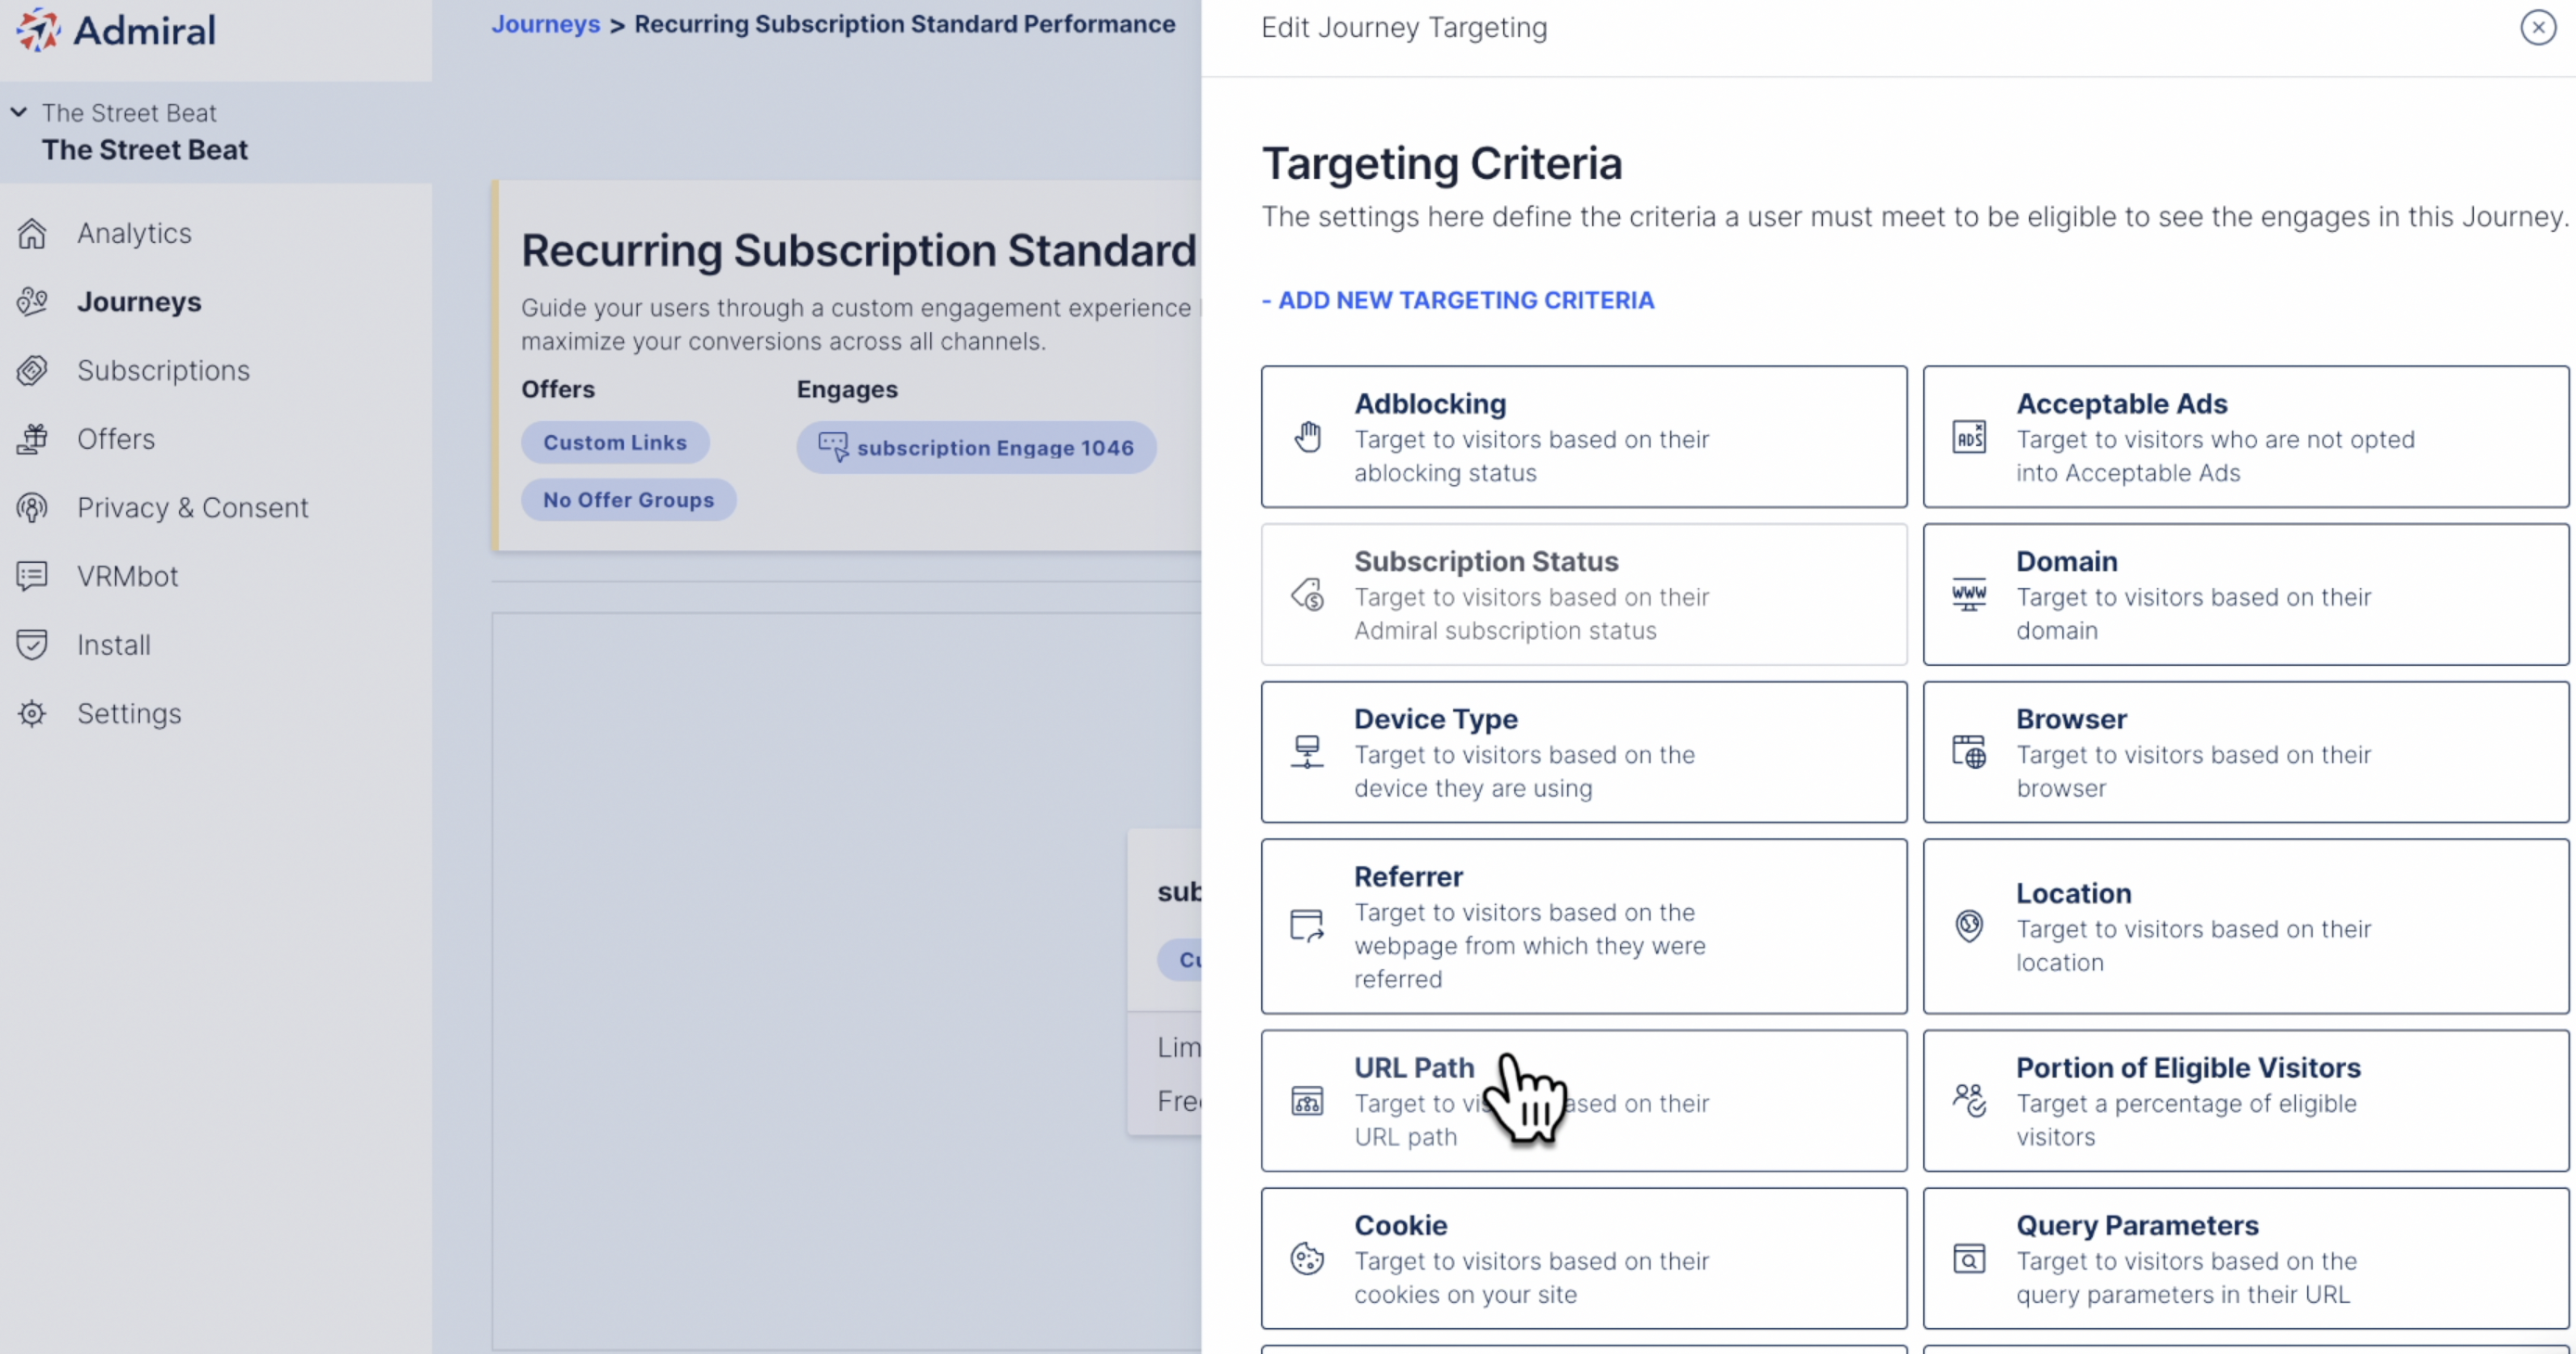
Add any URL path that you do not want this message to appear on.
TIP: Common paths that you would not want to engage visitors on include /login and /subscribe.
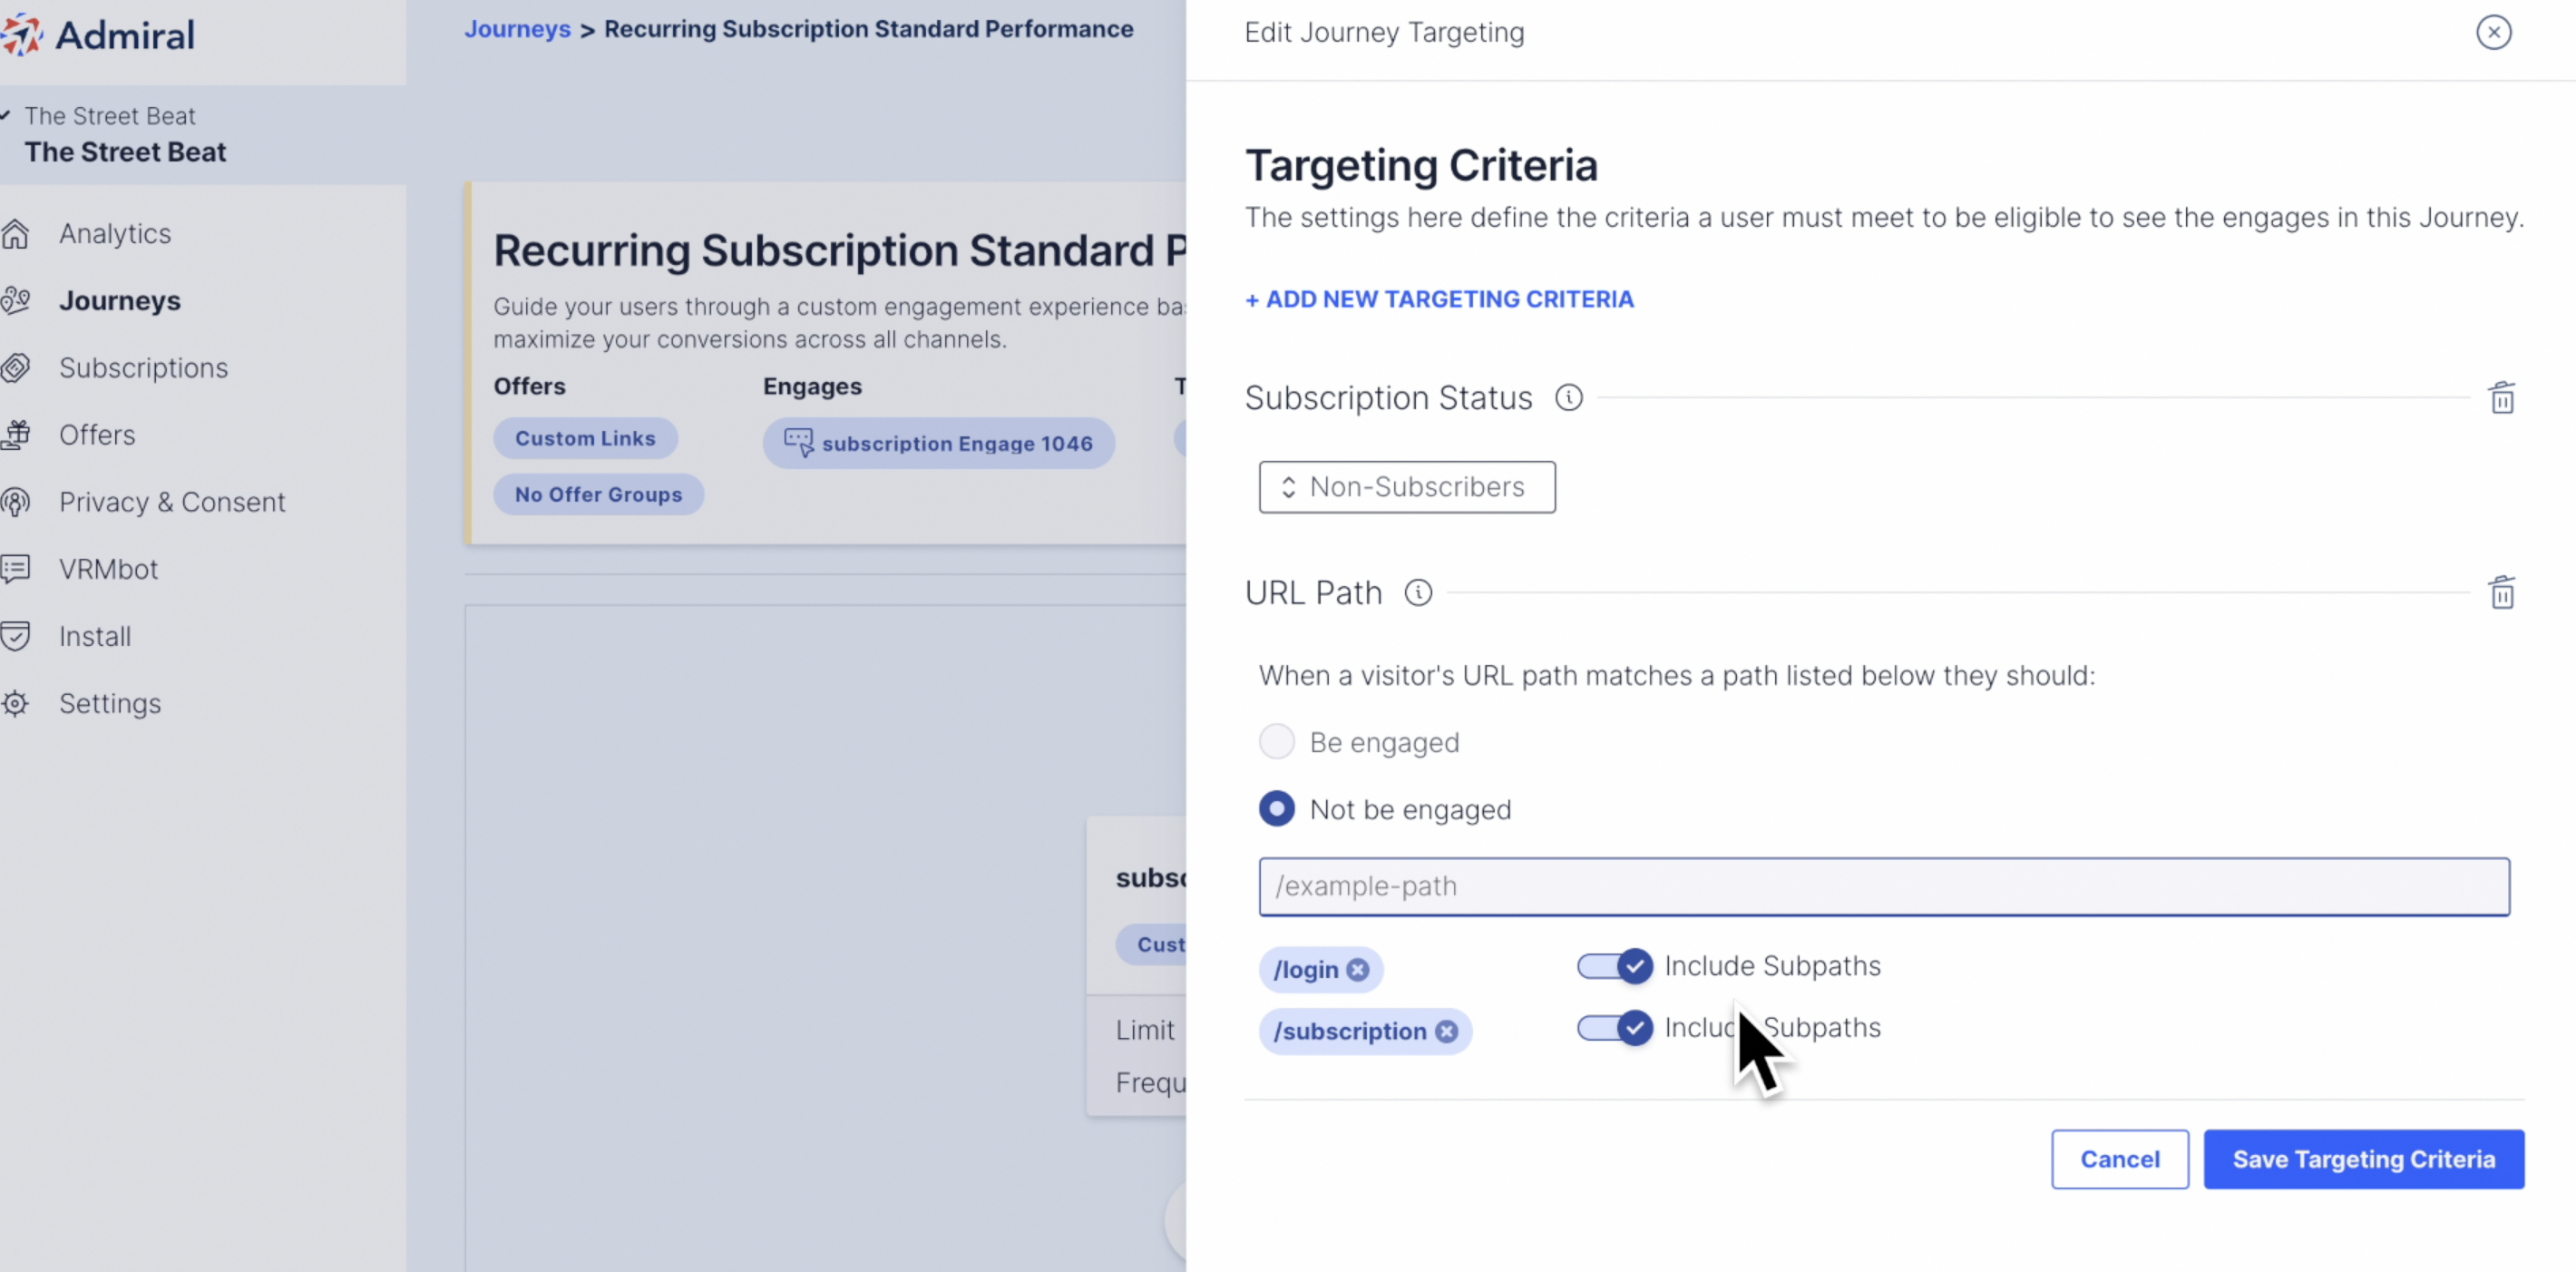
Make sure to "Save Targeting Criteria".
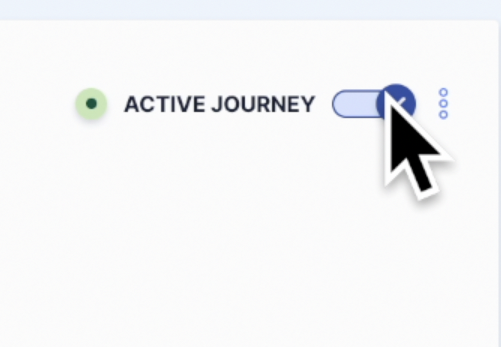
Active your Inactive Journey by sliding the toggle to Active.
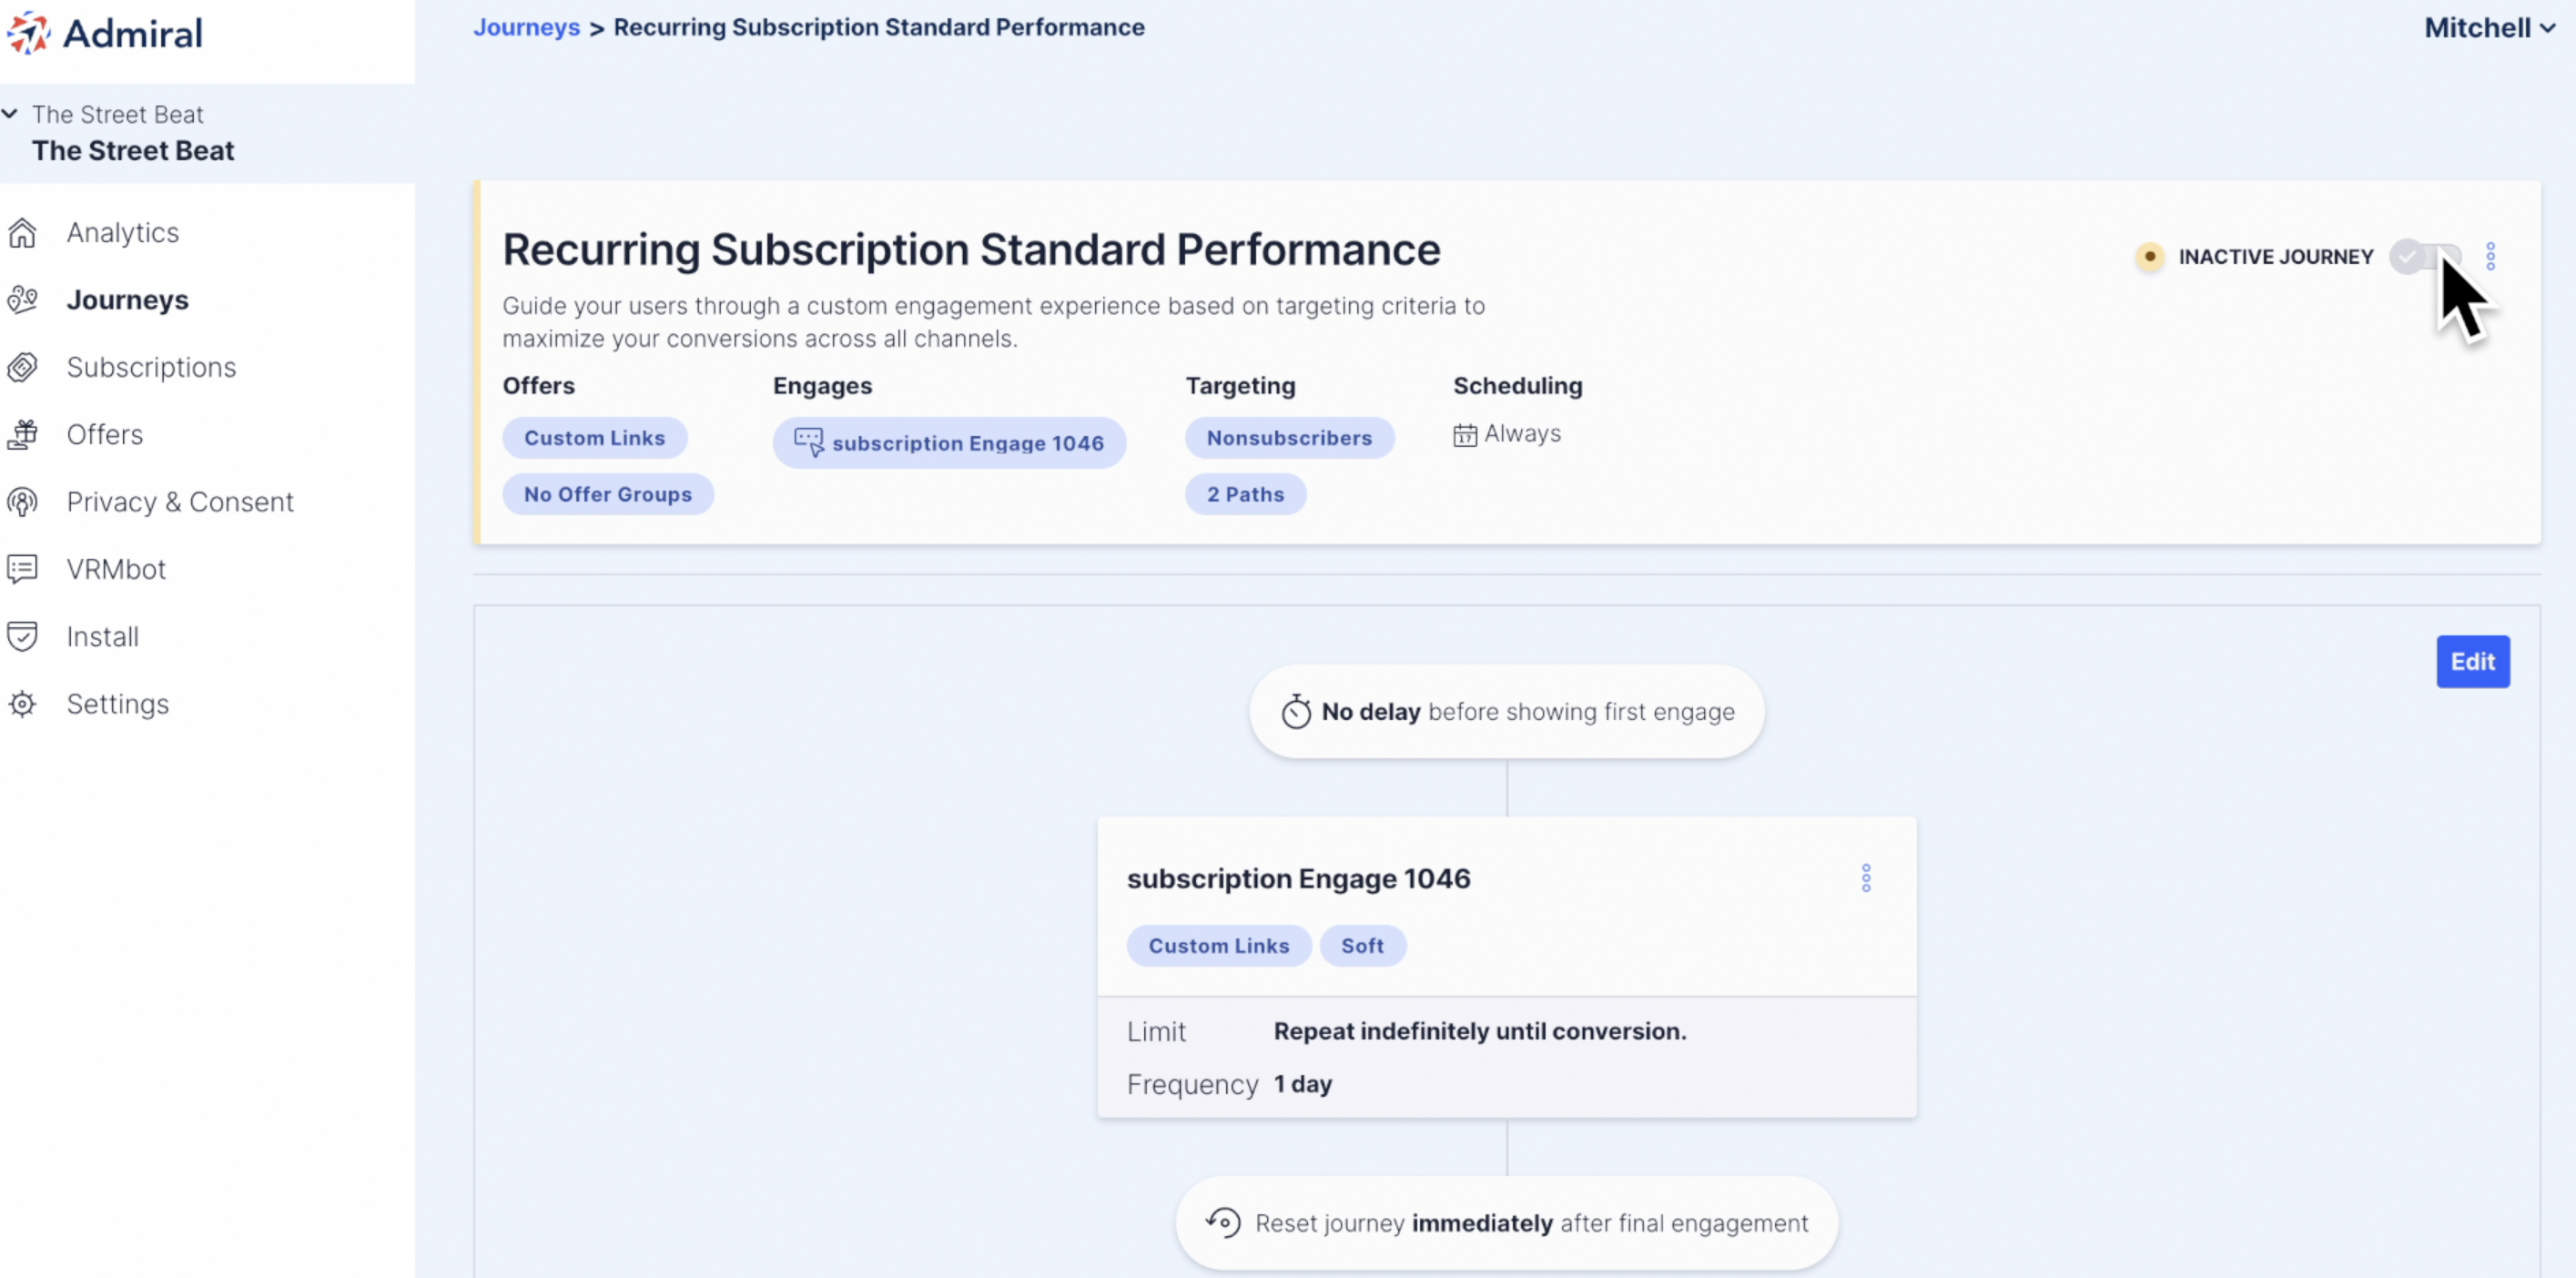
Your subscription will now be live on you site.