How to group your Offers into Benefits
A guide to creating a Benefit and using it to segment and target visitors.
Overview
Benefits allow publishers to group multiple offers into buckets of conceptual value. In other words, Benefits are a way to group multiple offers by the kind of experience they offer visitors. This could mean grouping multiple offers by, for instance, an ad-free browsing experience or access to premium content.
There are many benefits to Benefits, but most importantly this feature helps publishers better segment and target visitors.
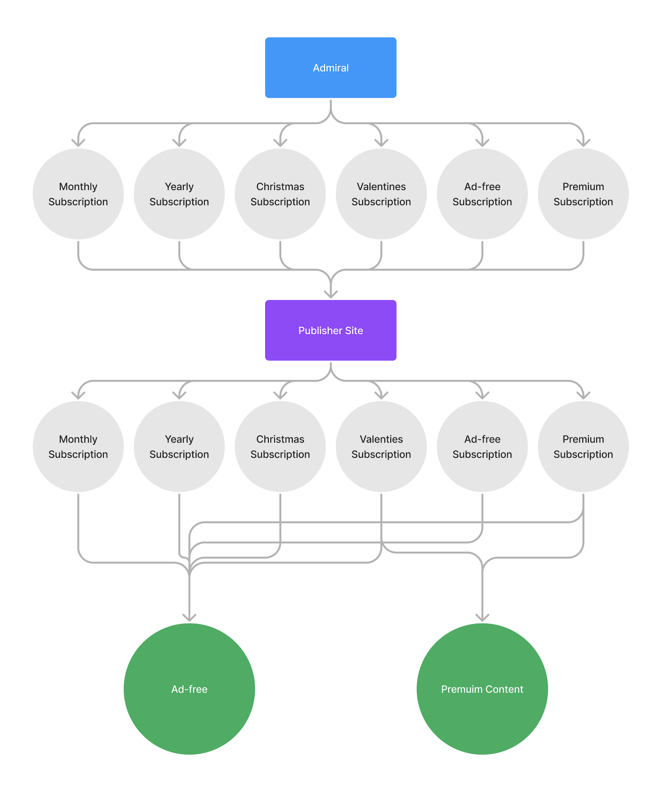
Not using Benefits requires the publisher to keep track of every offer ID they ever created and which conceptual benefit(s) each provided, to ensure their subscribers received the proper experience.
Diagram of a publisher not using Benefits.
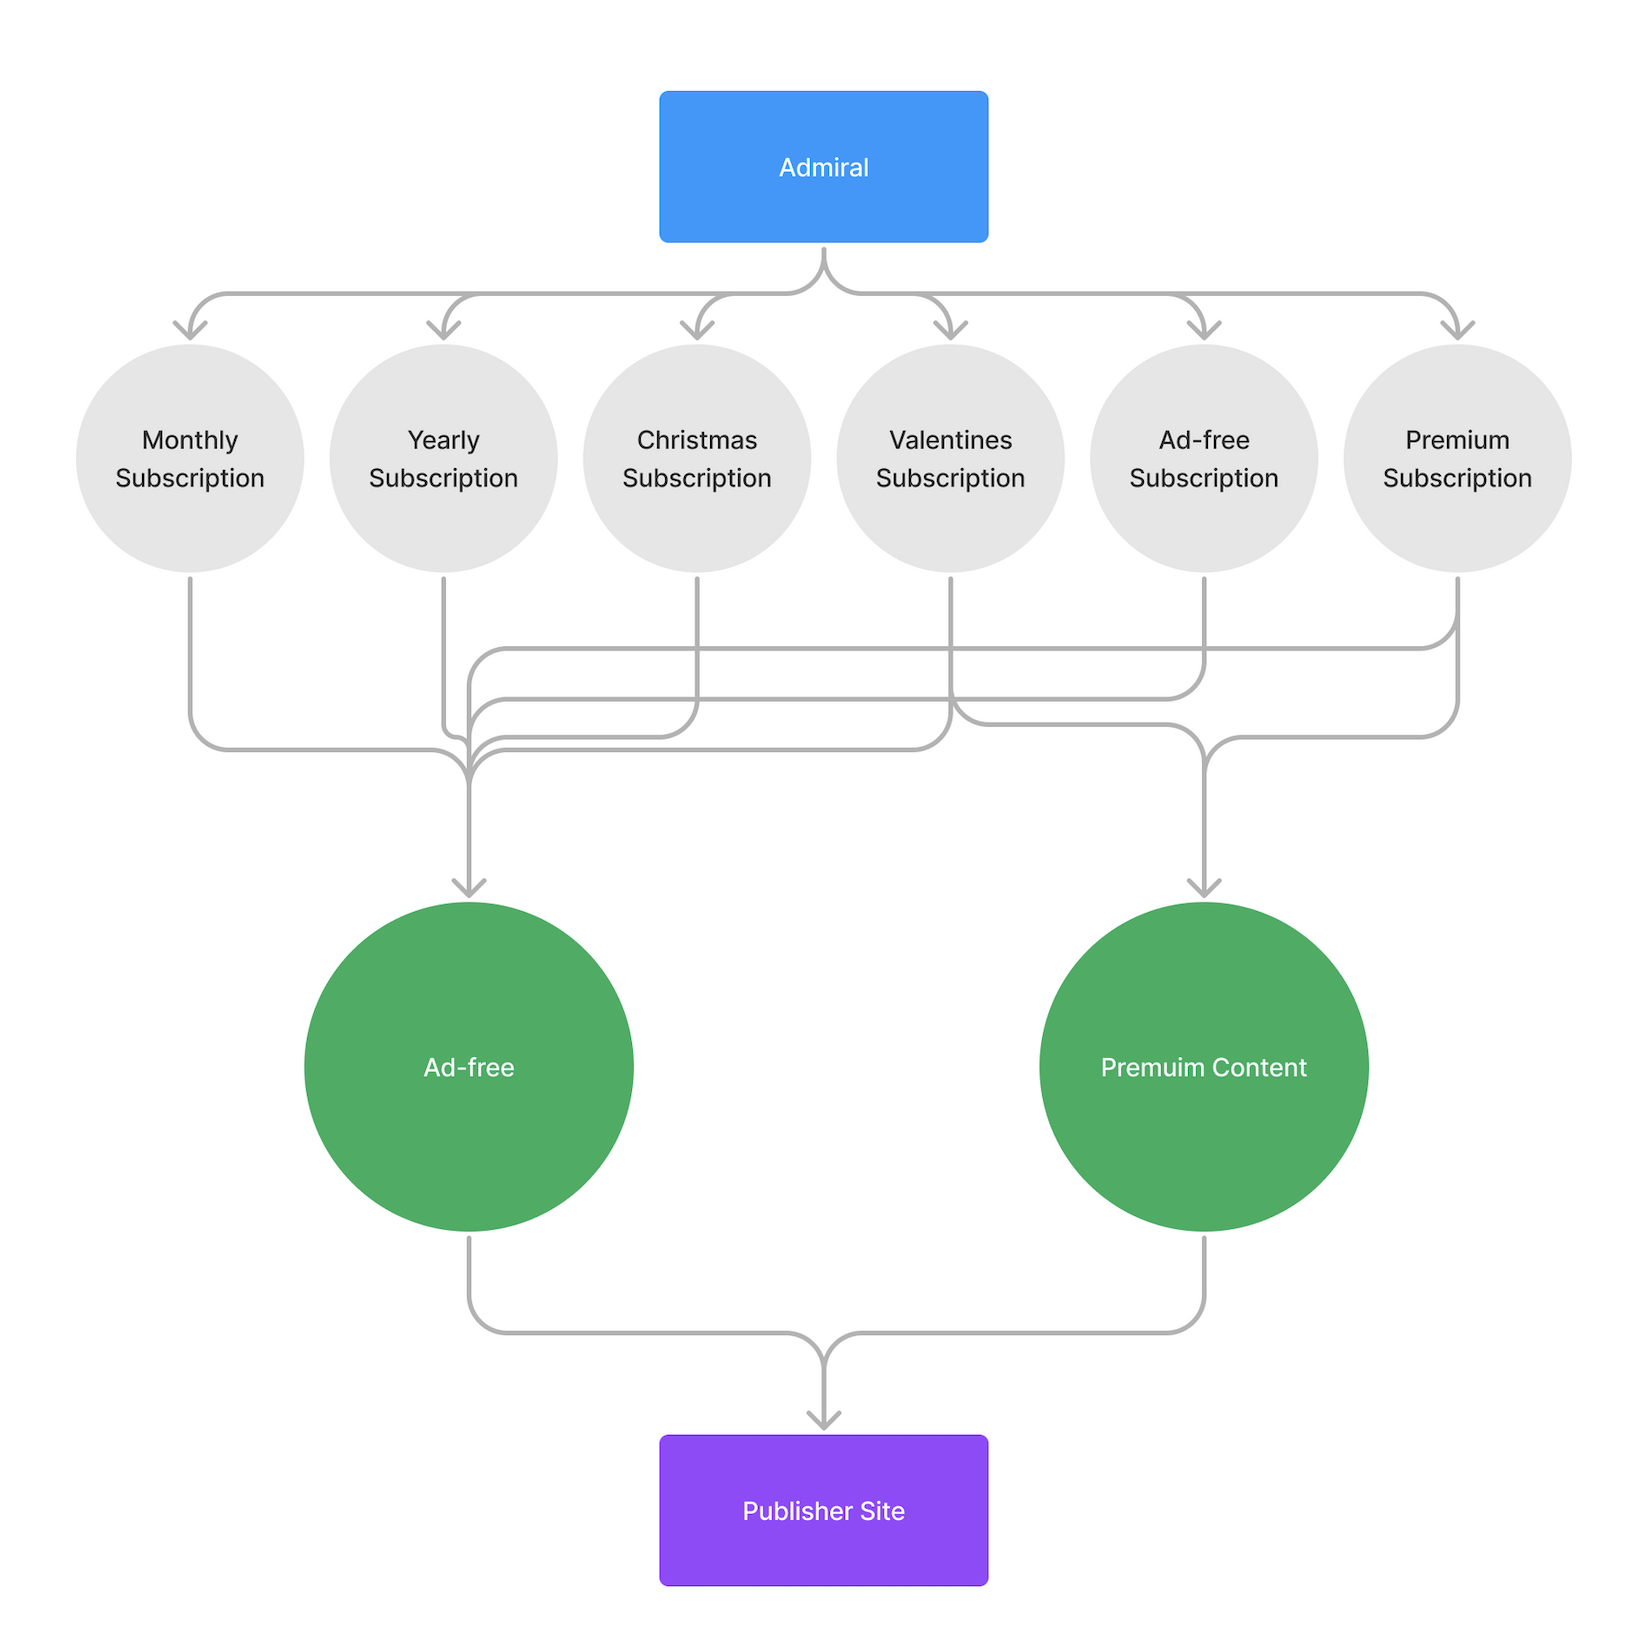
For publishers using Benefits, Admiral keeps track of which offer IDs correspond to which Benefit, and communicates Benefit IDs to the publisher’s site. By using Benefits, publishers can now go from keeping track of a potentially unlimited number of offer IDs to only keeping track of the Benefit IDs that represent the different experiences a subscriber should have on their site.
Diagram of a publisher using Benefits.
Creating a Benefit
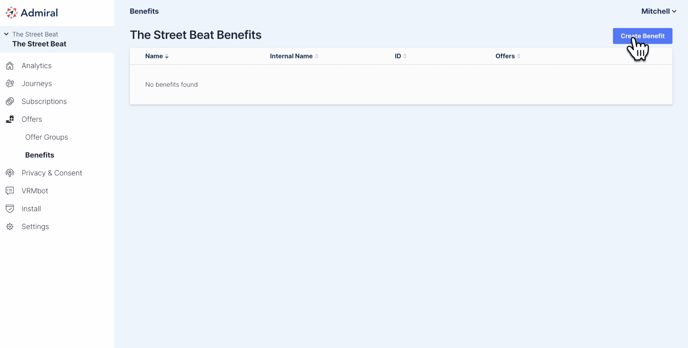
- Click the Offers tab in your dashboard. Then, below Offers, click on Benefits.
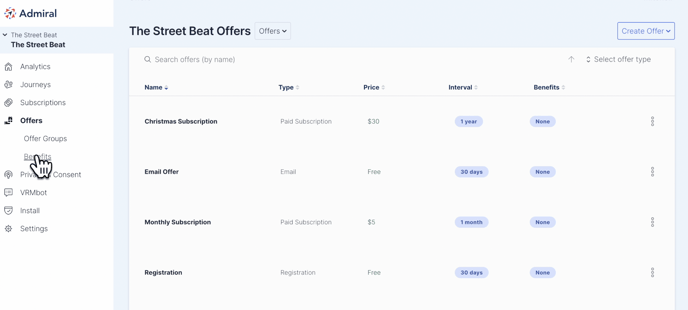
- Click on "Create Benefit."
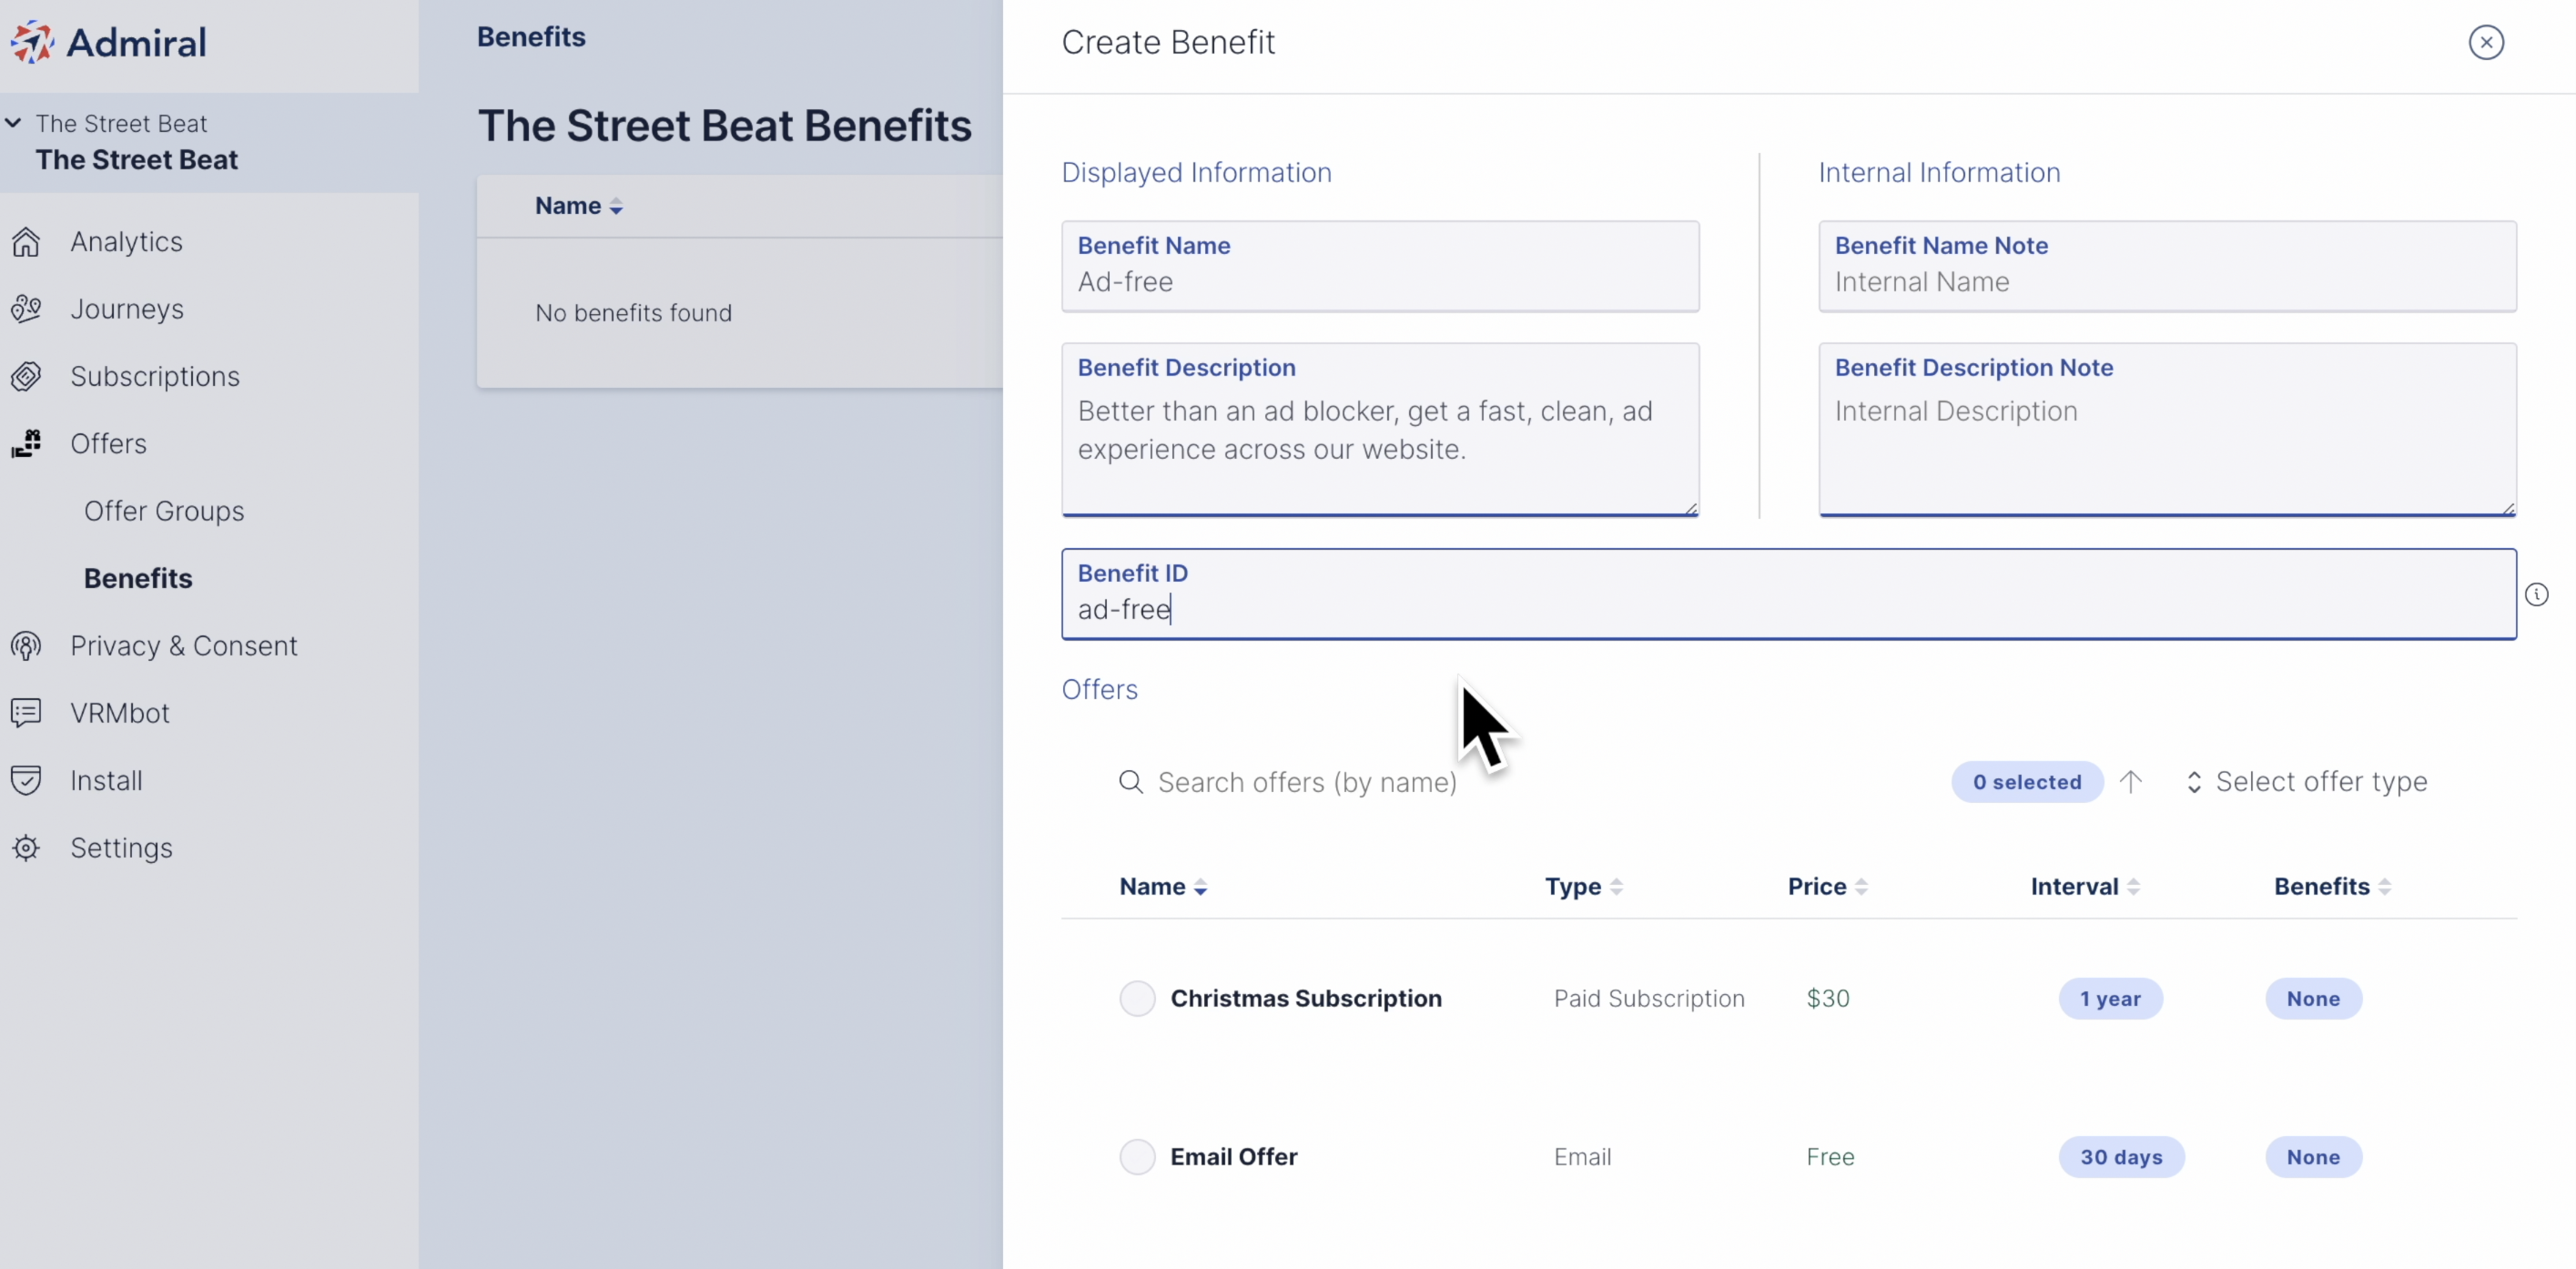
- Now, in the Displayed Information column, fill in the Benefit Name and Benefit Description. These two fields will be displayed to visitors with an Offer. The column on the right side is for any internal information you would like to keep for these fields.
- Add a Benefit ID. This ID should be unique and human recognizable. Once you create a Benefit ID you should not change it because it is intrinsically tied to this Benefit and the subscribers.
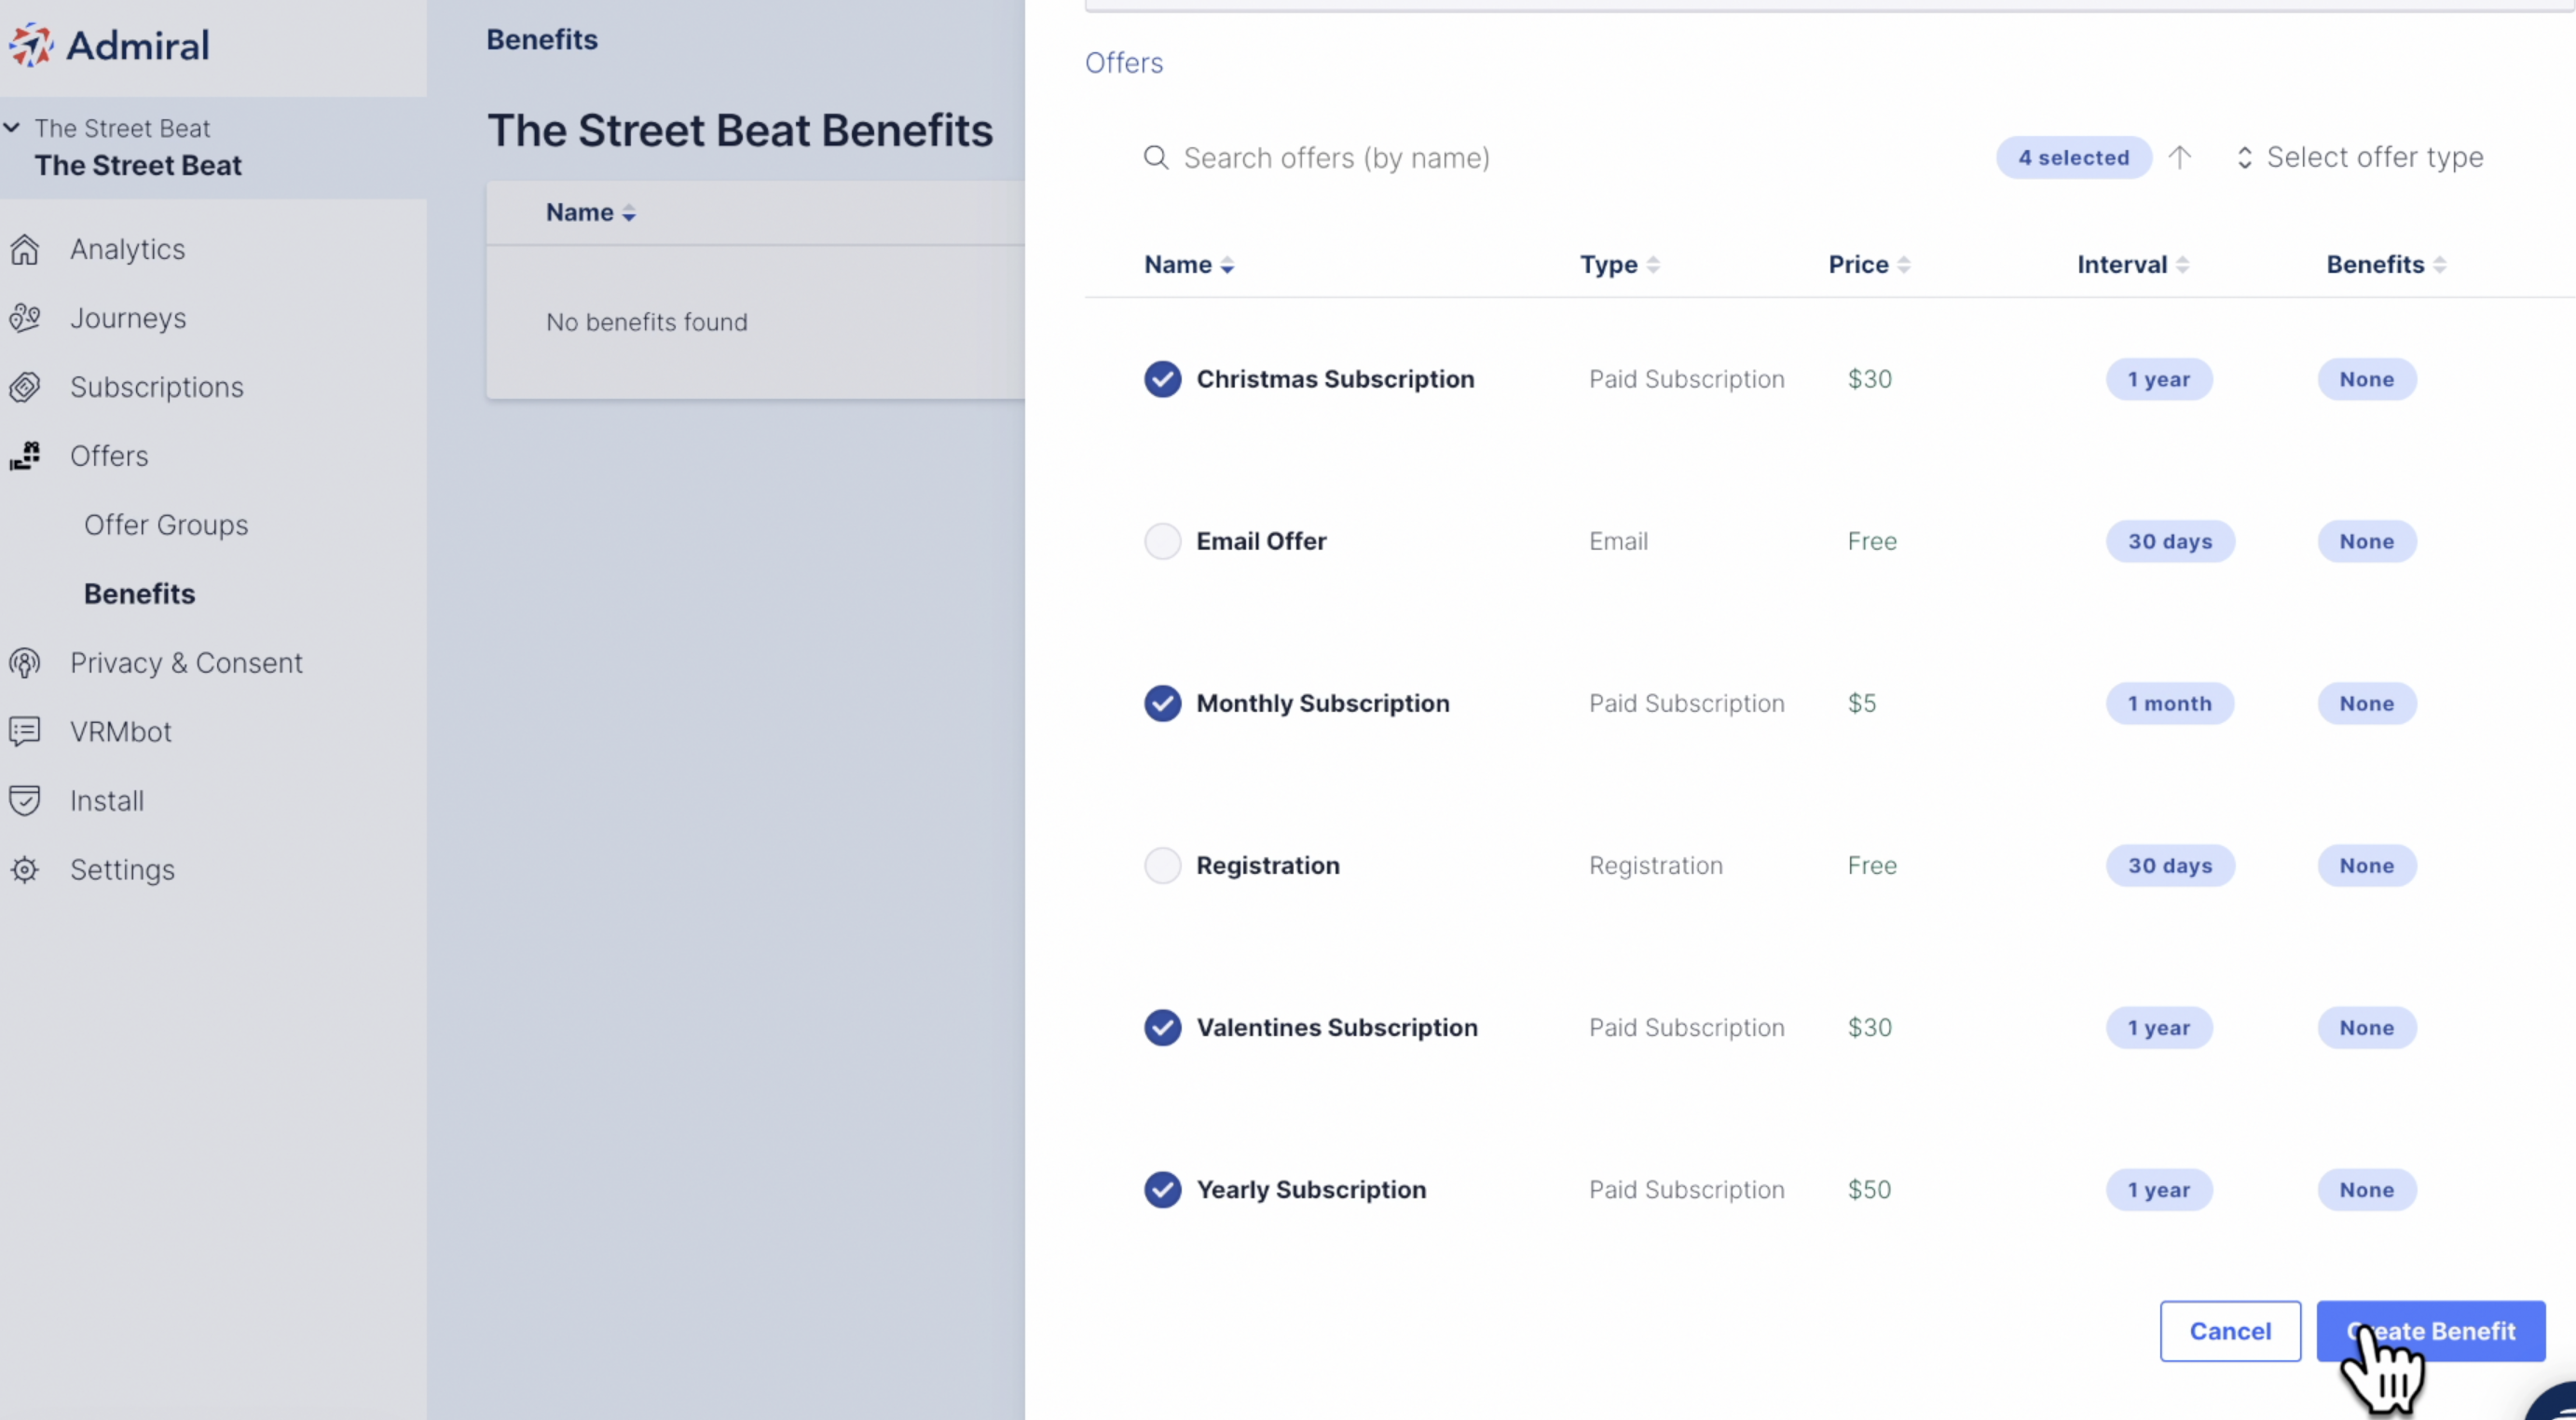
- Scroll down and select each Offer that belongs with this Benefit. In the example below, all the subscriptions with an ad-free experience are selected.
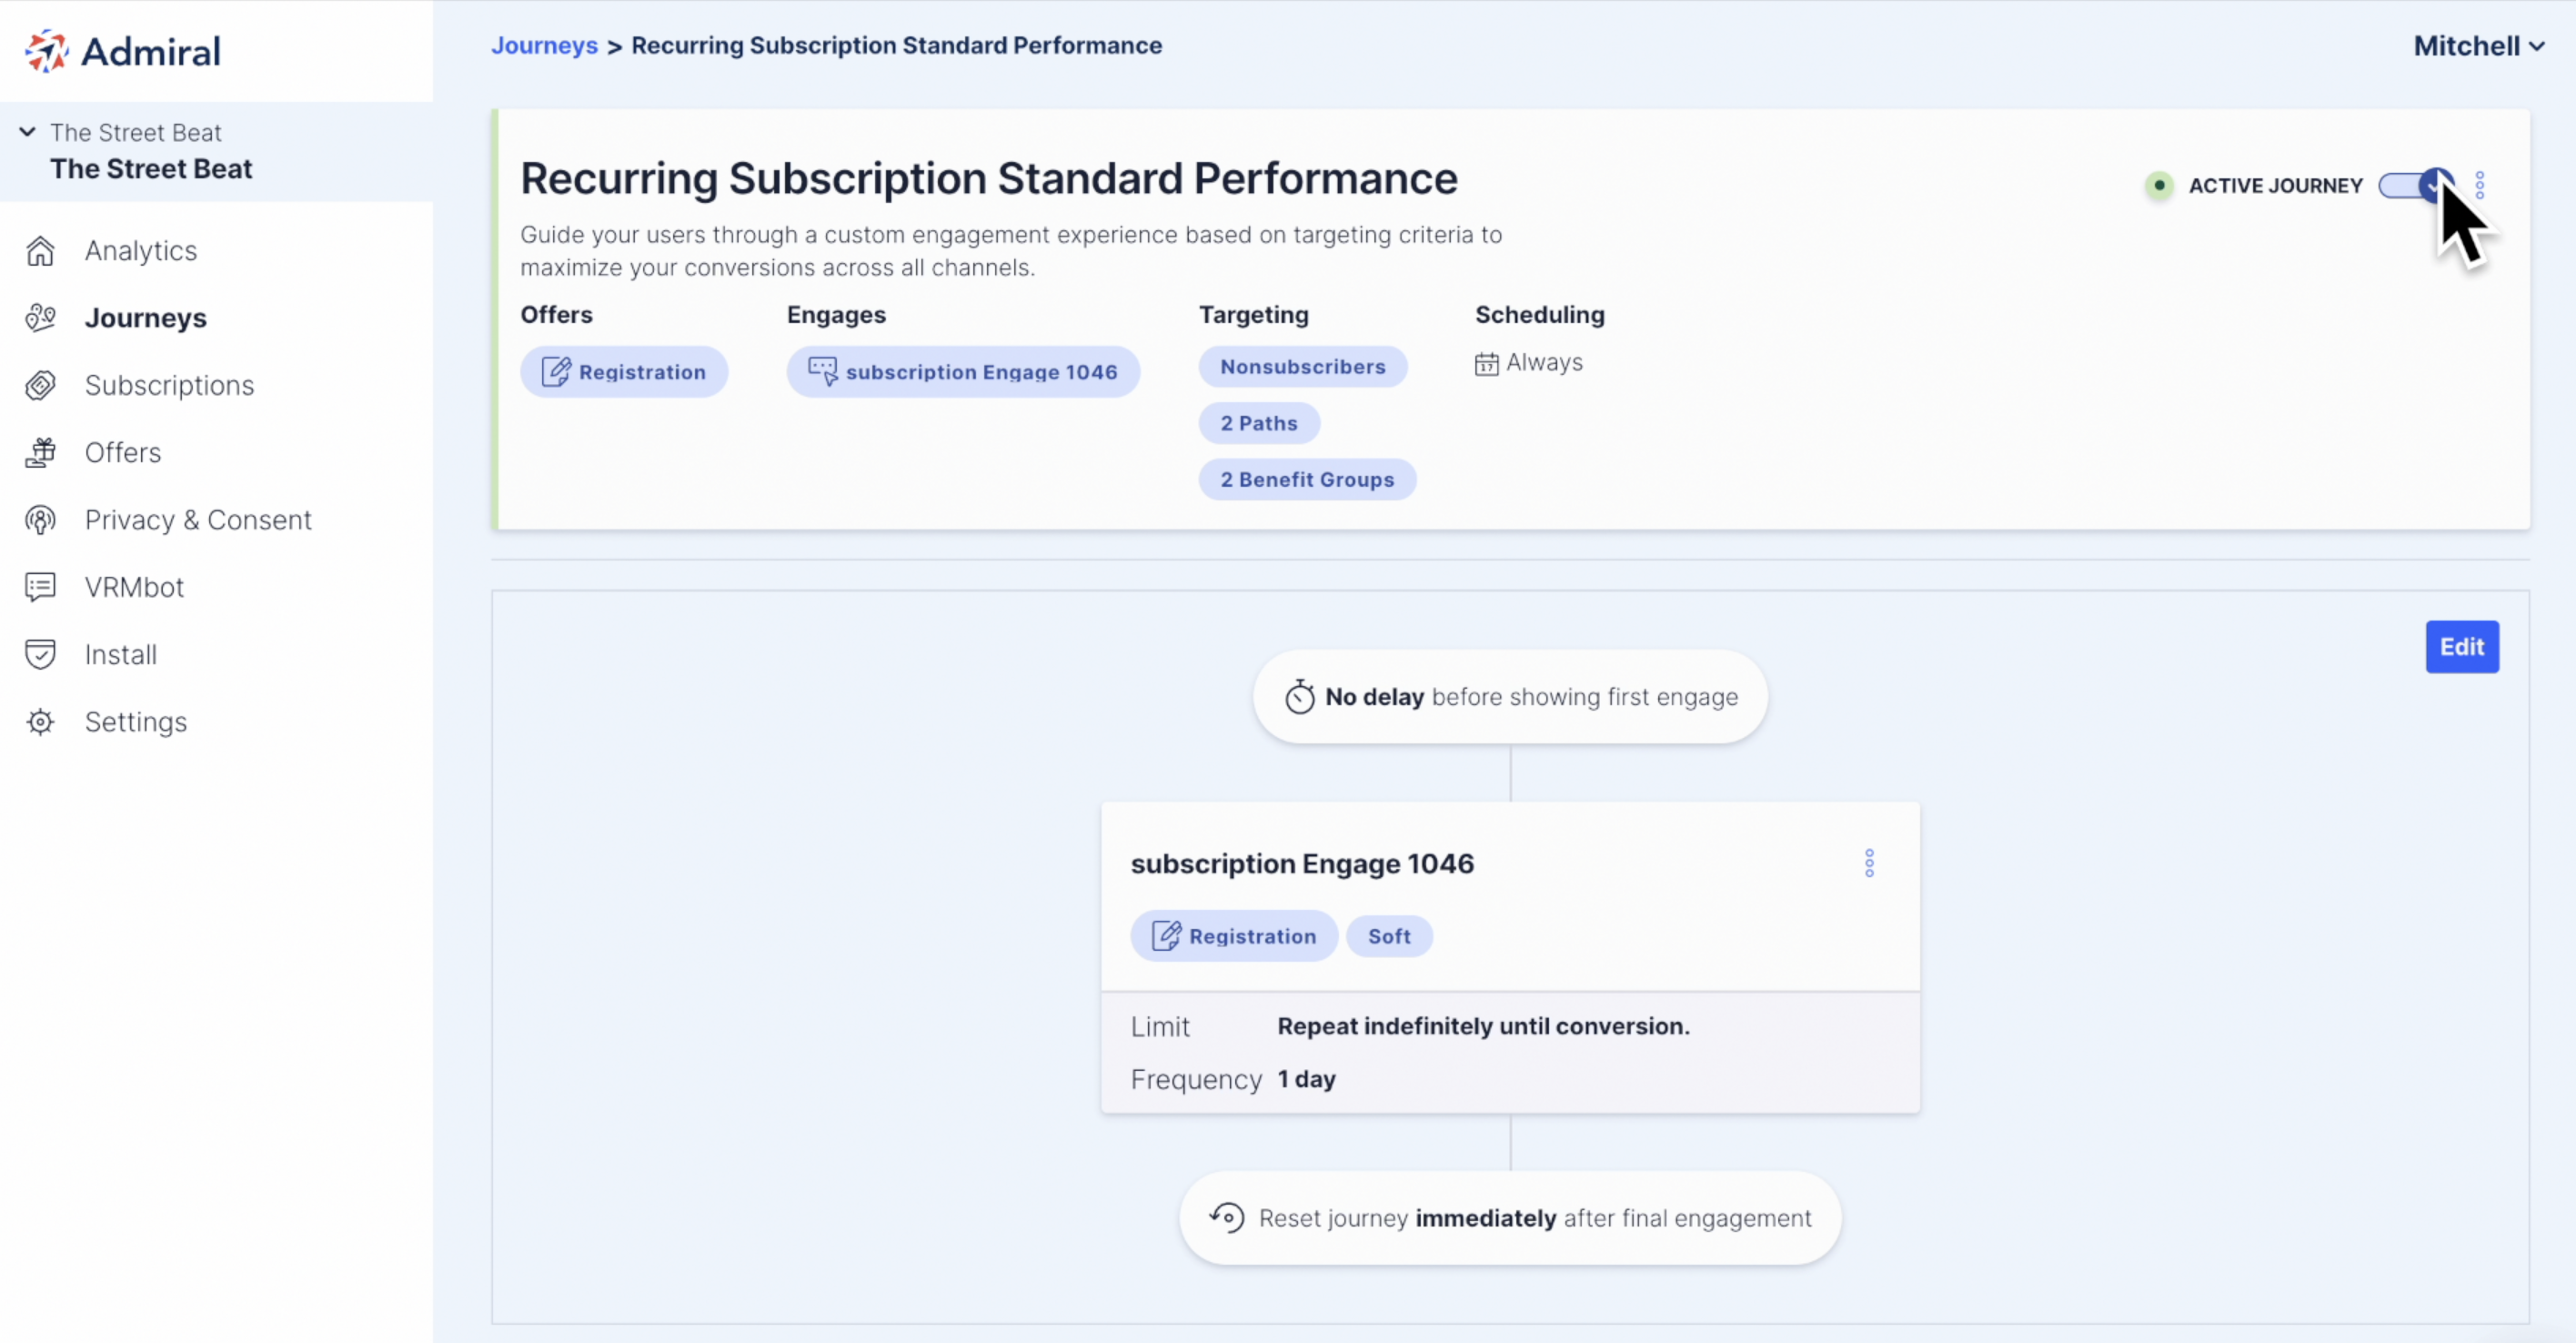
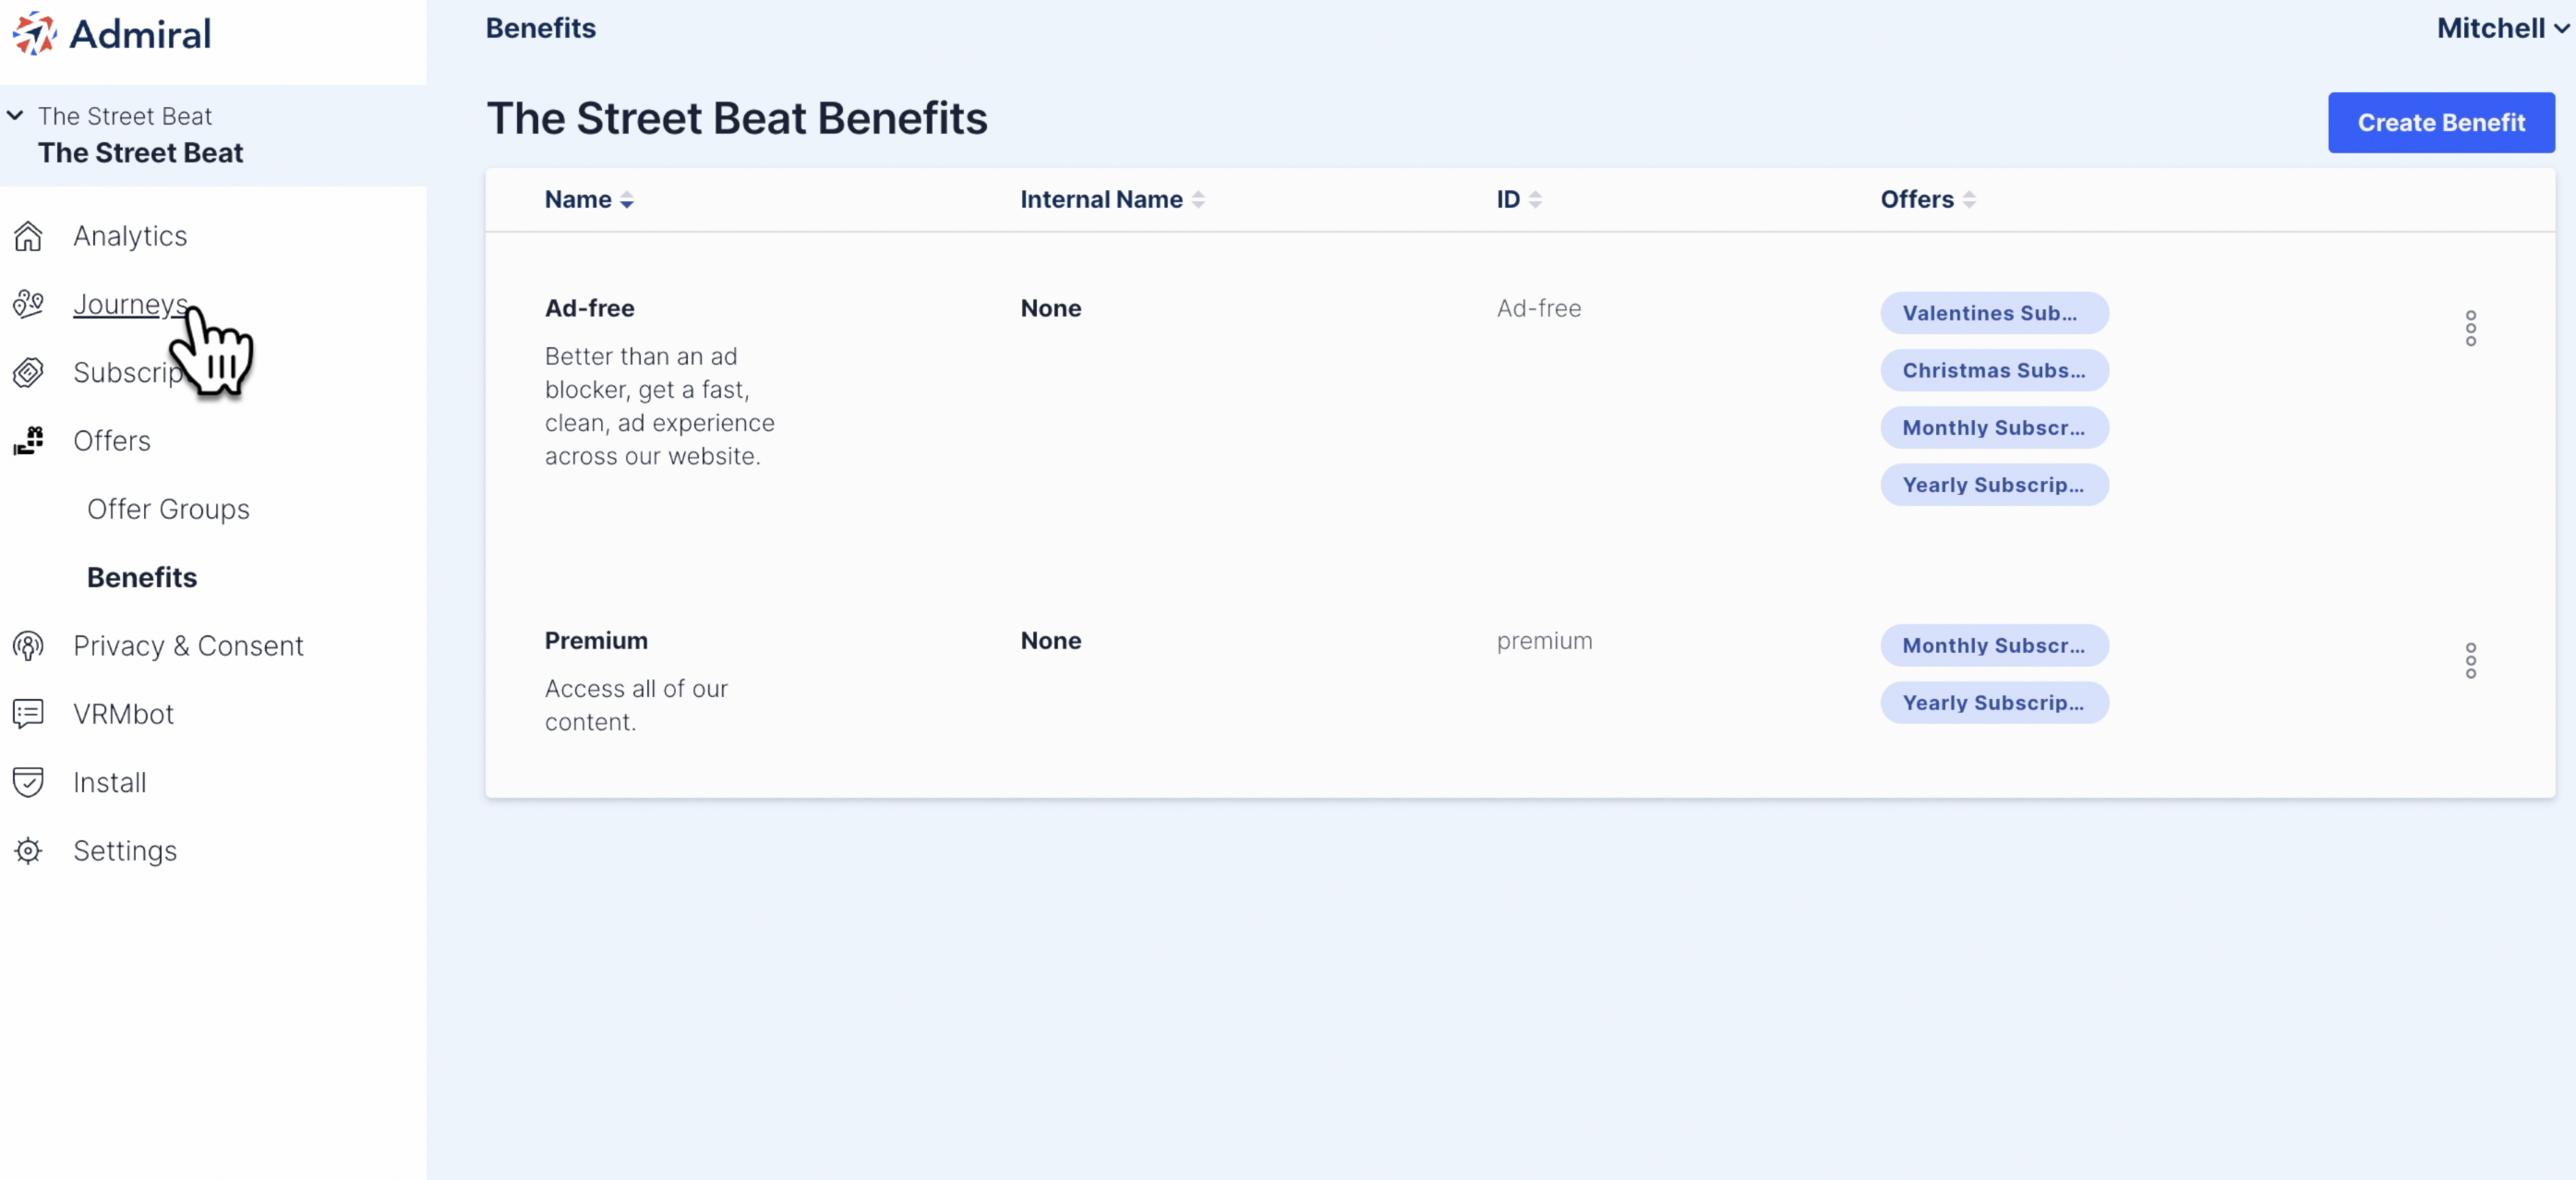
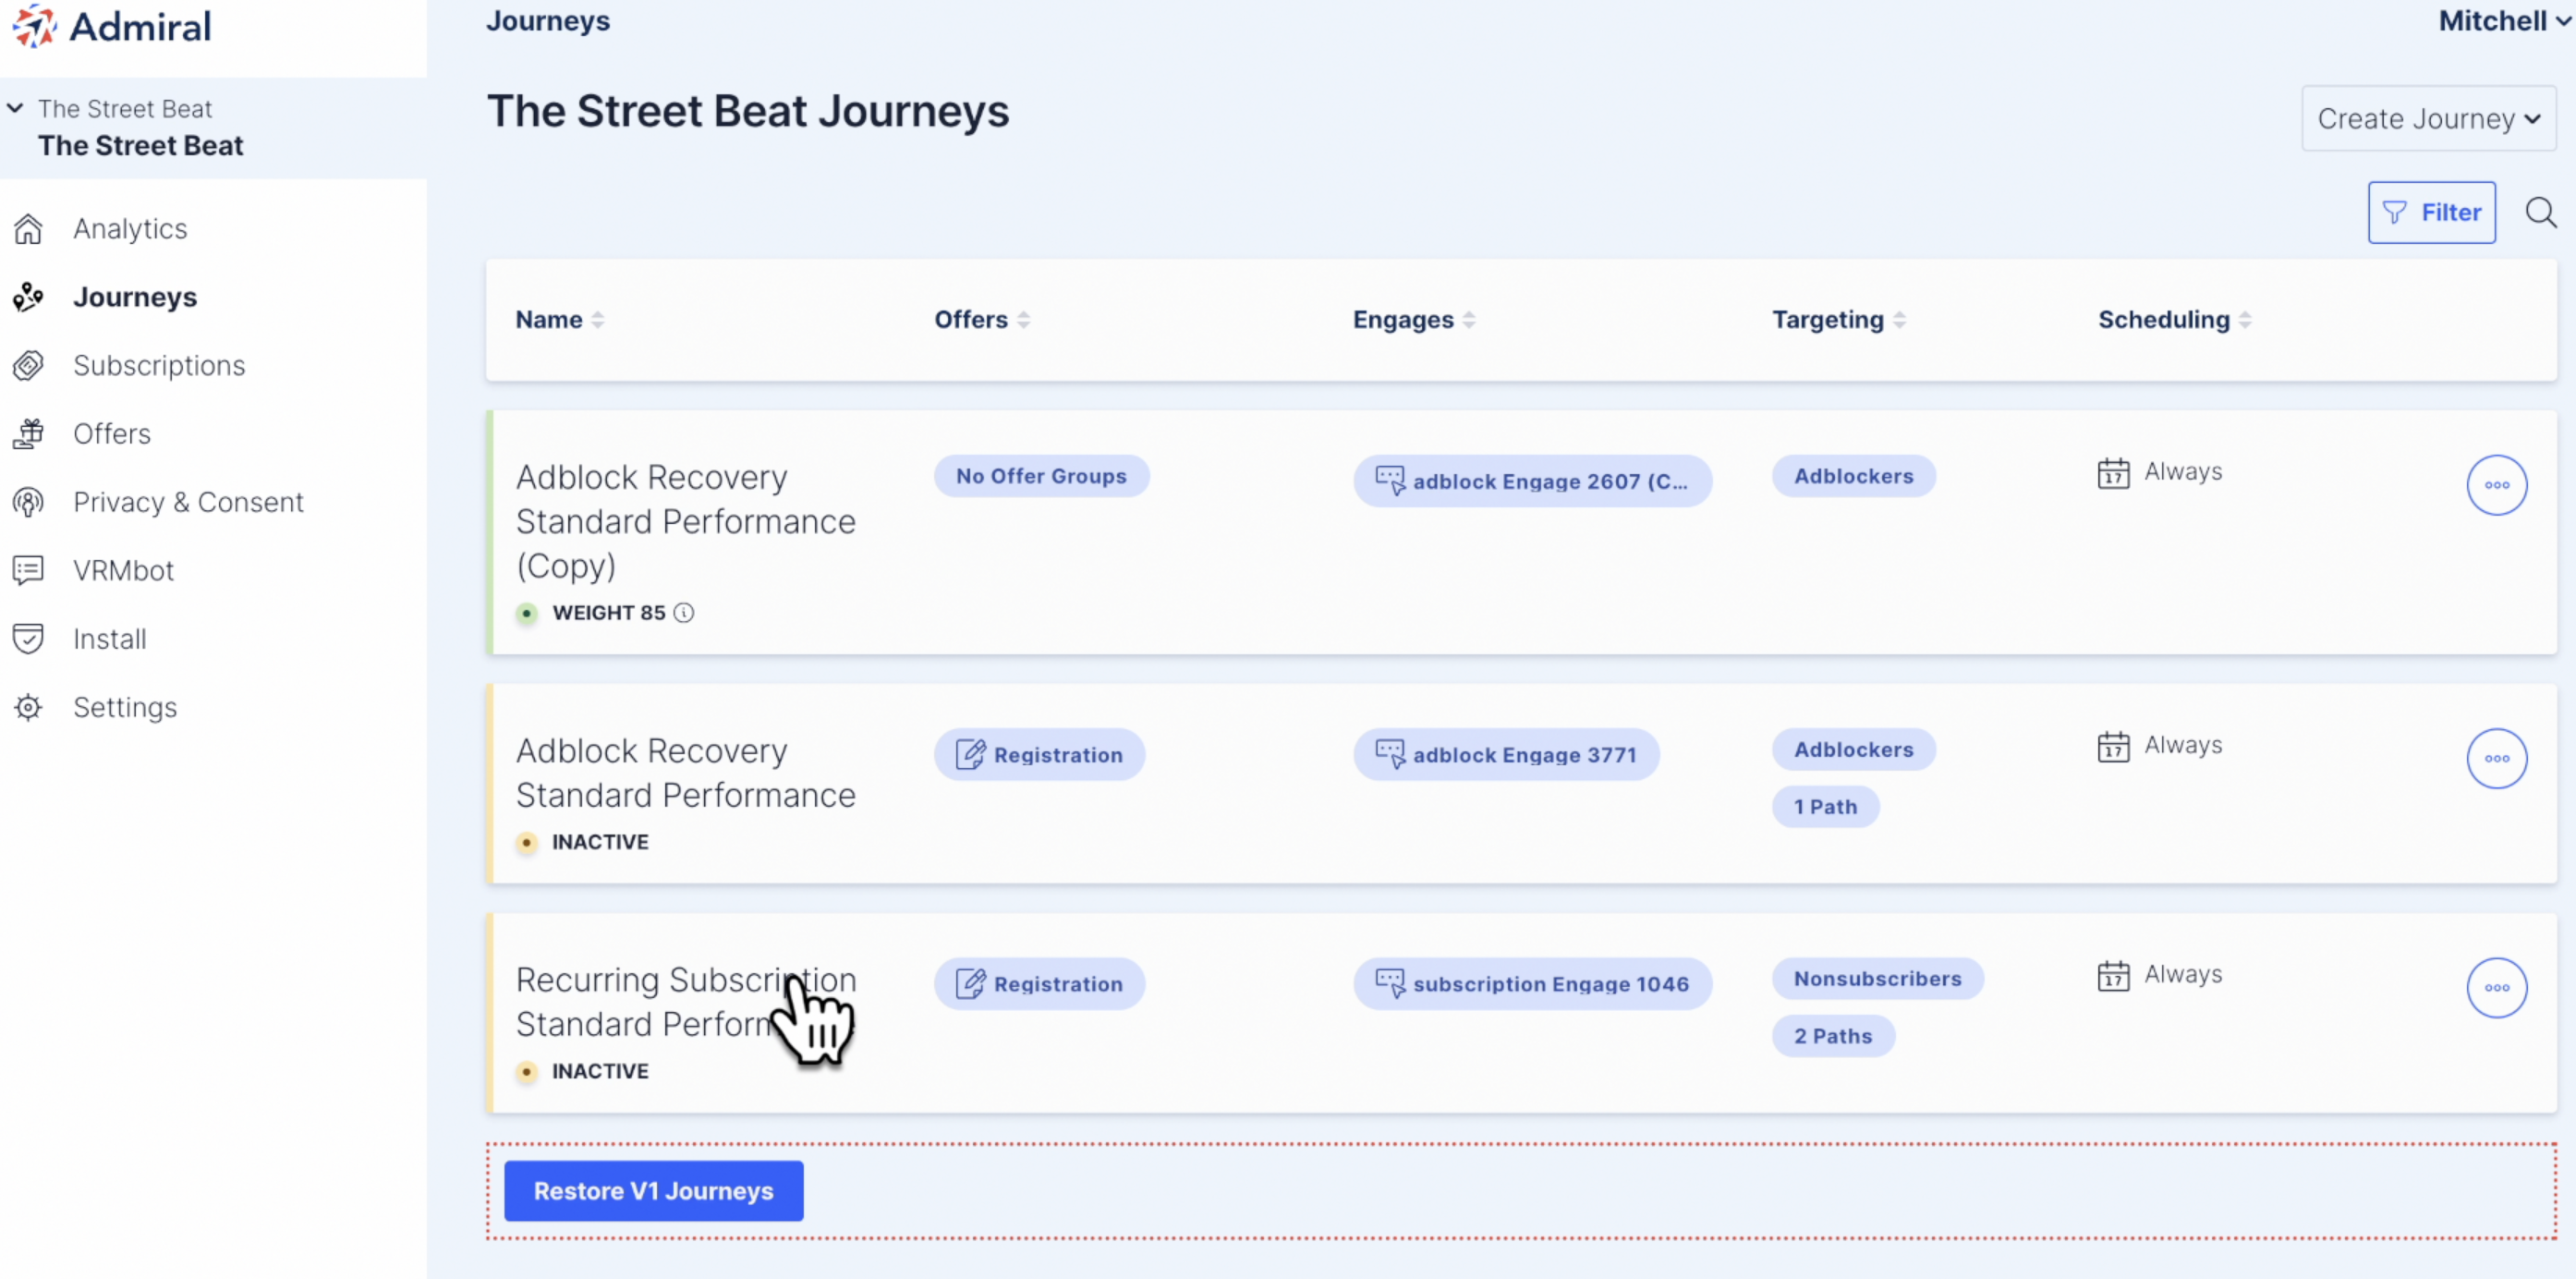
- Now that you've created a Benefit, you can target visitors who do not have that Benefit, or target subscribers who do have that Benefit. To begin, click on the Journeys tab.
- Click on the Journey that you want to edit.
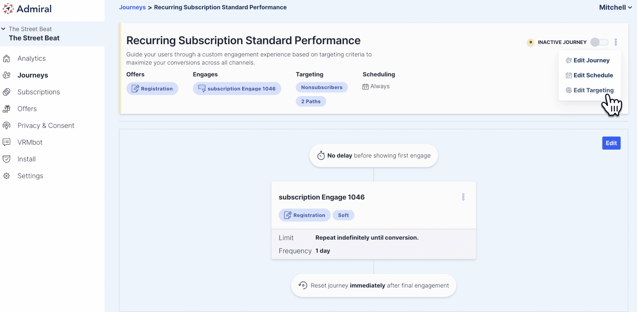
- Click on the kabob menu in the top right corner and select "Edit Targeting" from the dropdown menu.
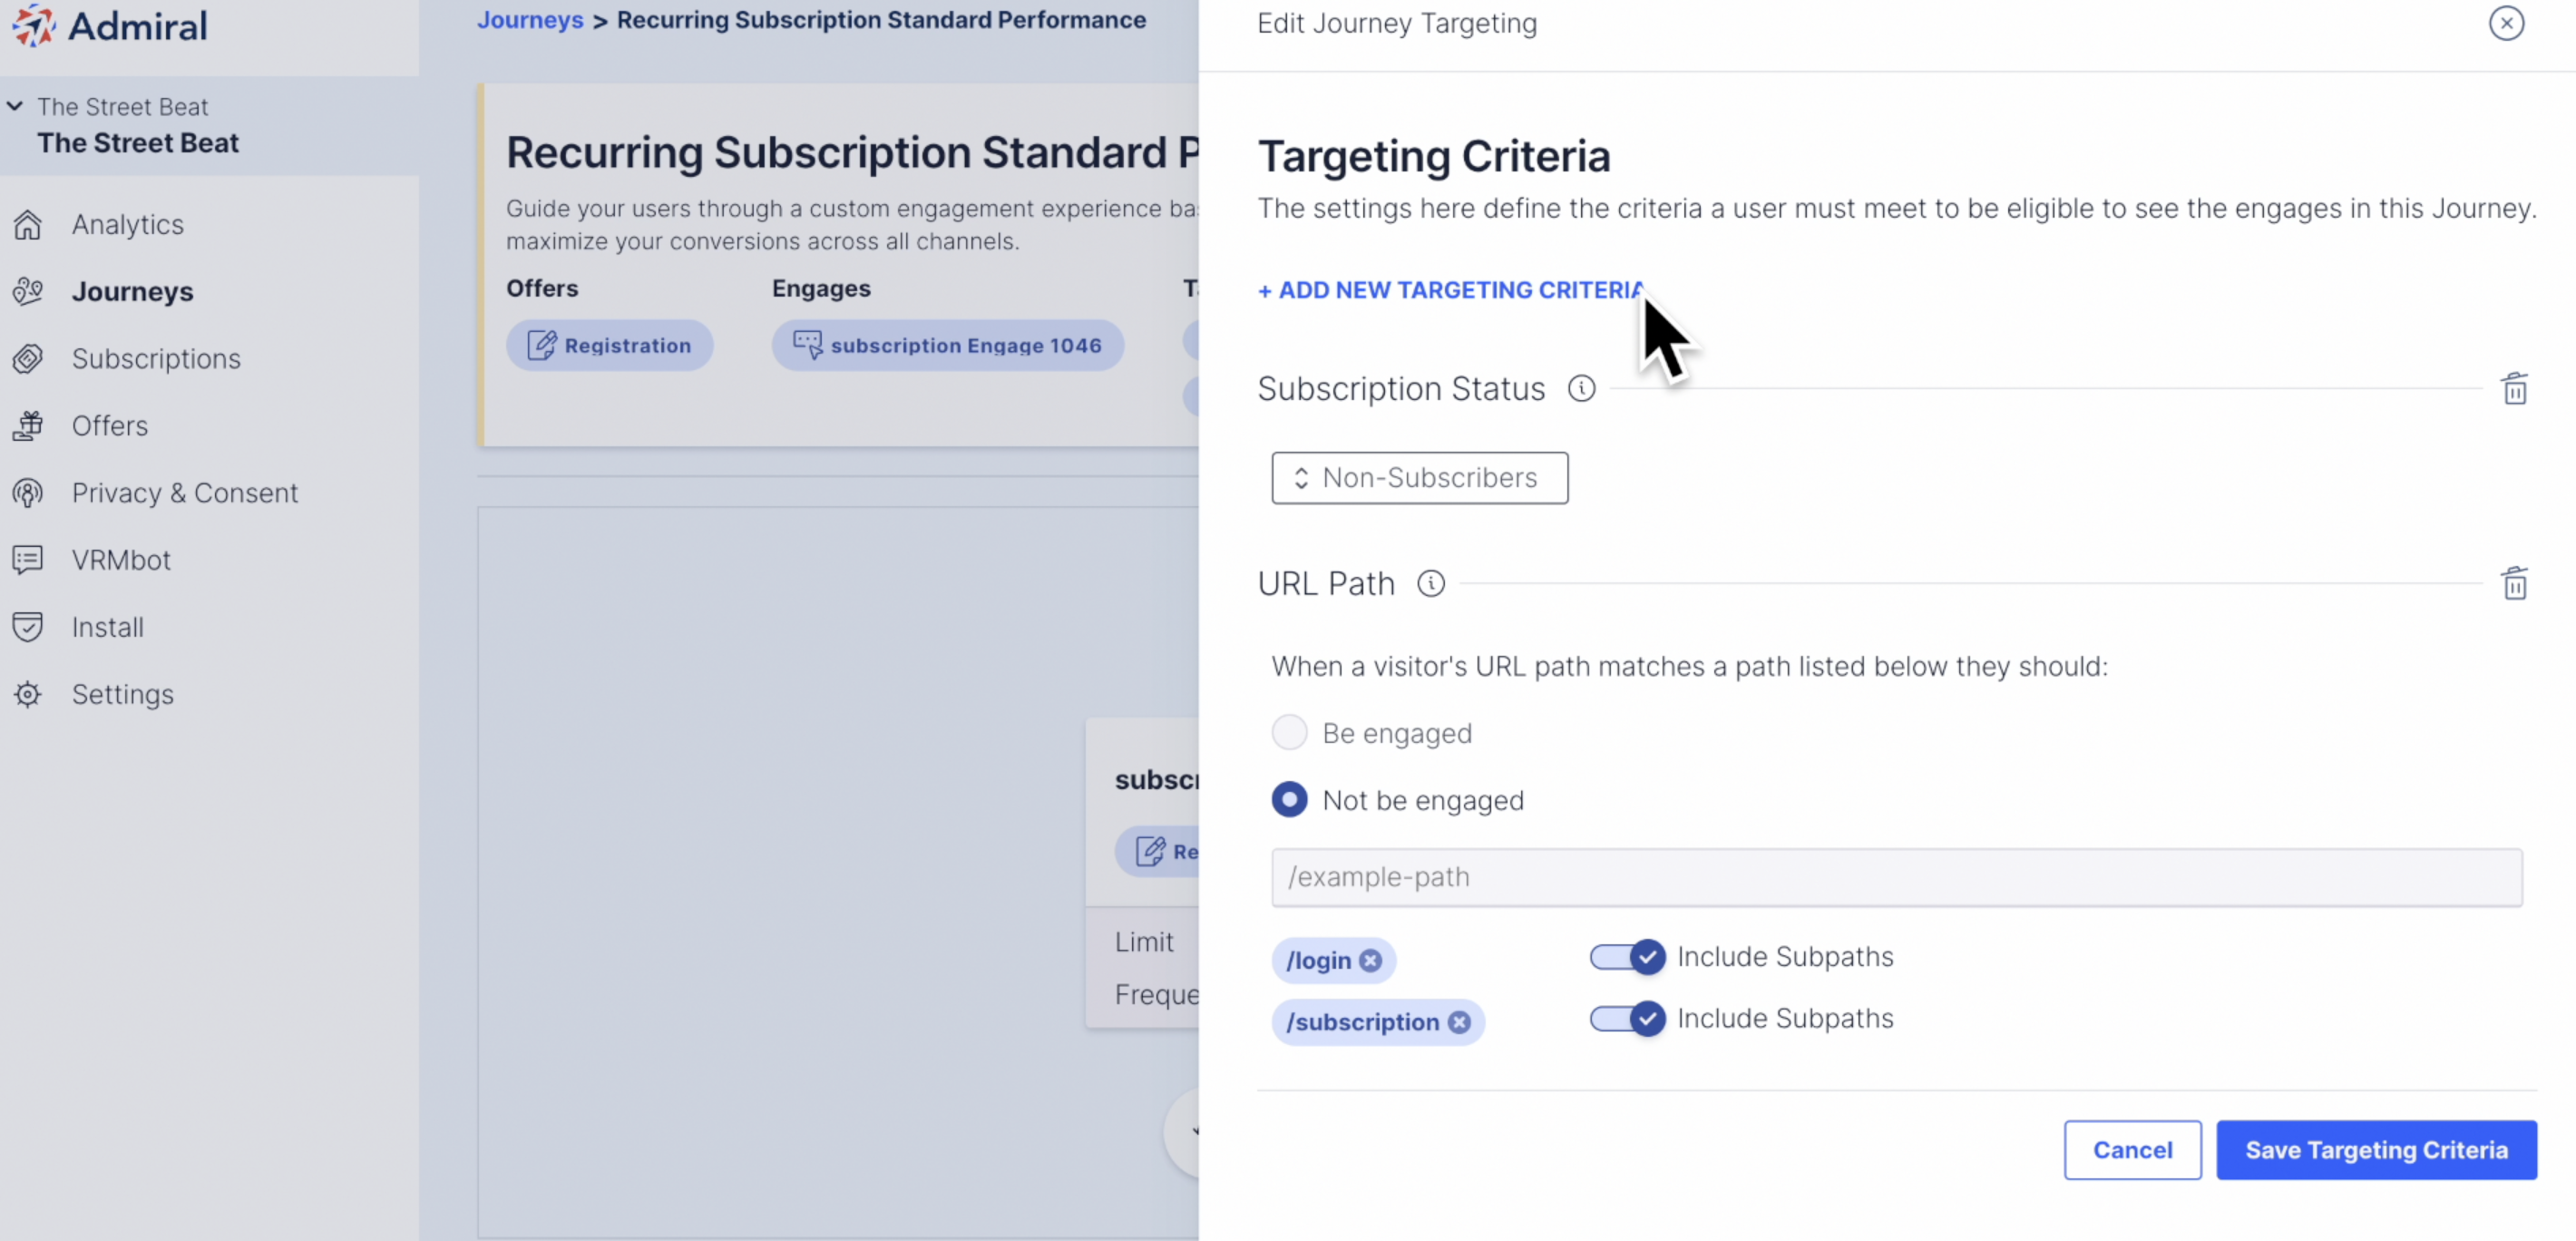
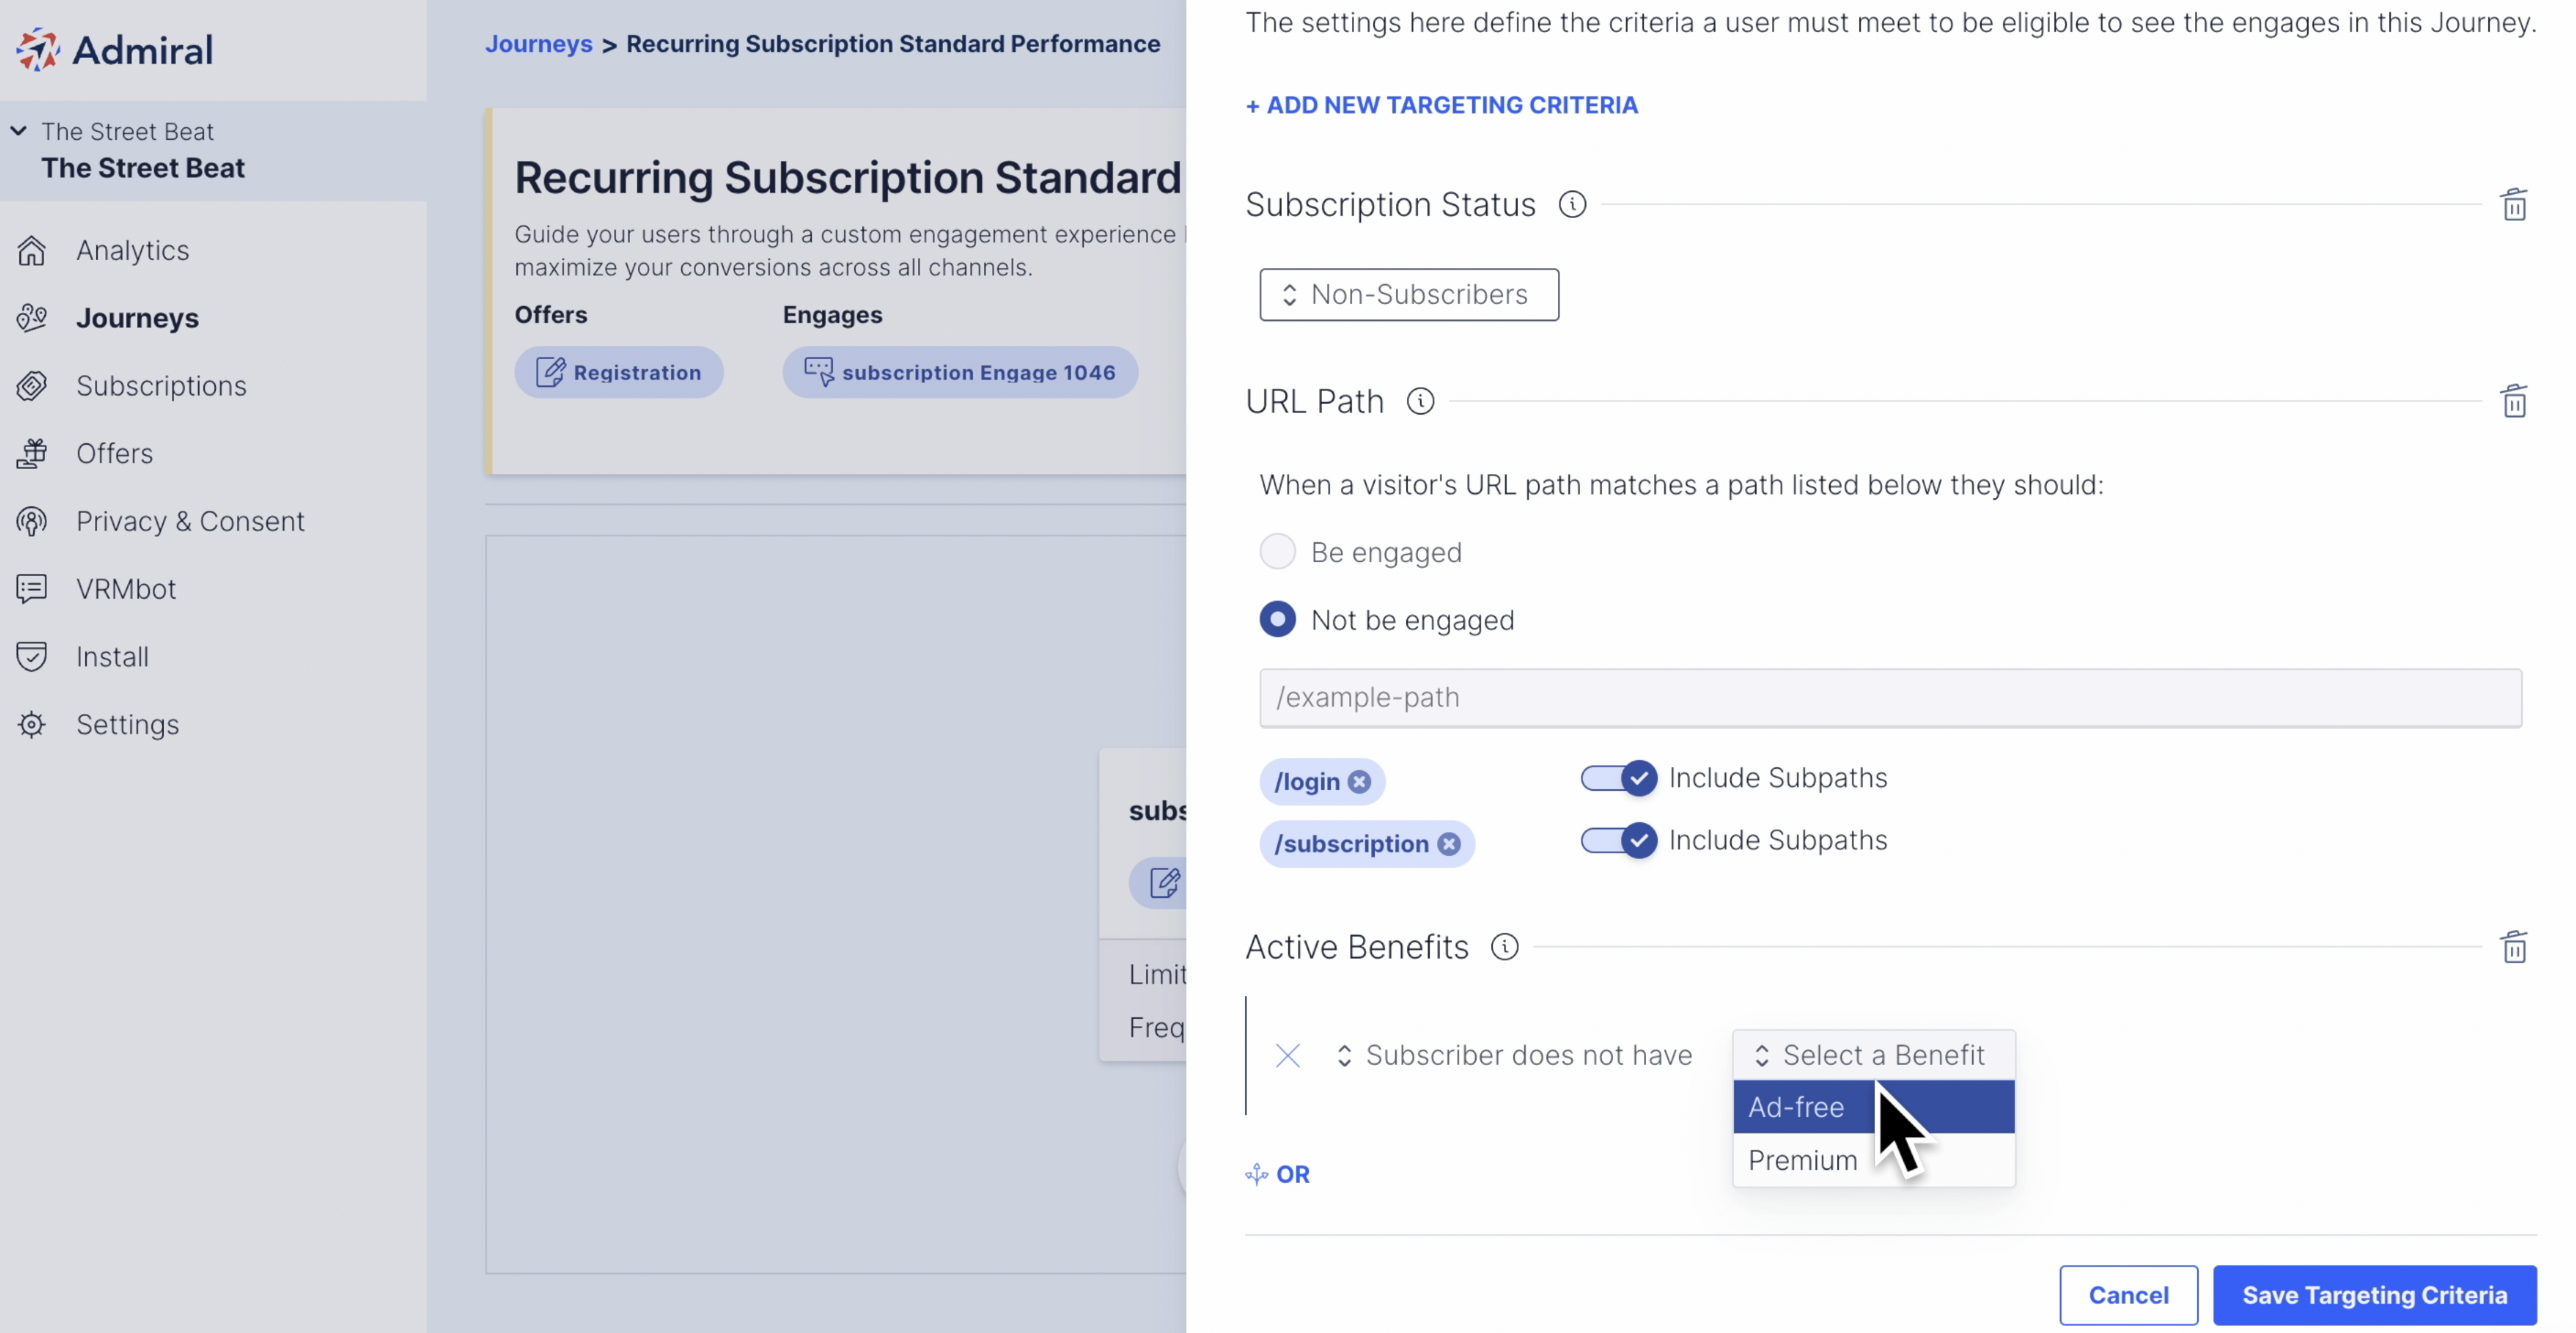
- Click on "ADD NEW TARGETING CRITERIA."
- Scroll down and click on "Active Benefits"
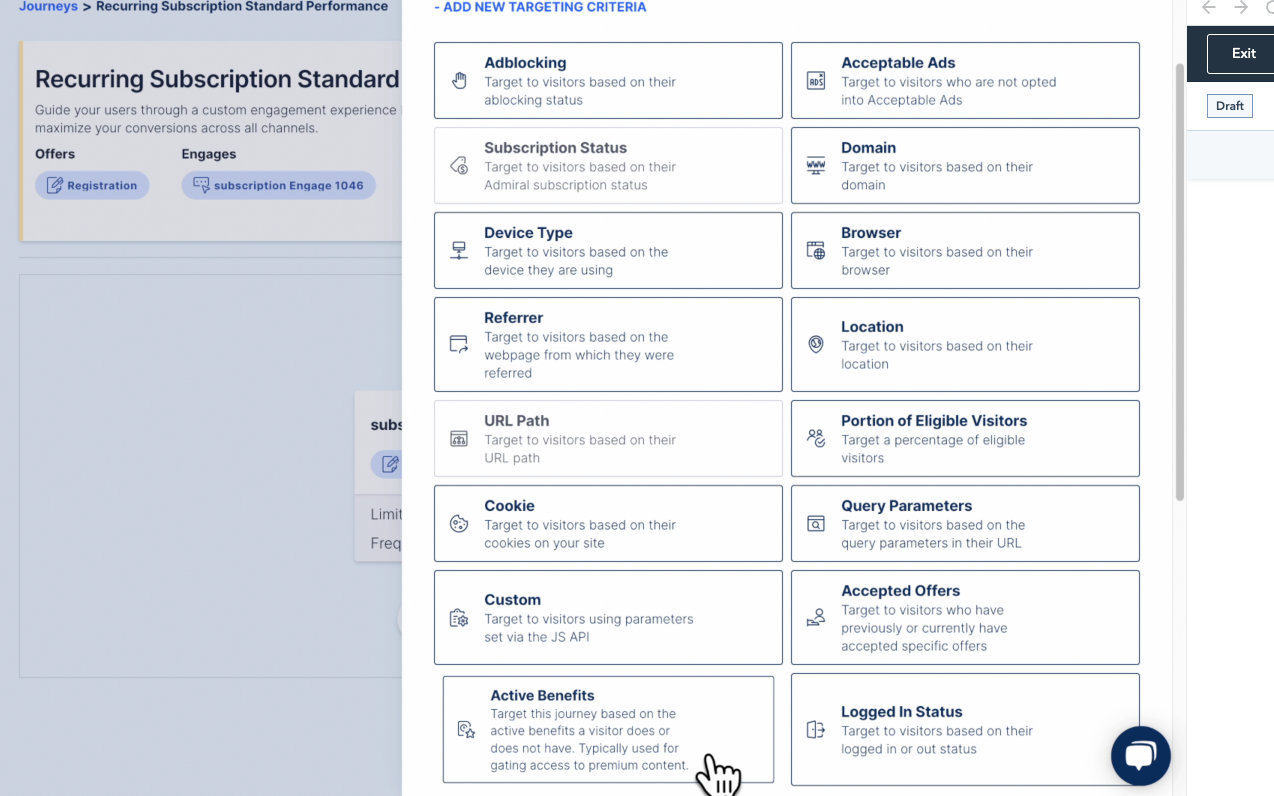
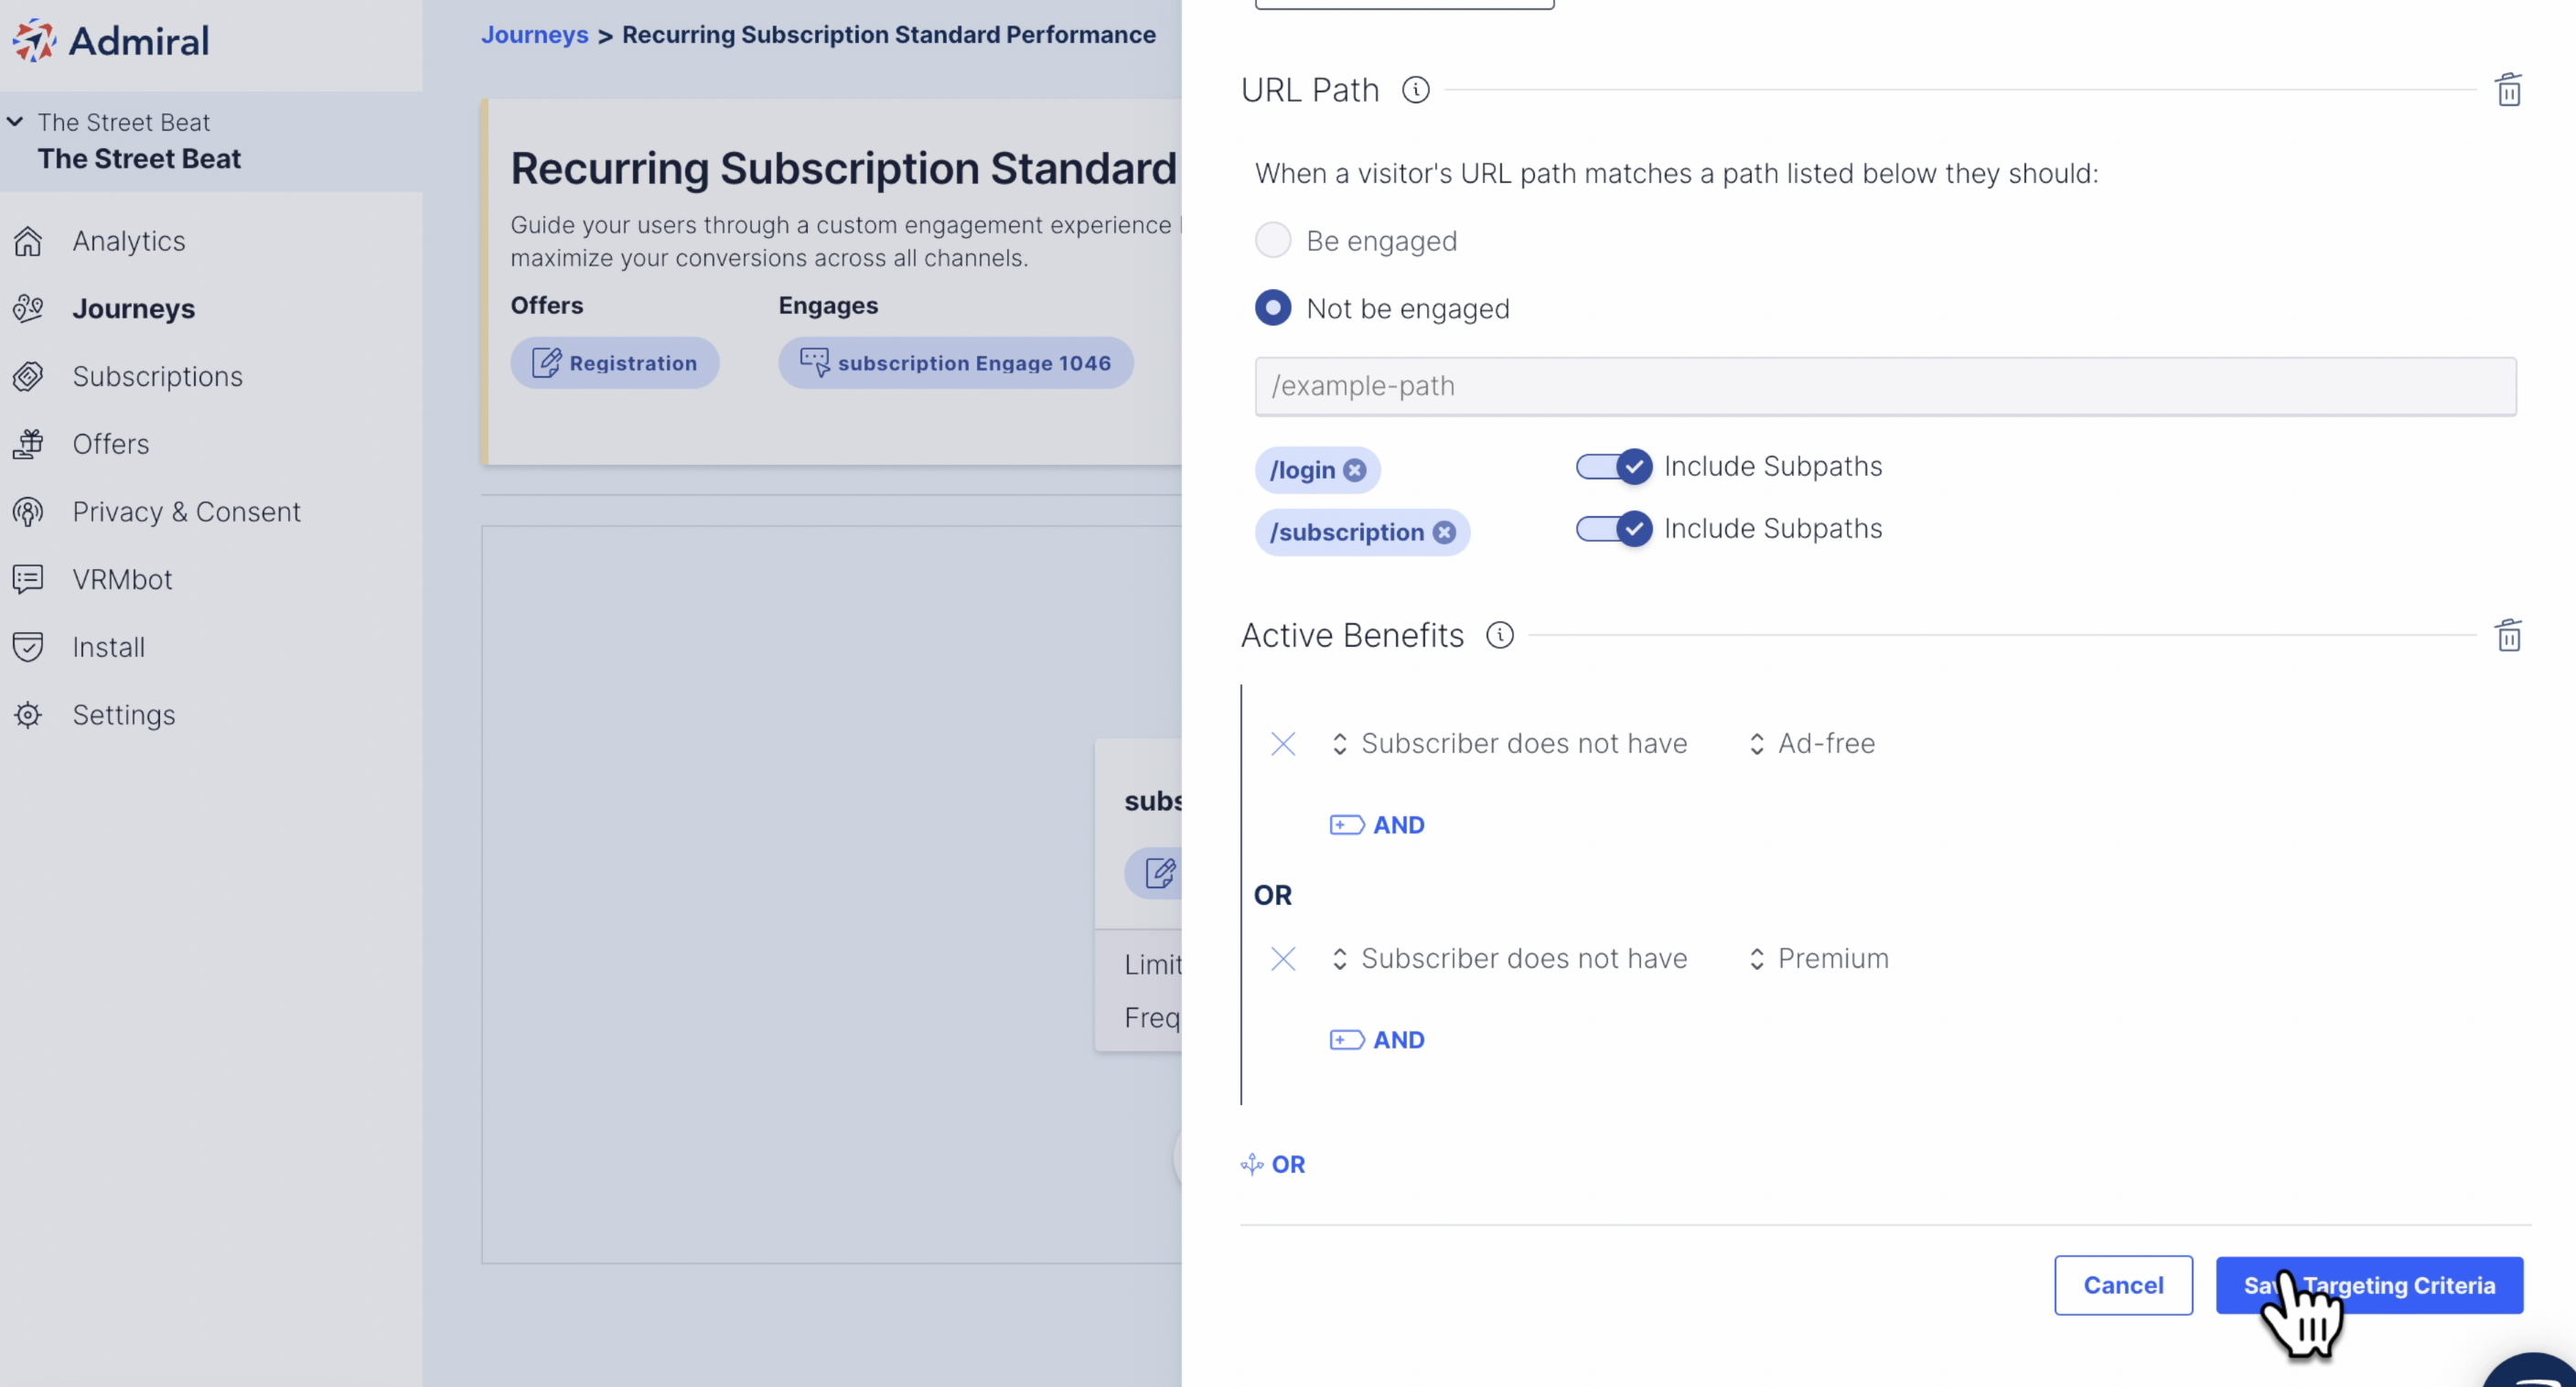
- Now either target visitors who do not have this Benefit, or subscribers who do have this Benefit (for an upsell opportunity).
- Click "Save Targeting Criteria" once you have selected your targeting criteria.
- Lastly, remember to turn on your Journey by clicking on the toggle in the top right corner. If the journey is active it will say "Active Journey."
